


FEATURED STORIES

Inside Irrigation Maintenance
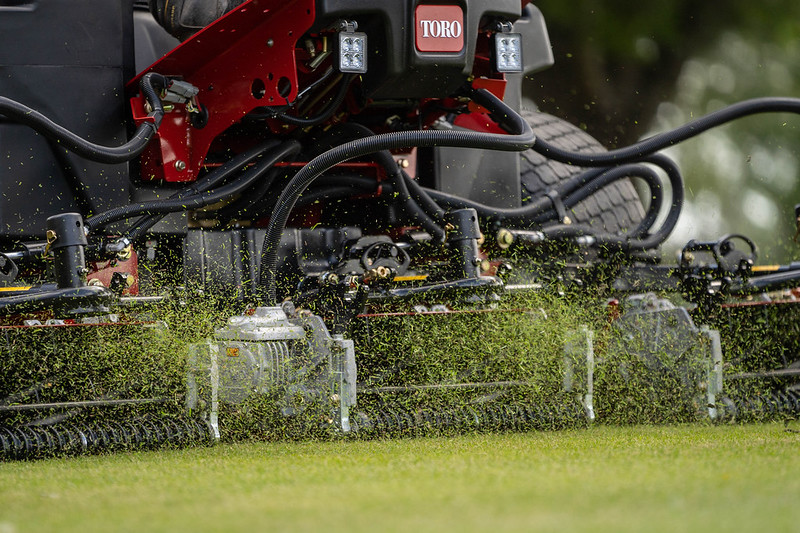
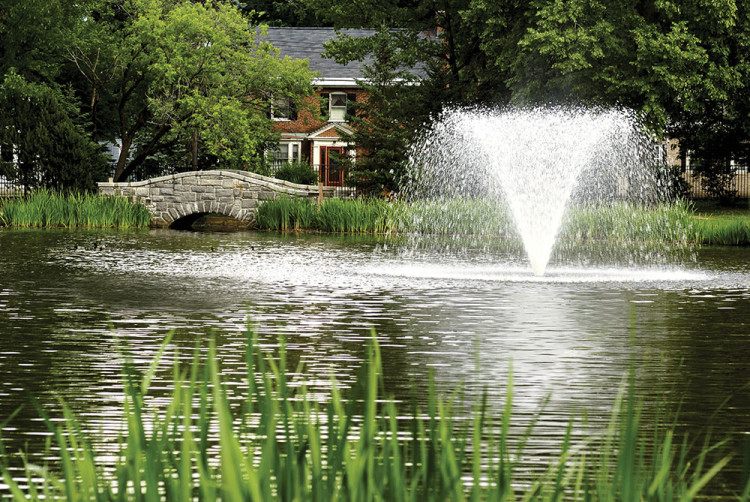
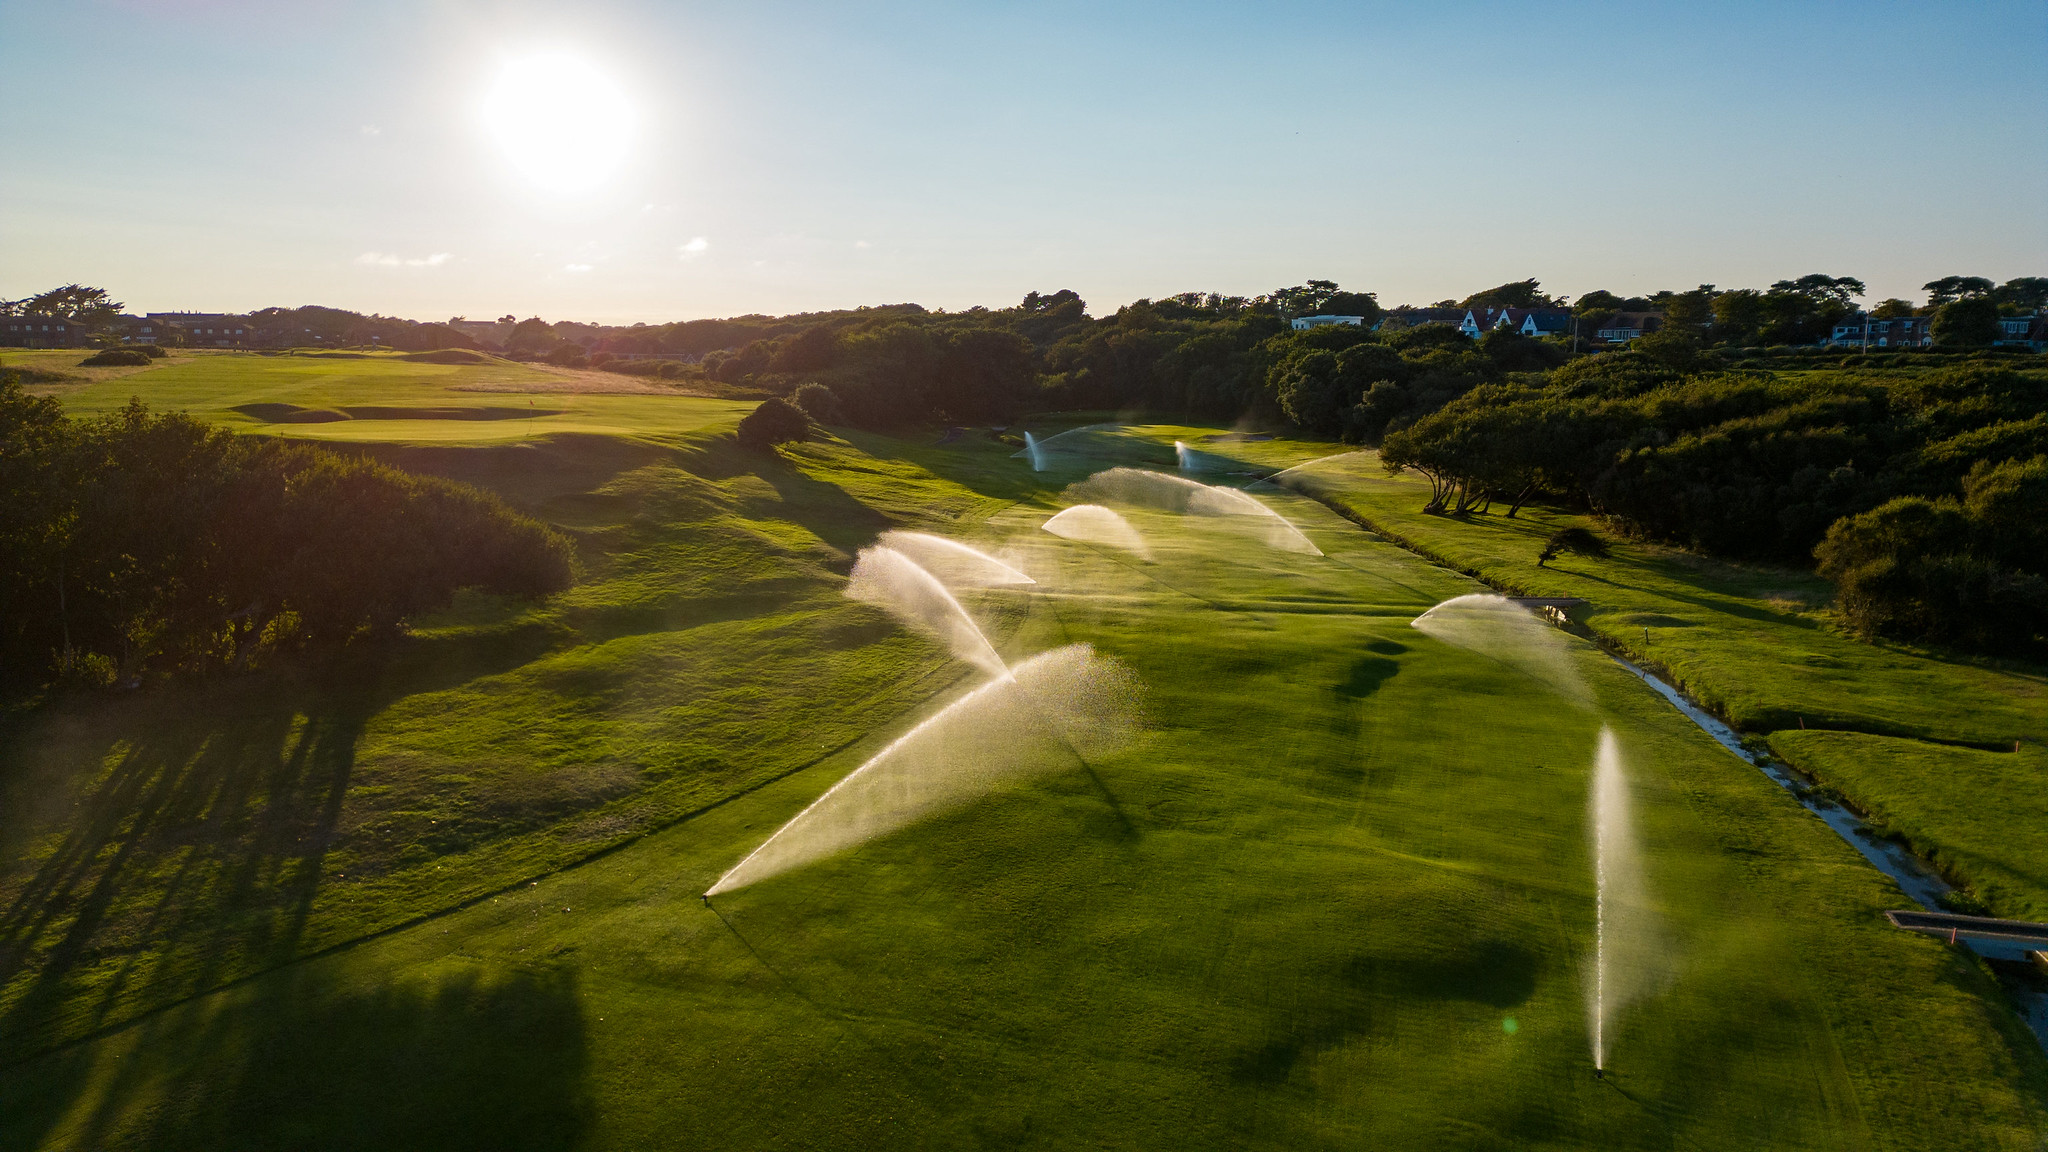
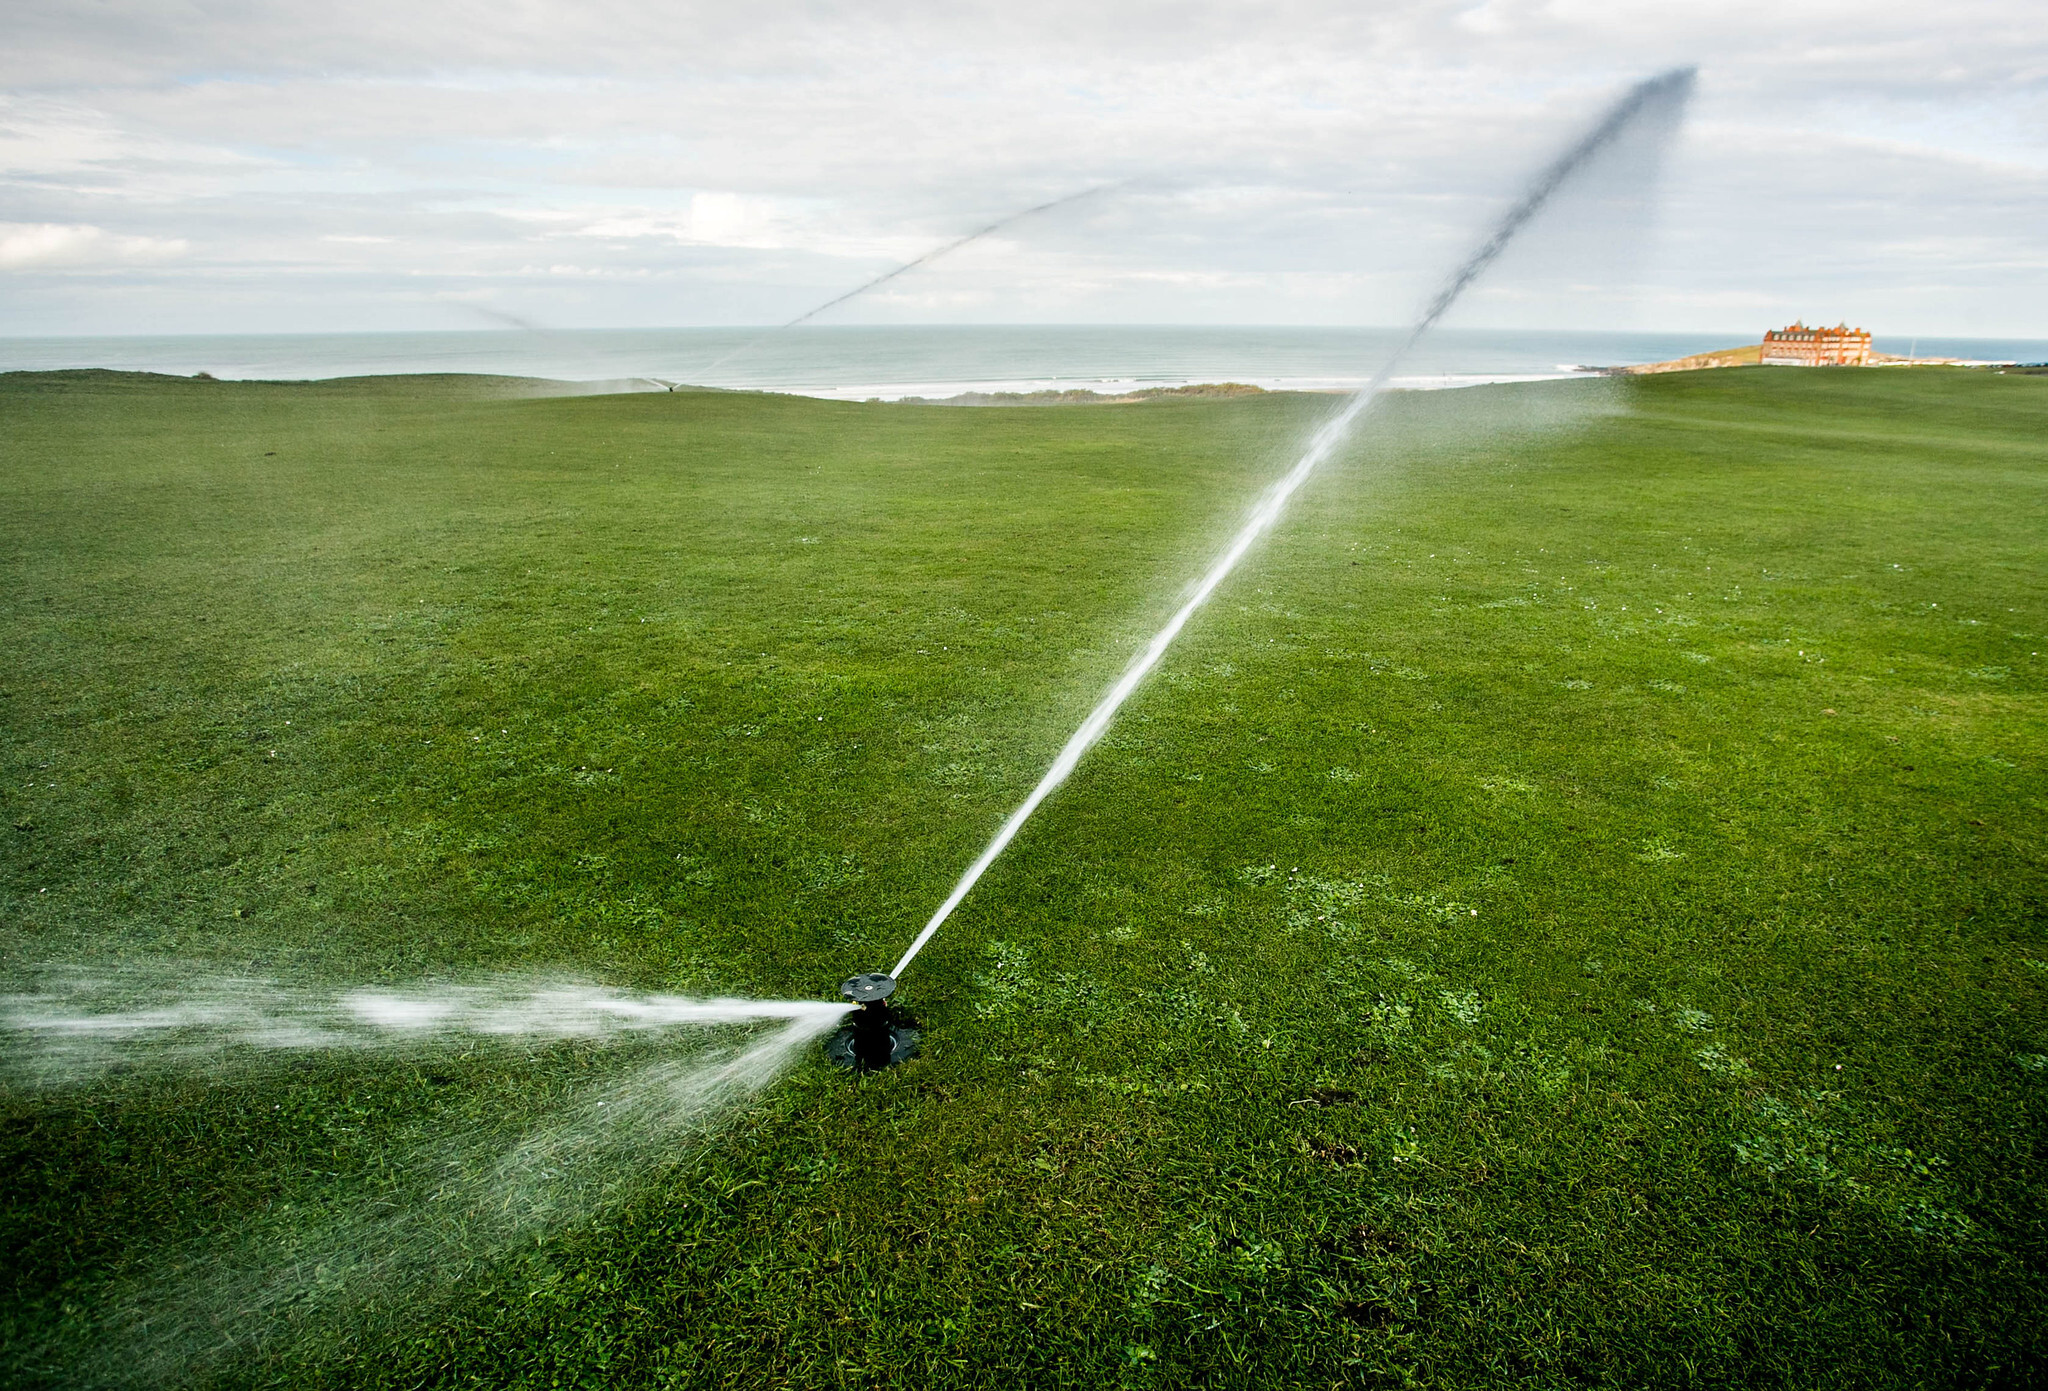
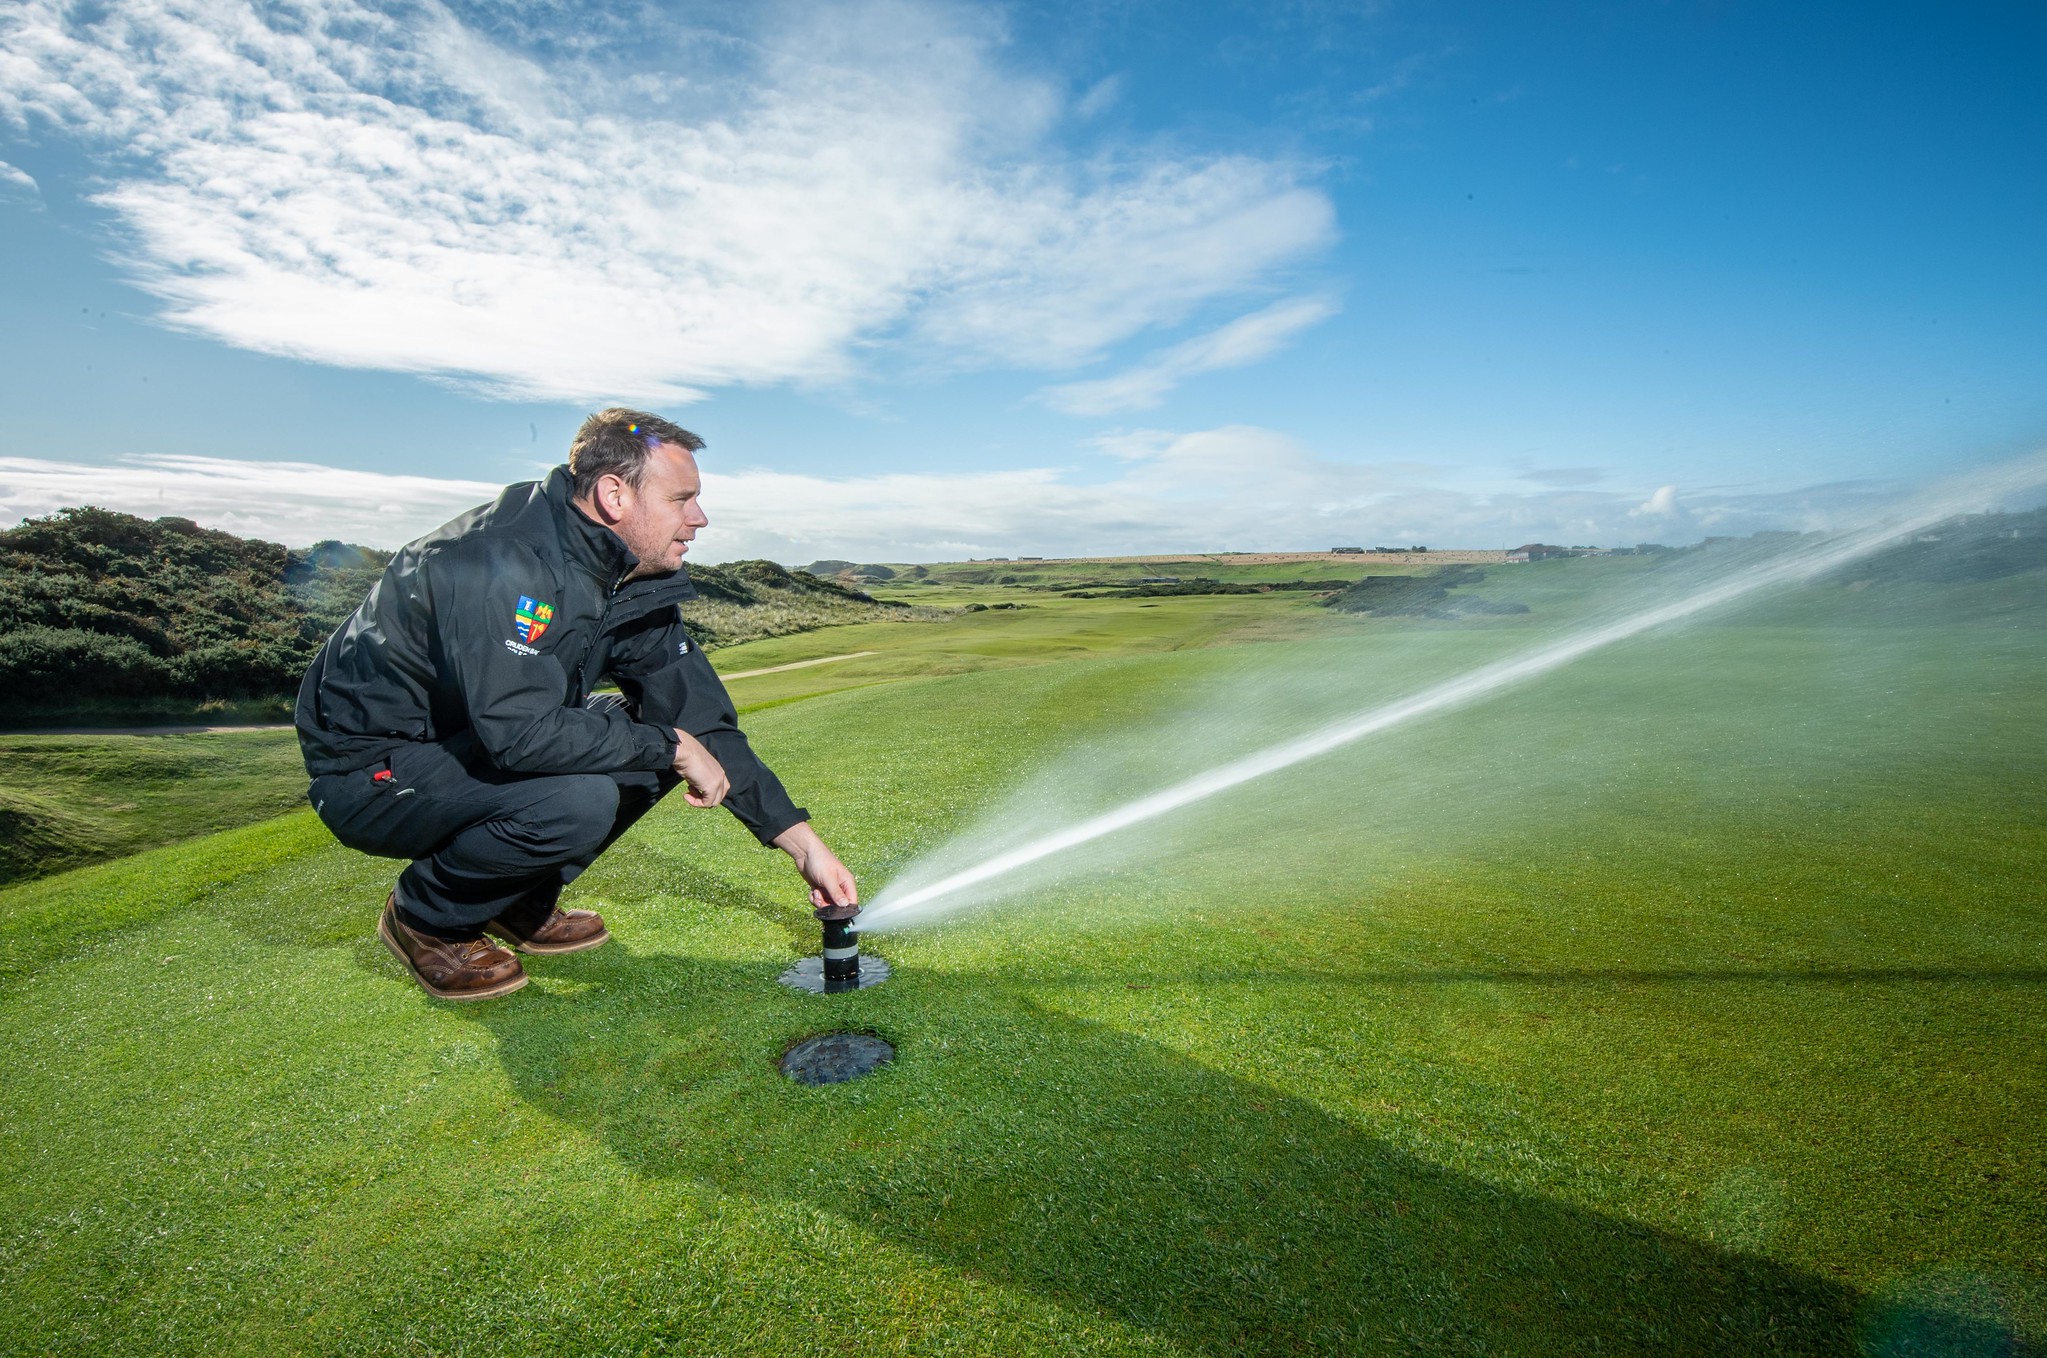
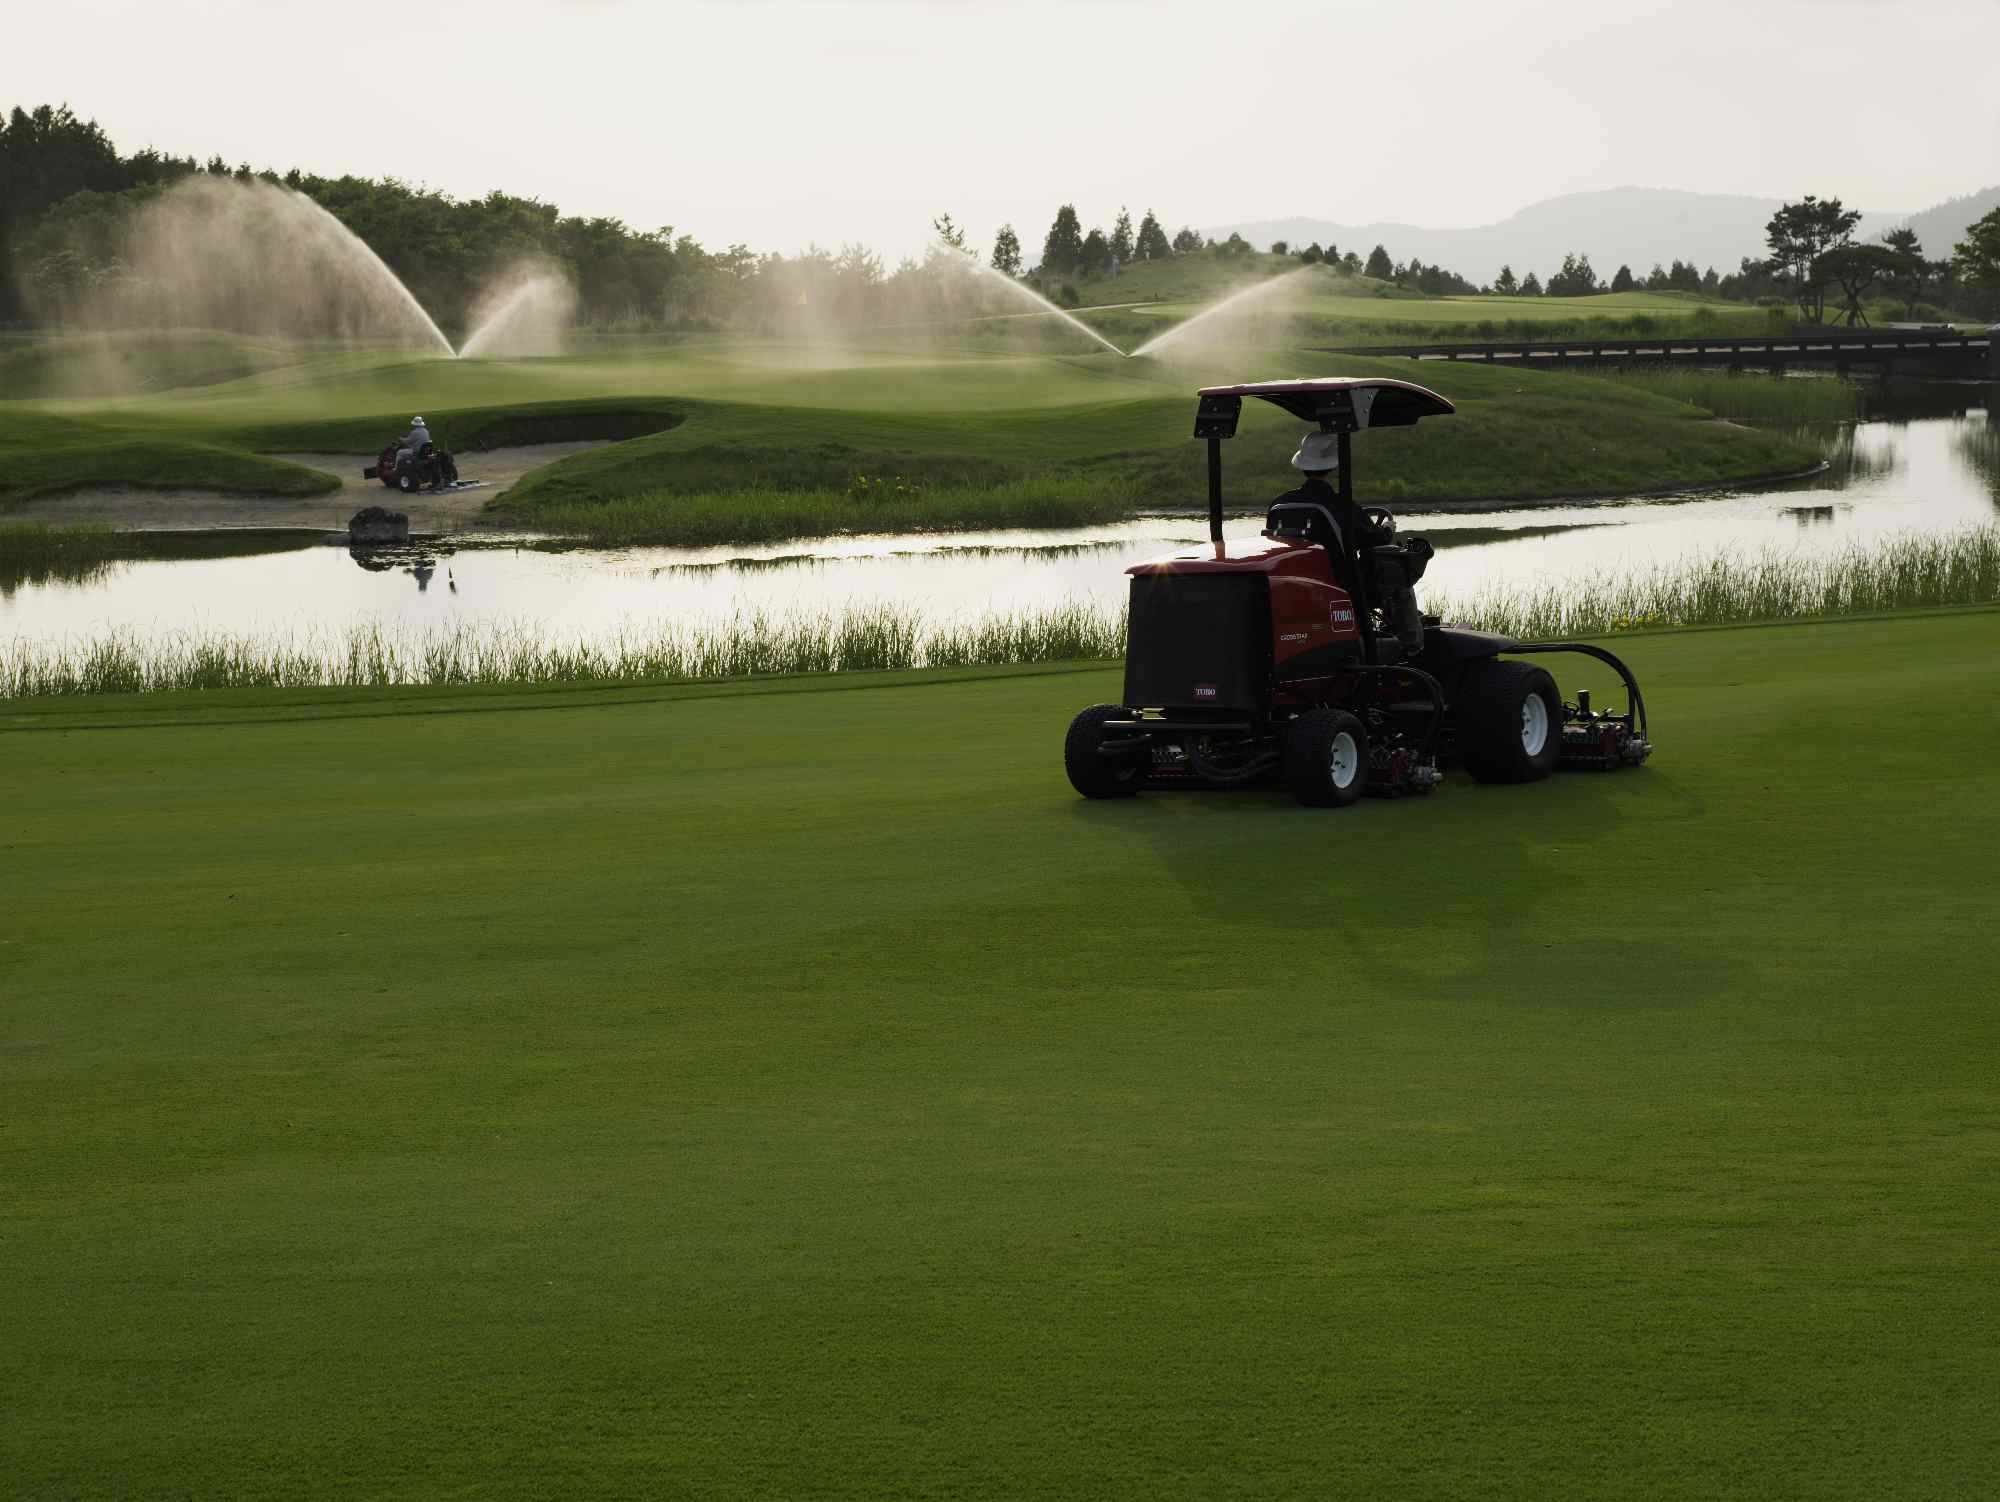
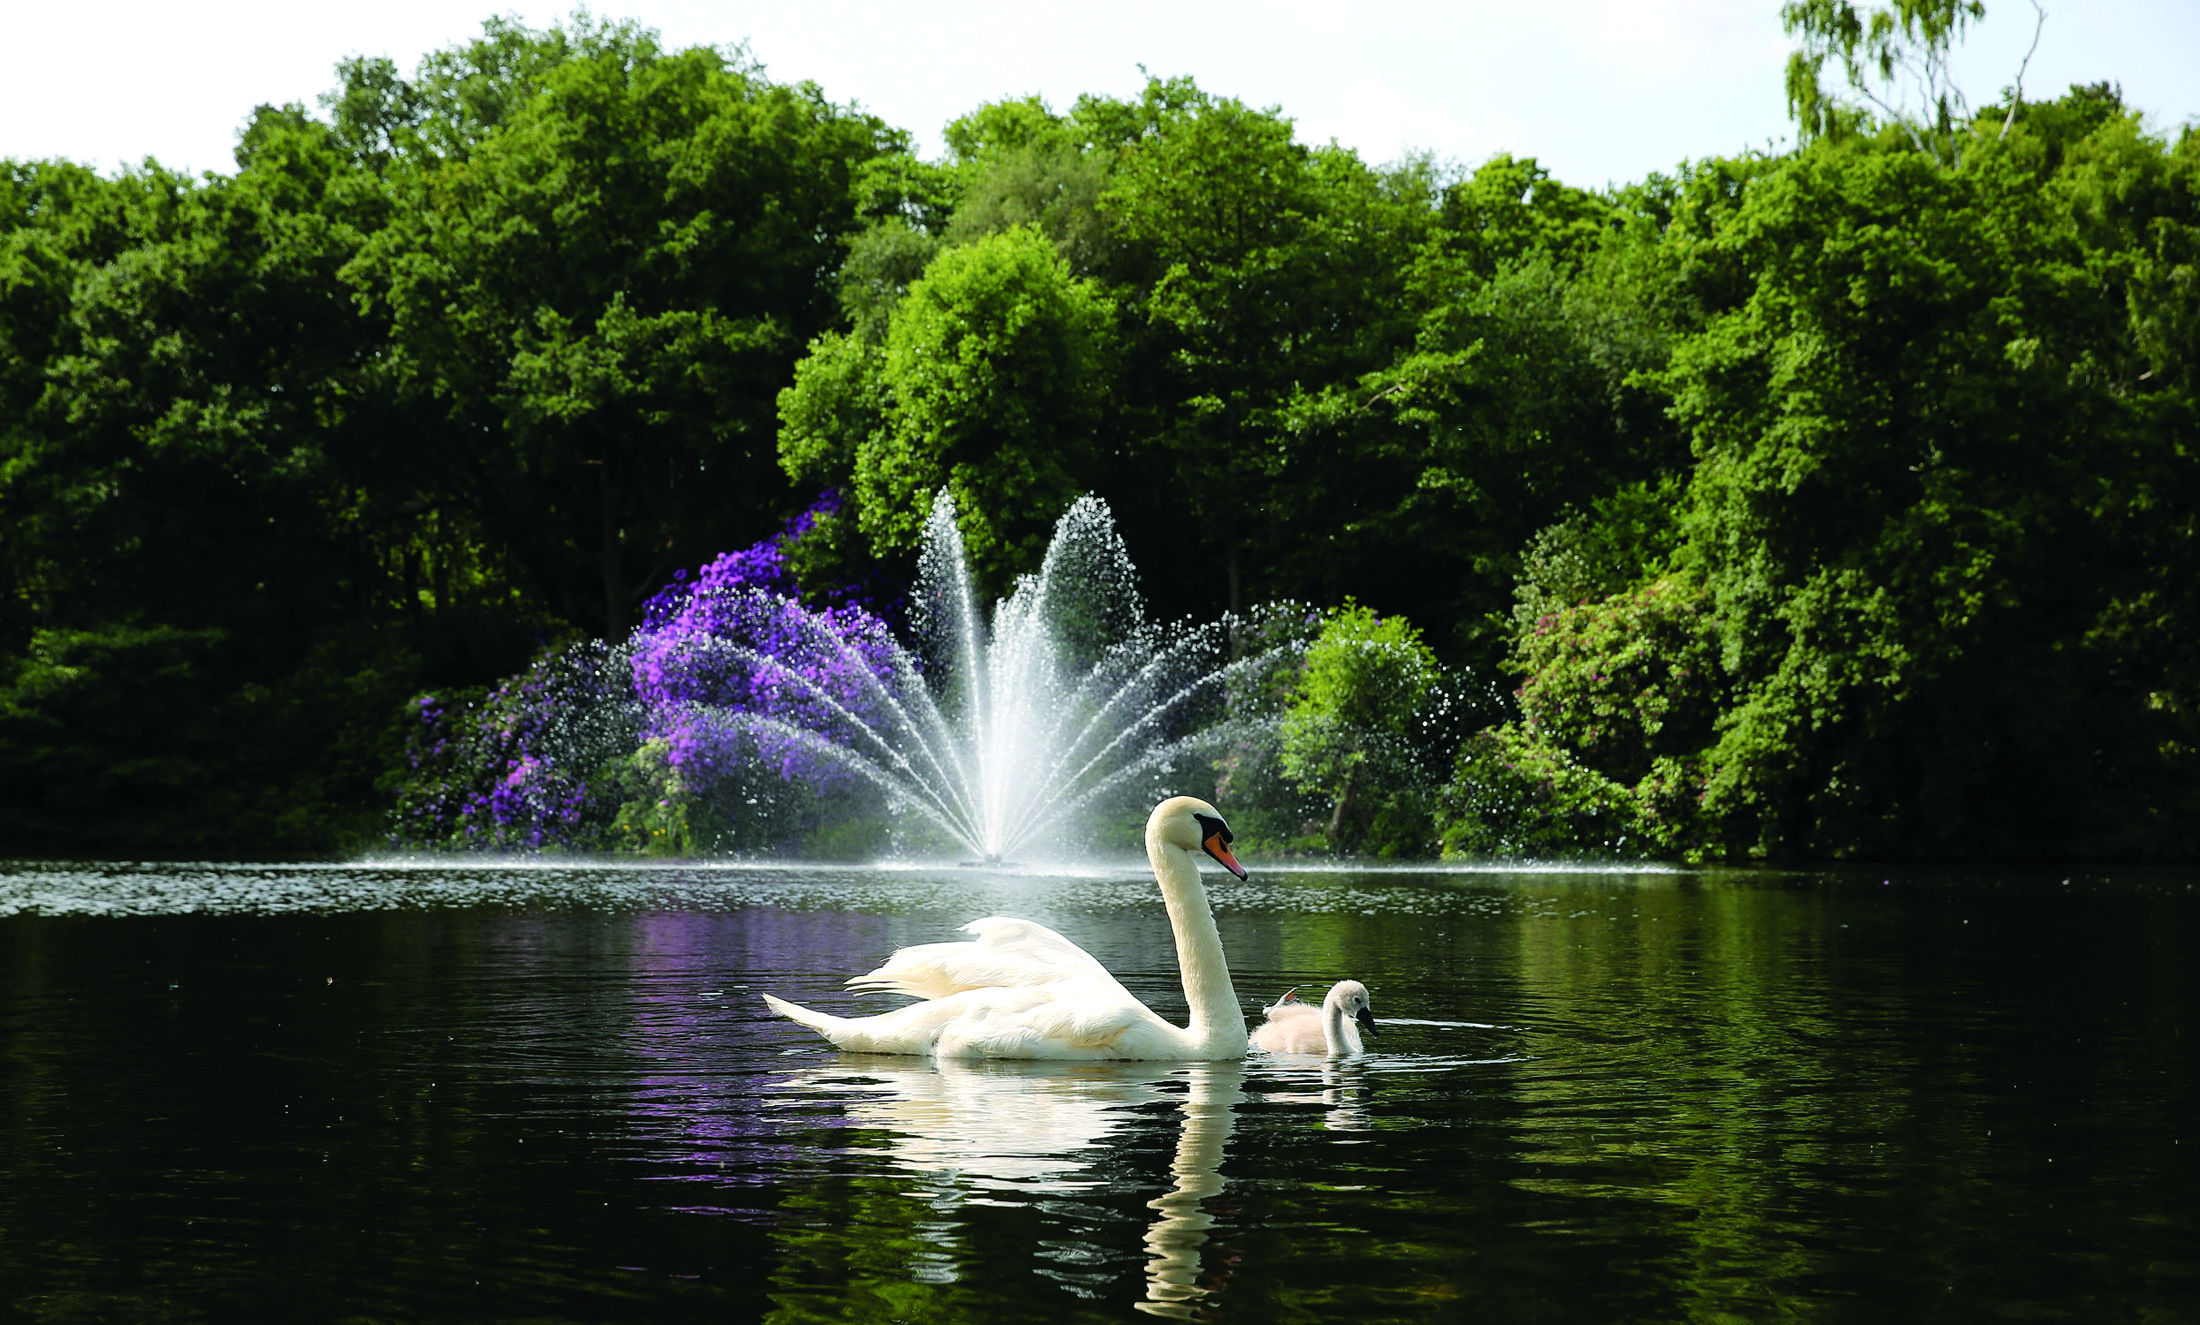
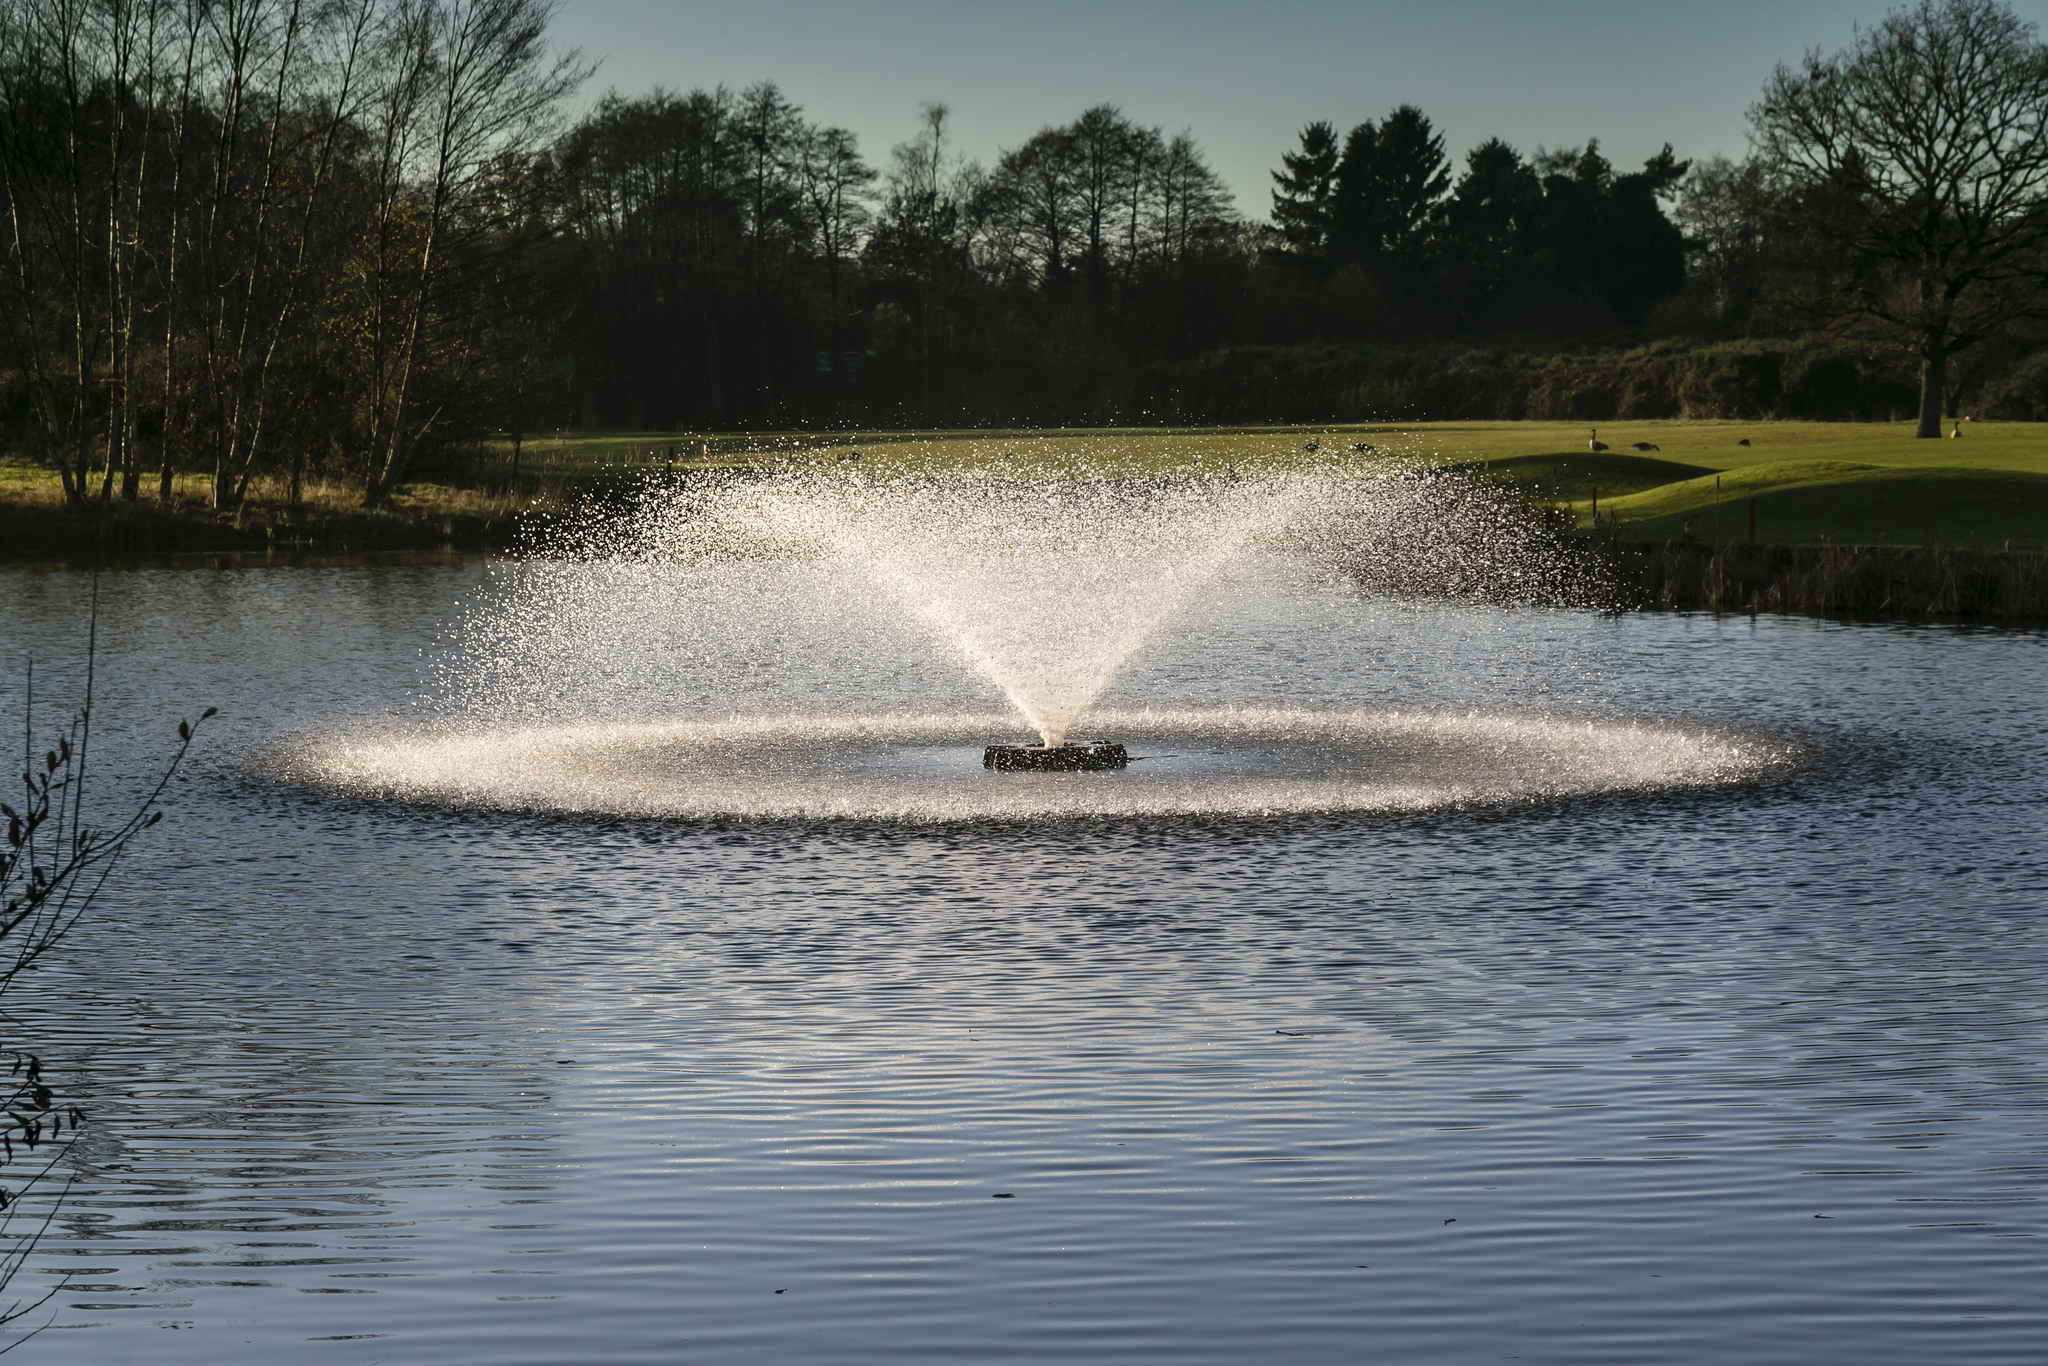
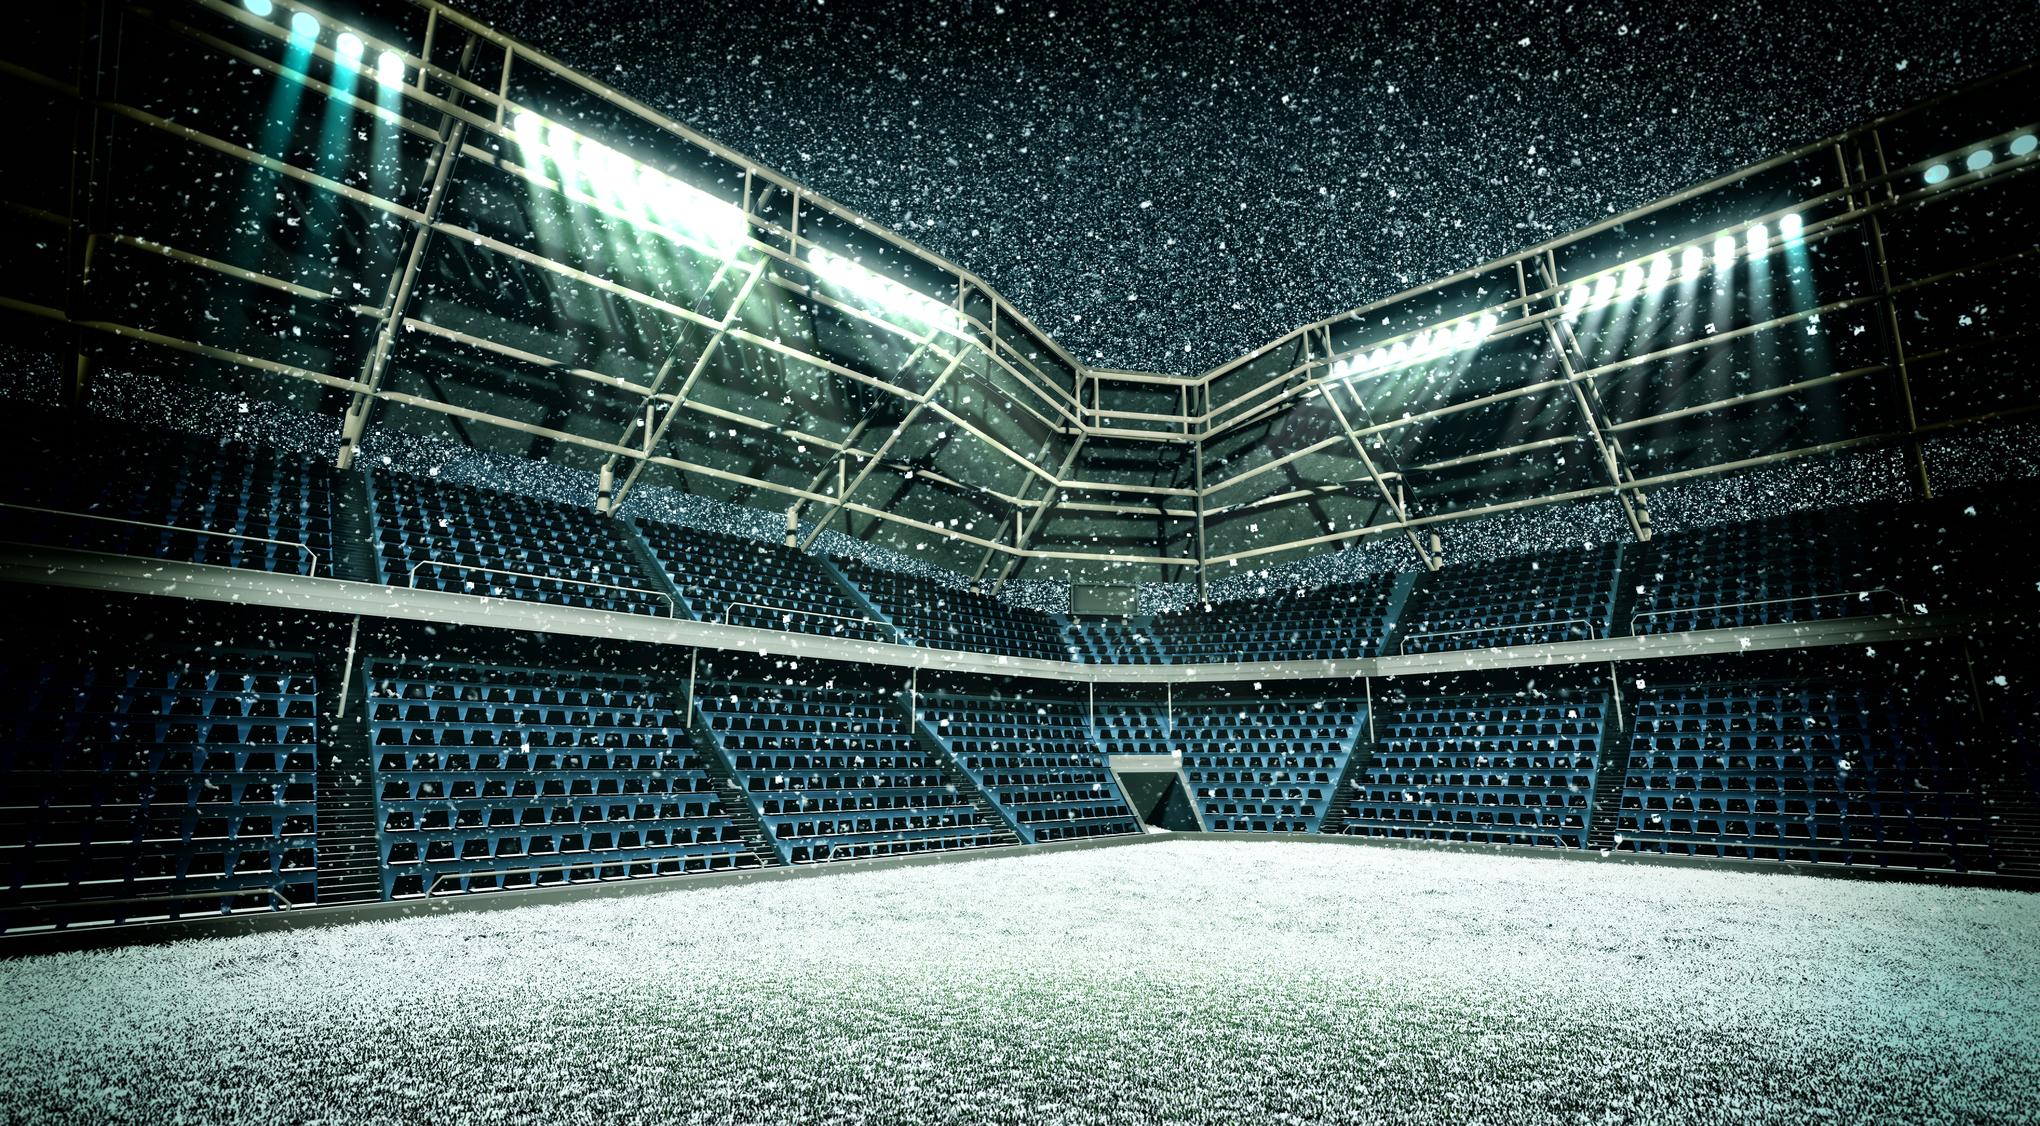
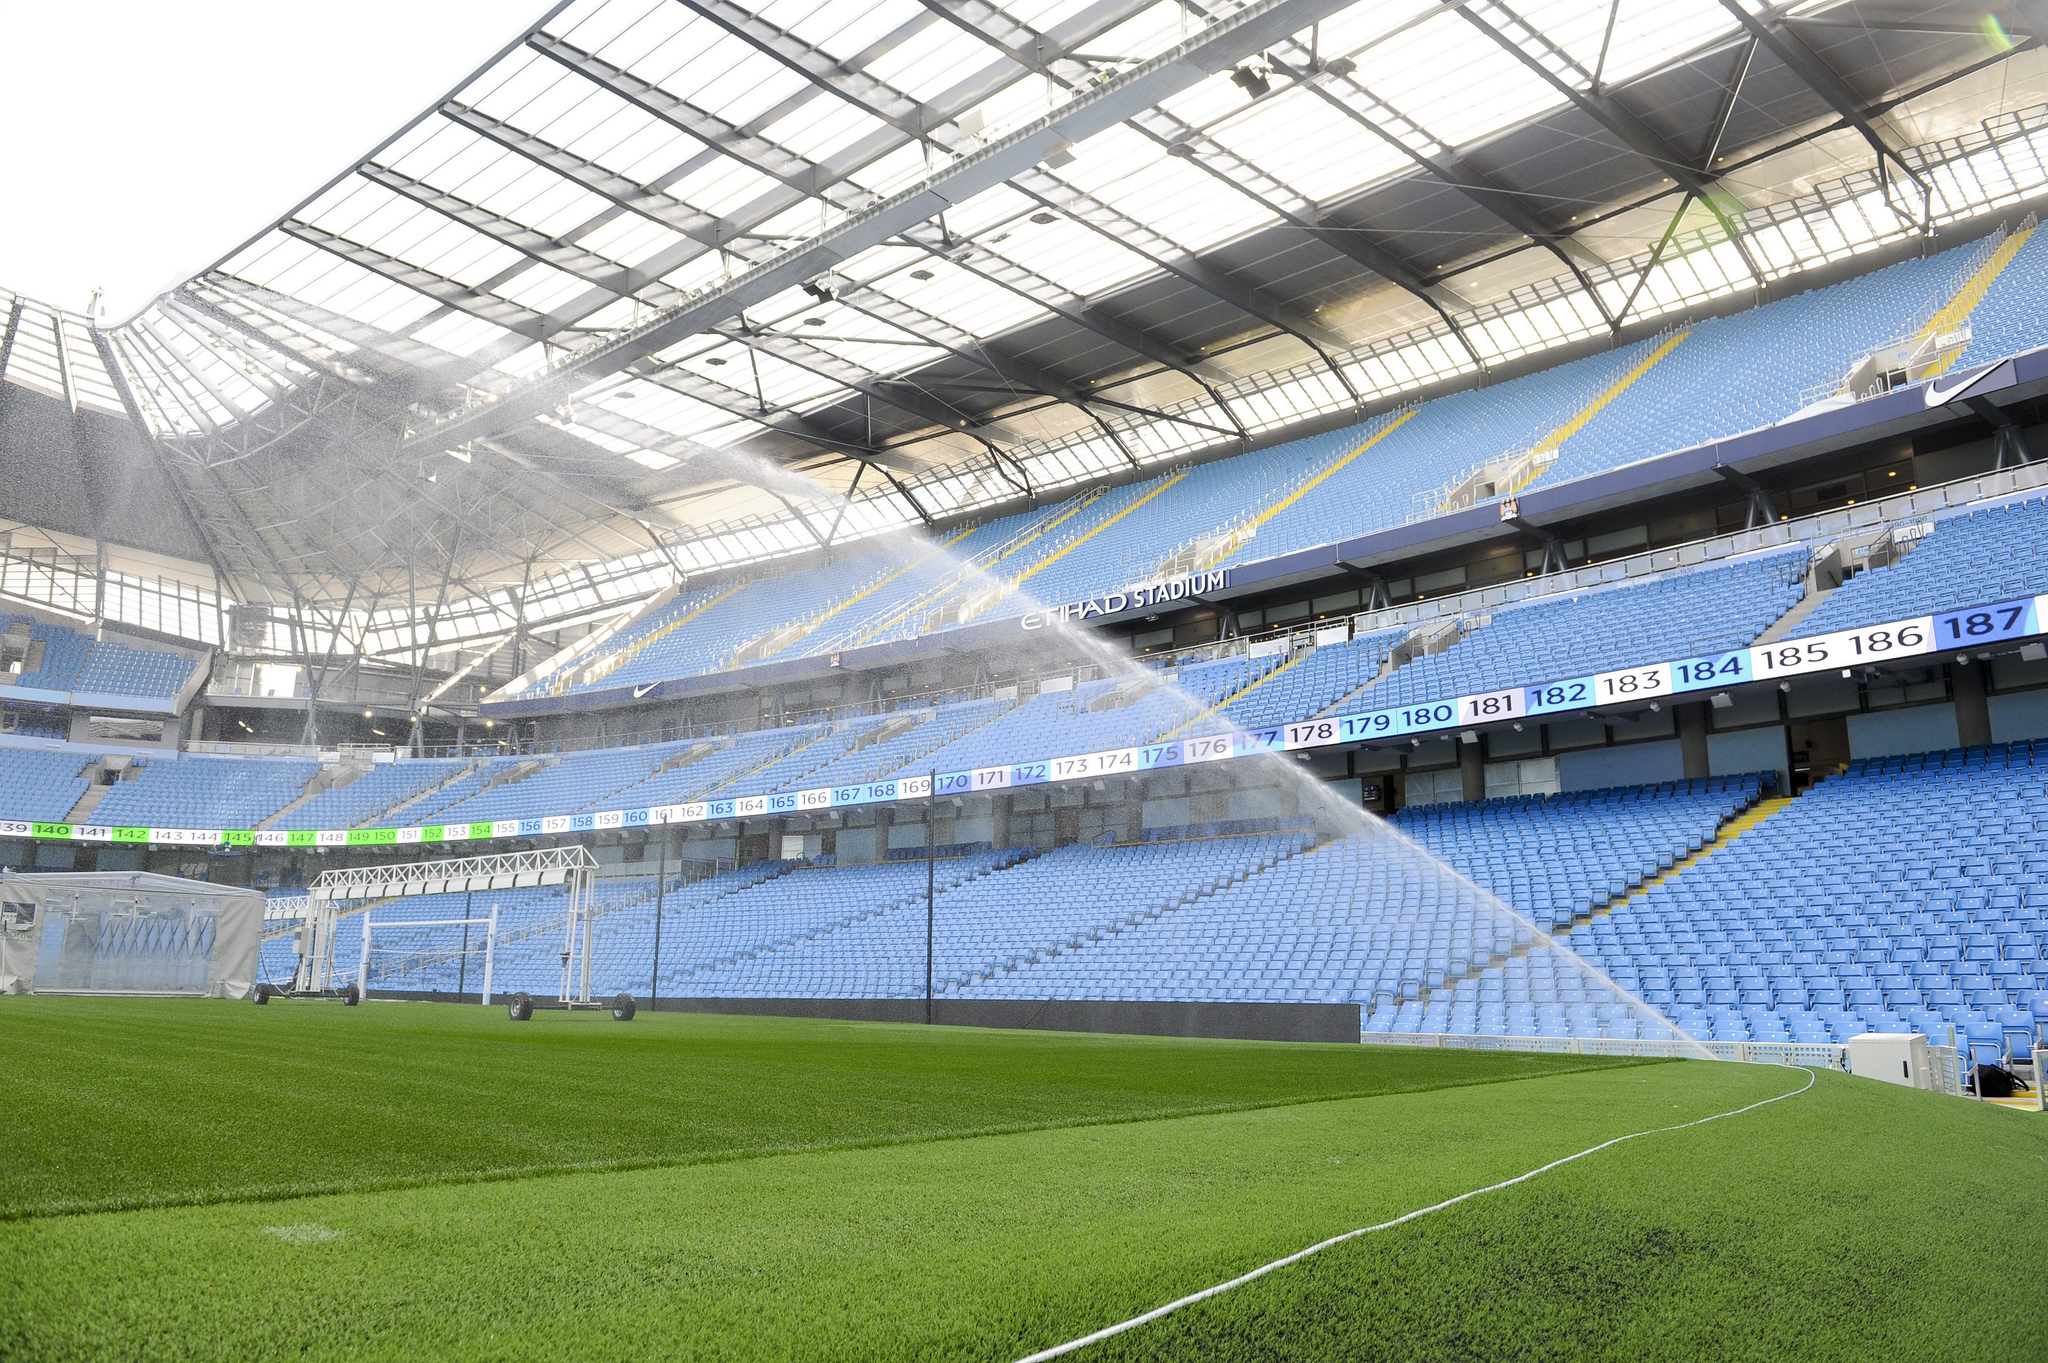
Whatever your surface – football stadium, golf course, cricket ground or rugby pitch – effective irrigation is vital to have the healthiest grass and to affect the playability, whether that’s a slick, fast-paced game, or heavier, slower game. Yet, when it comes to good housekeeping, quite often irrigation does not attract the same attention as the specialist machinery cutting the grass.
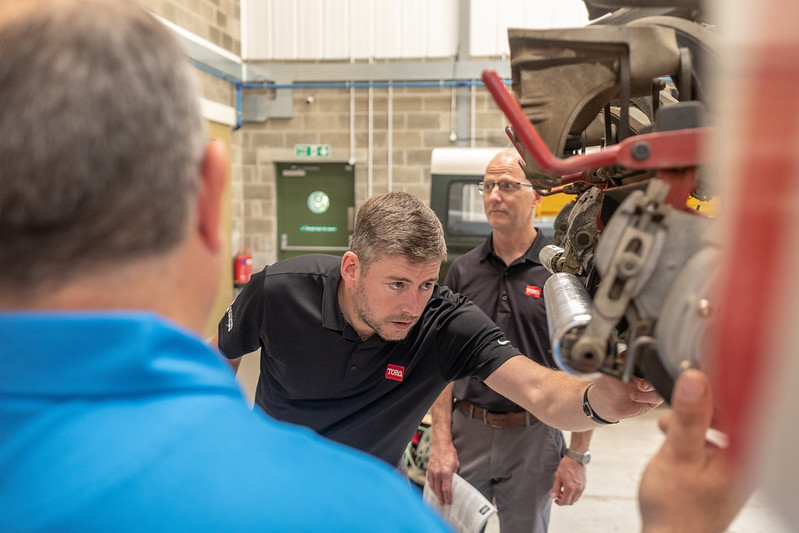
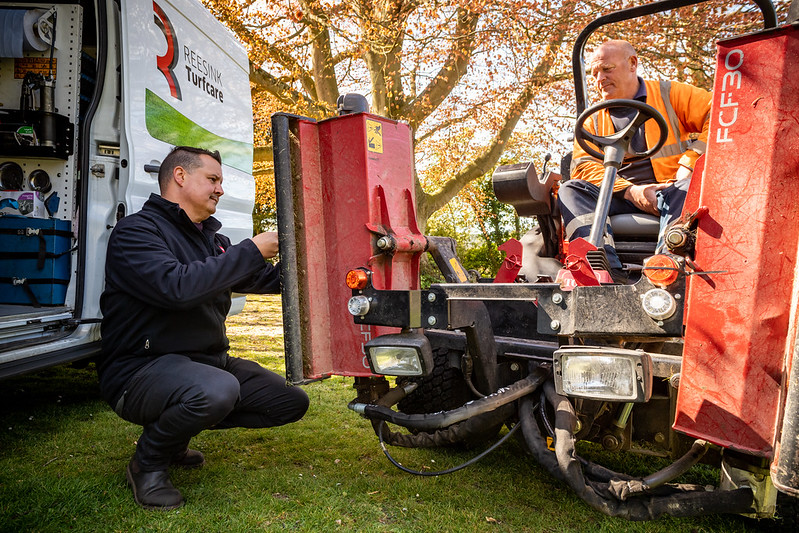
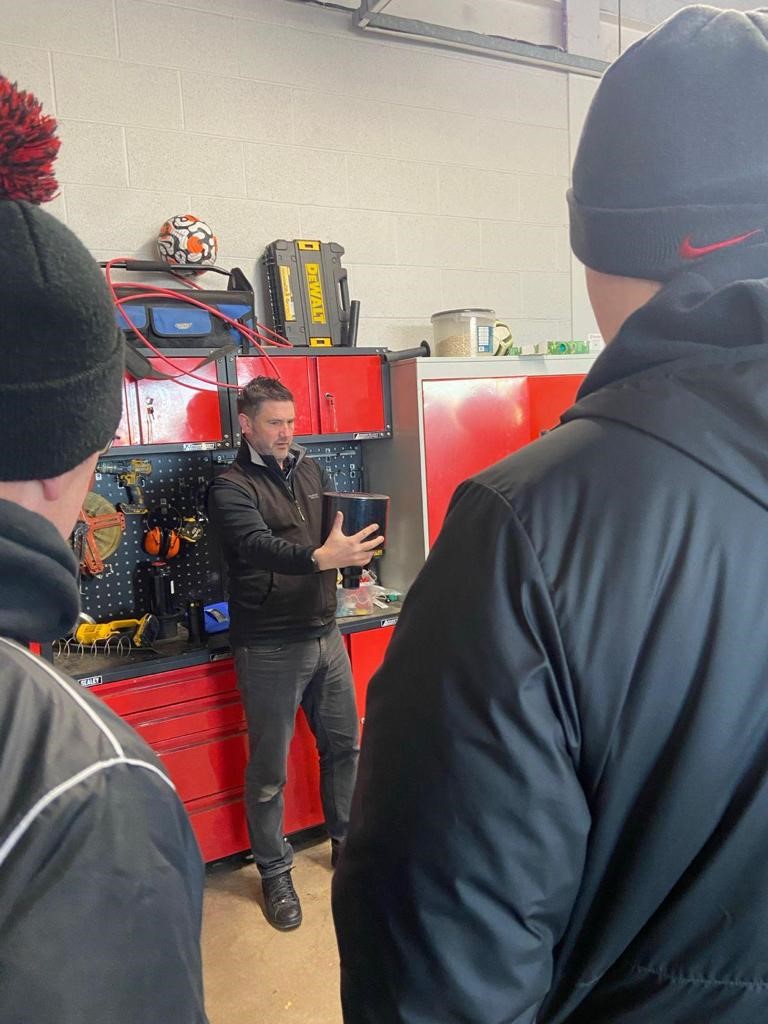
Here Robert Jackson, irrigation manager at Reesink Turfcare who has been working in the irrigation industry for over twenty years, discusses why it’s time to start applying the same principles to irrigation maintenance that are applied to machinery maintenance.
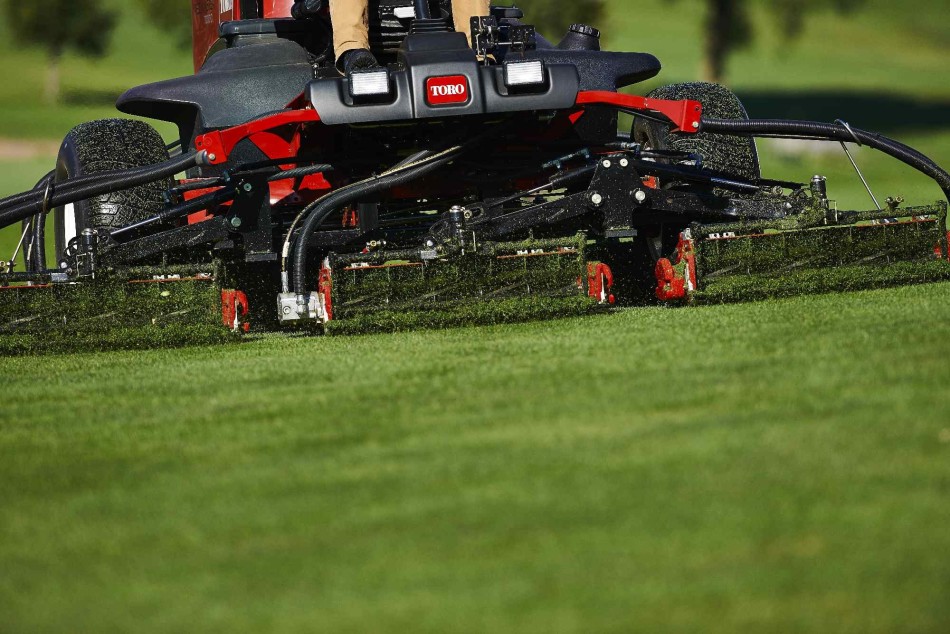
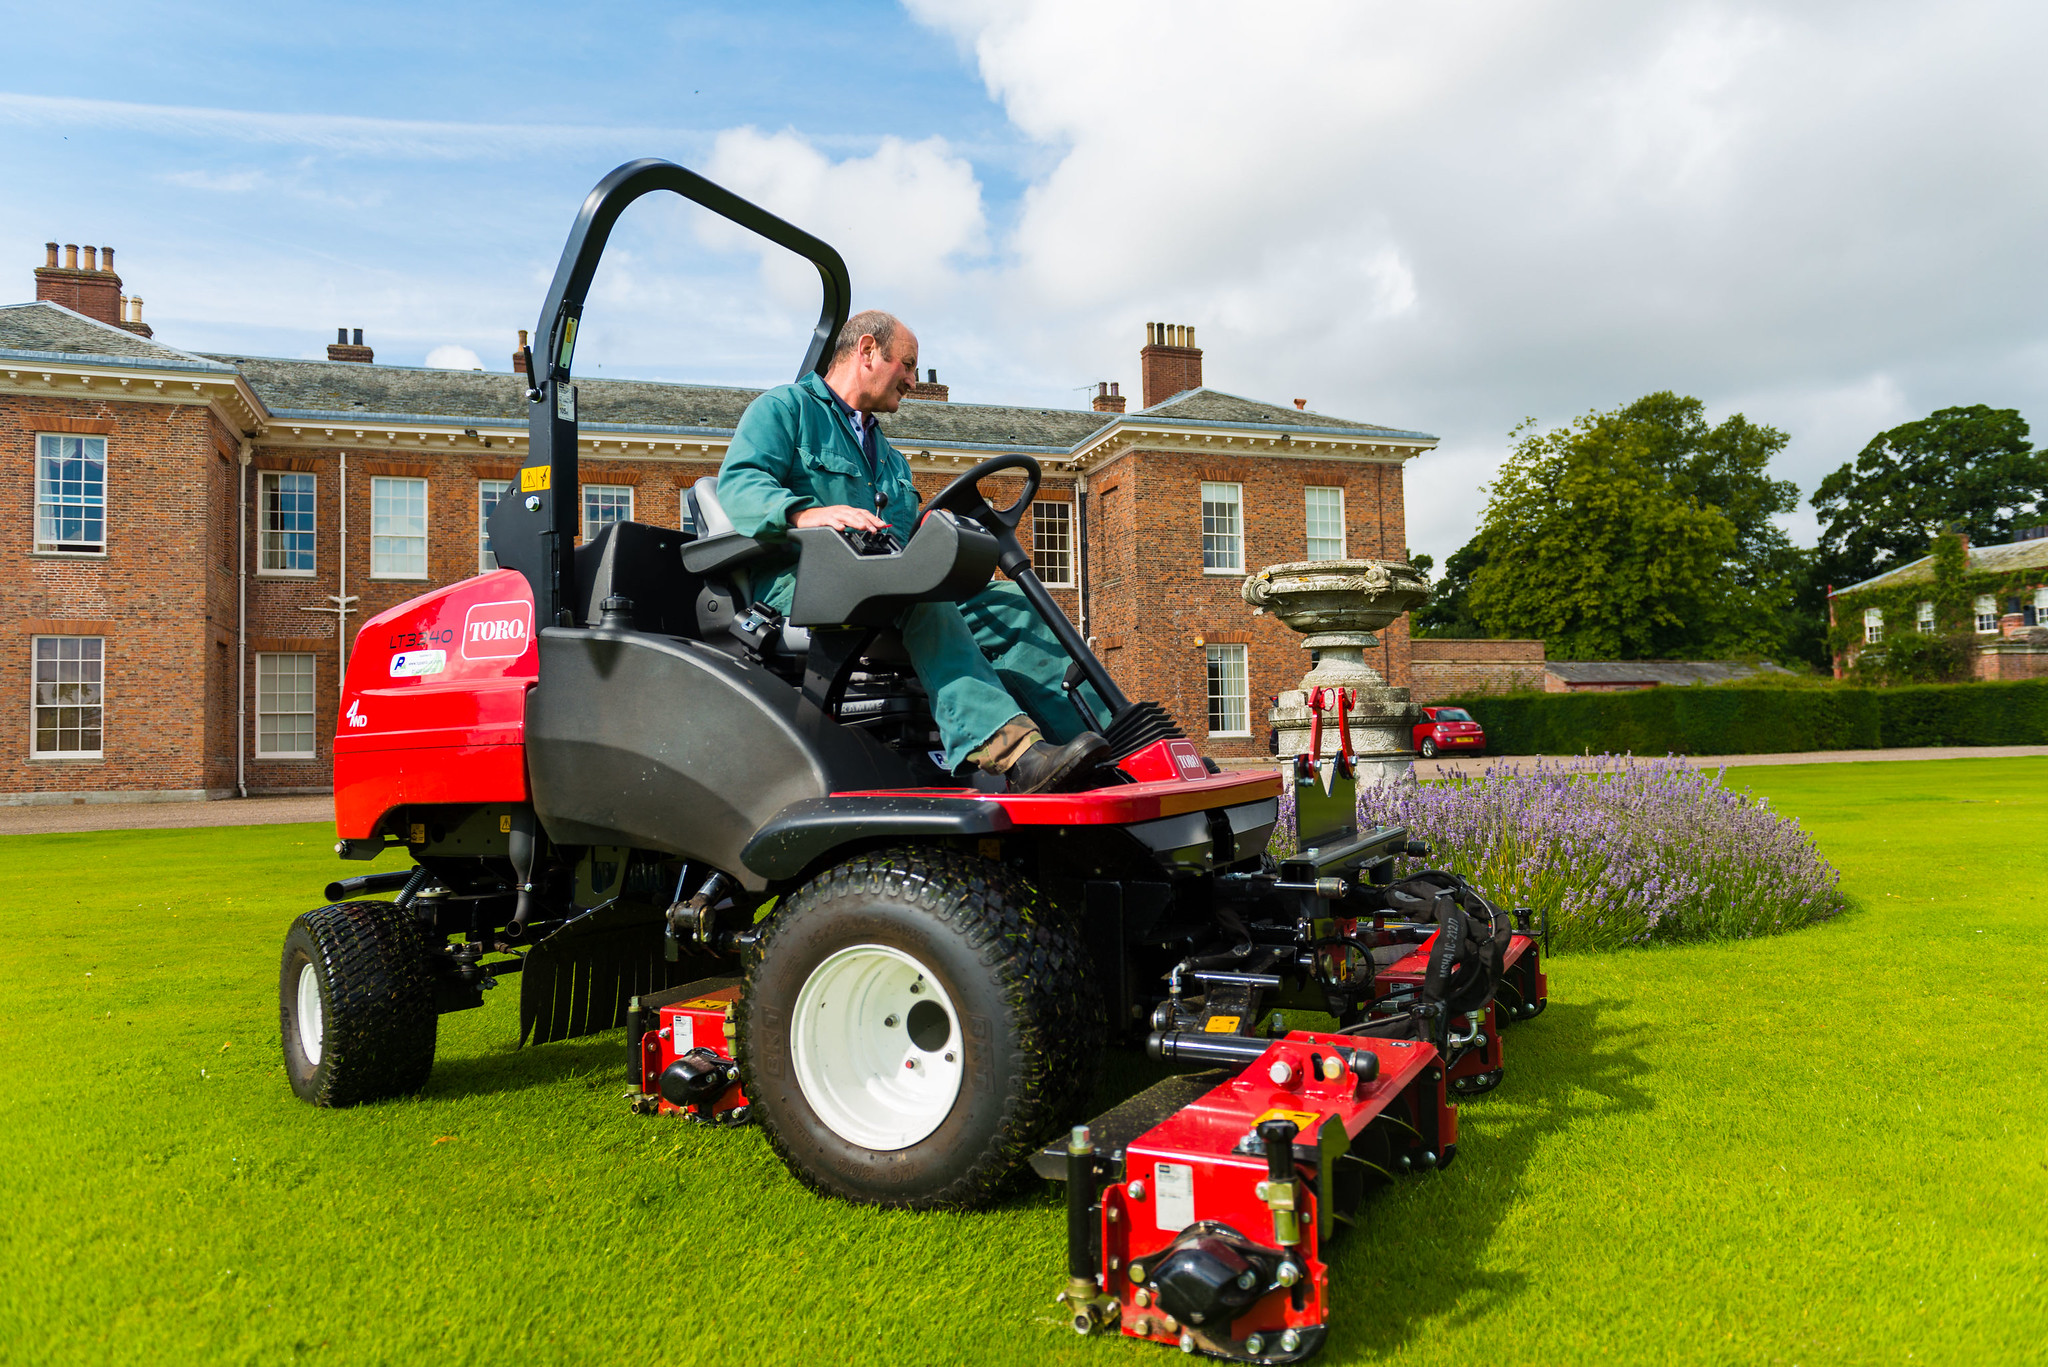
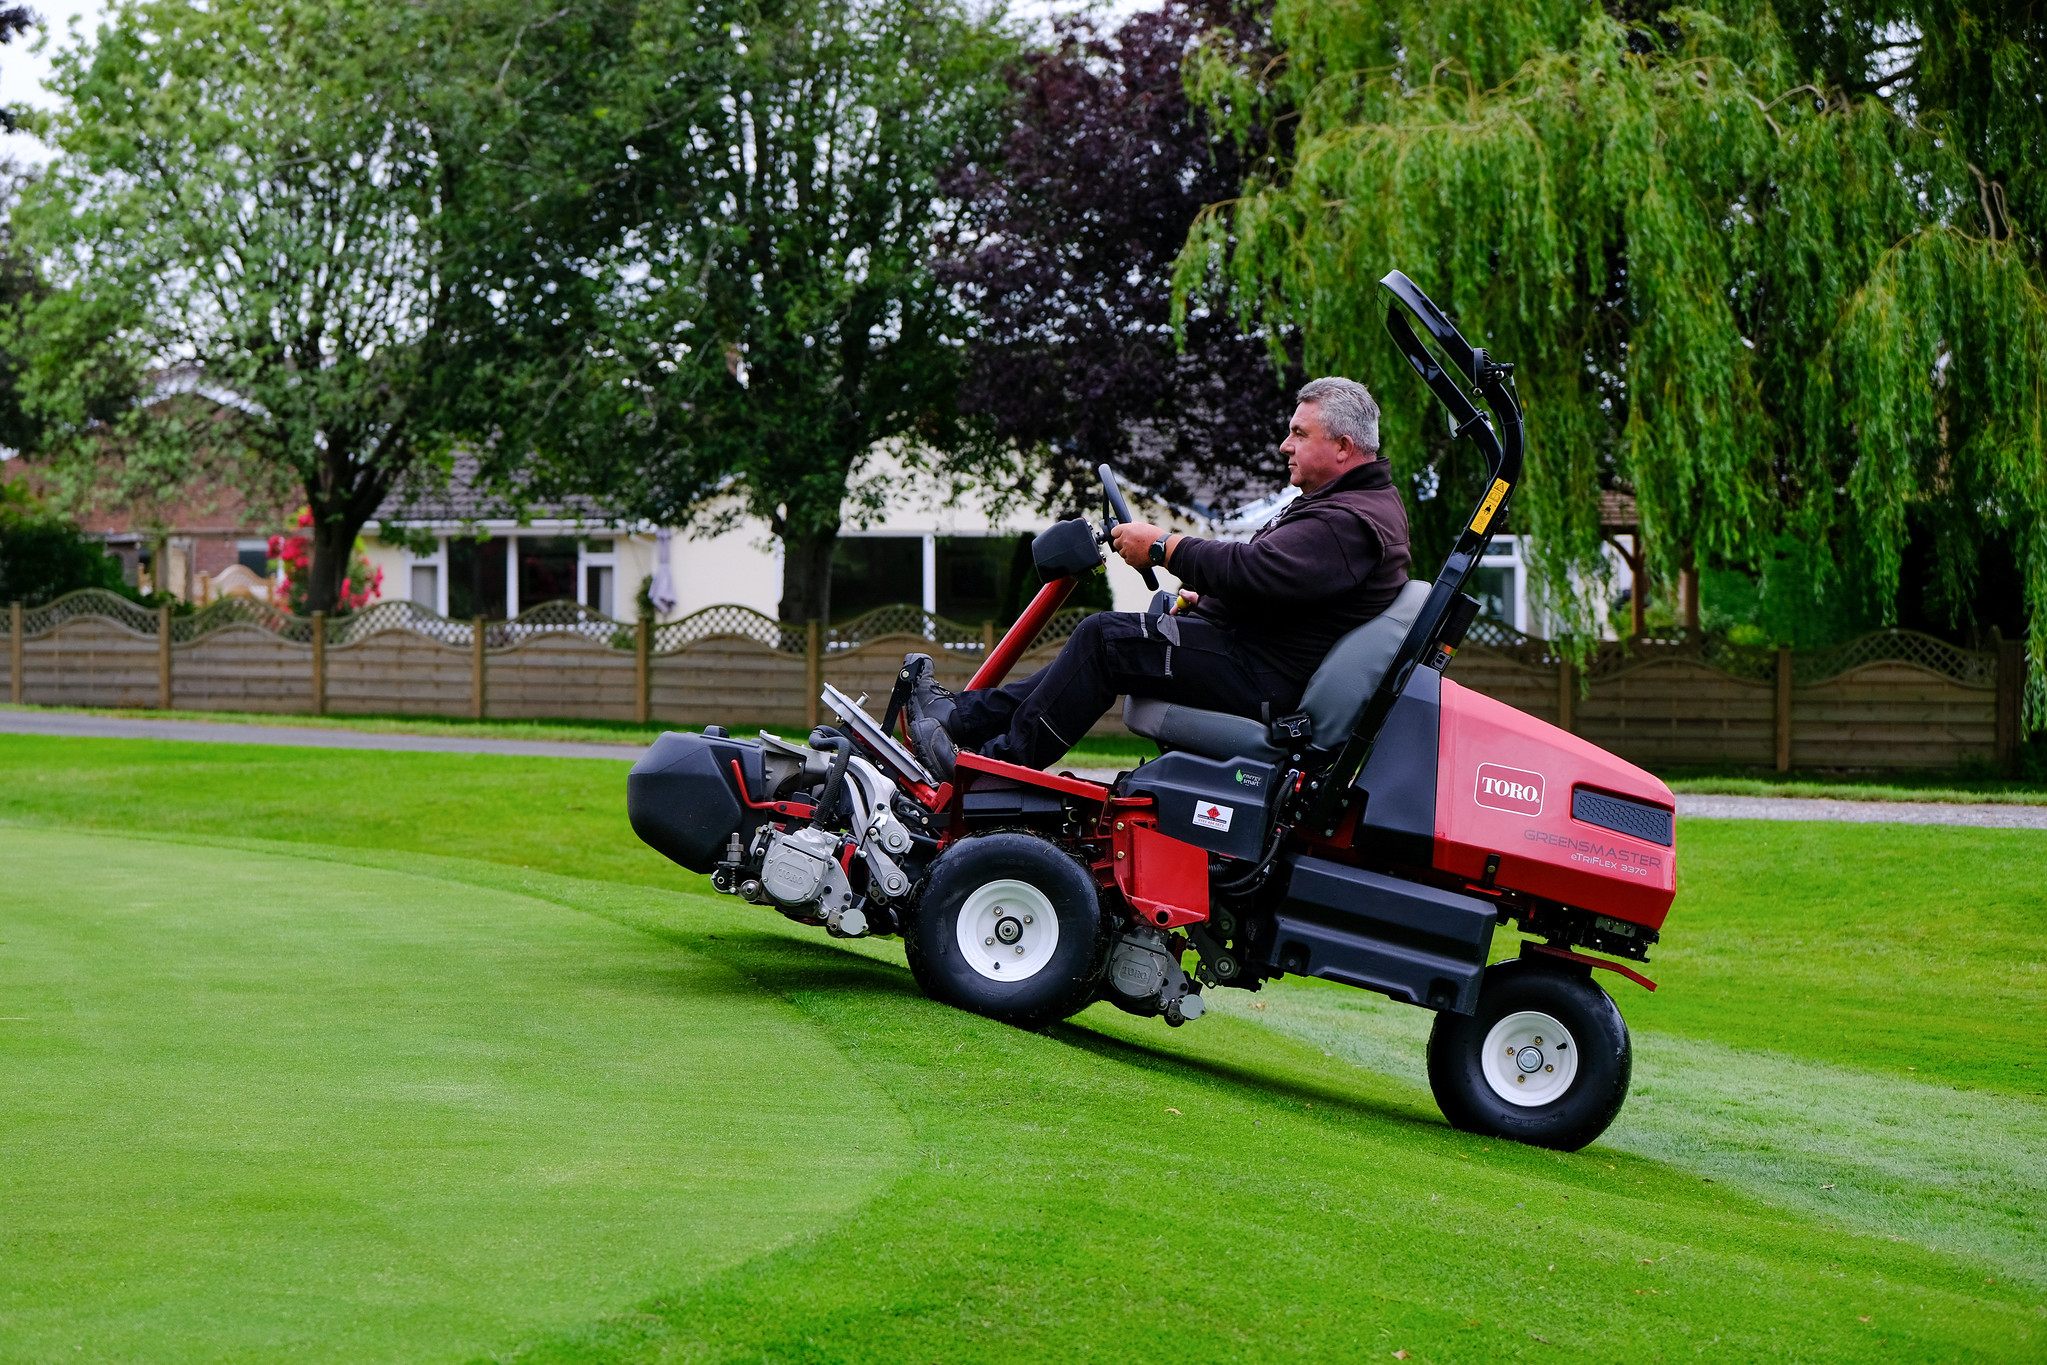
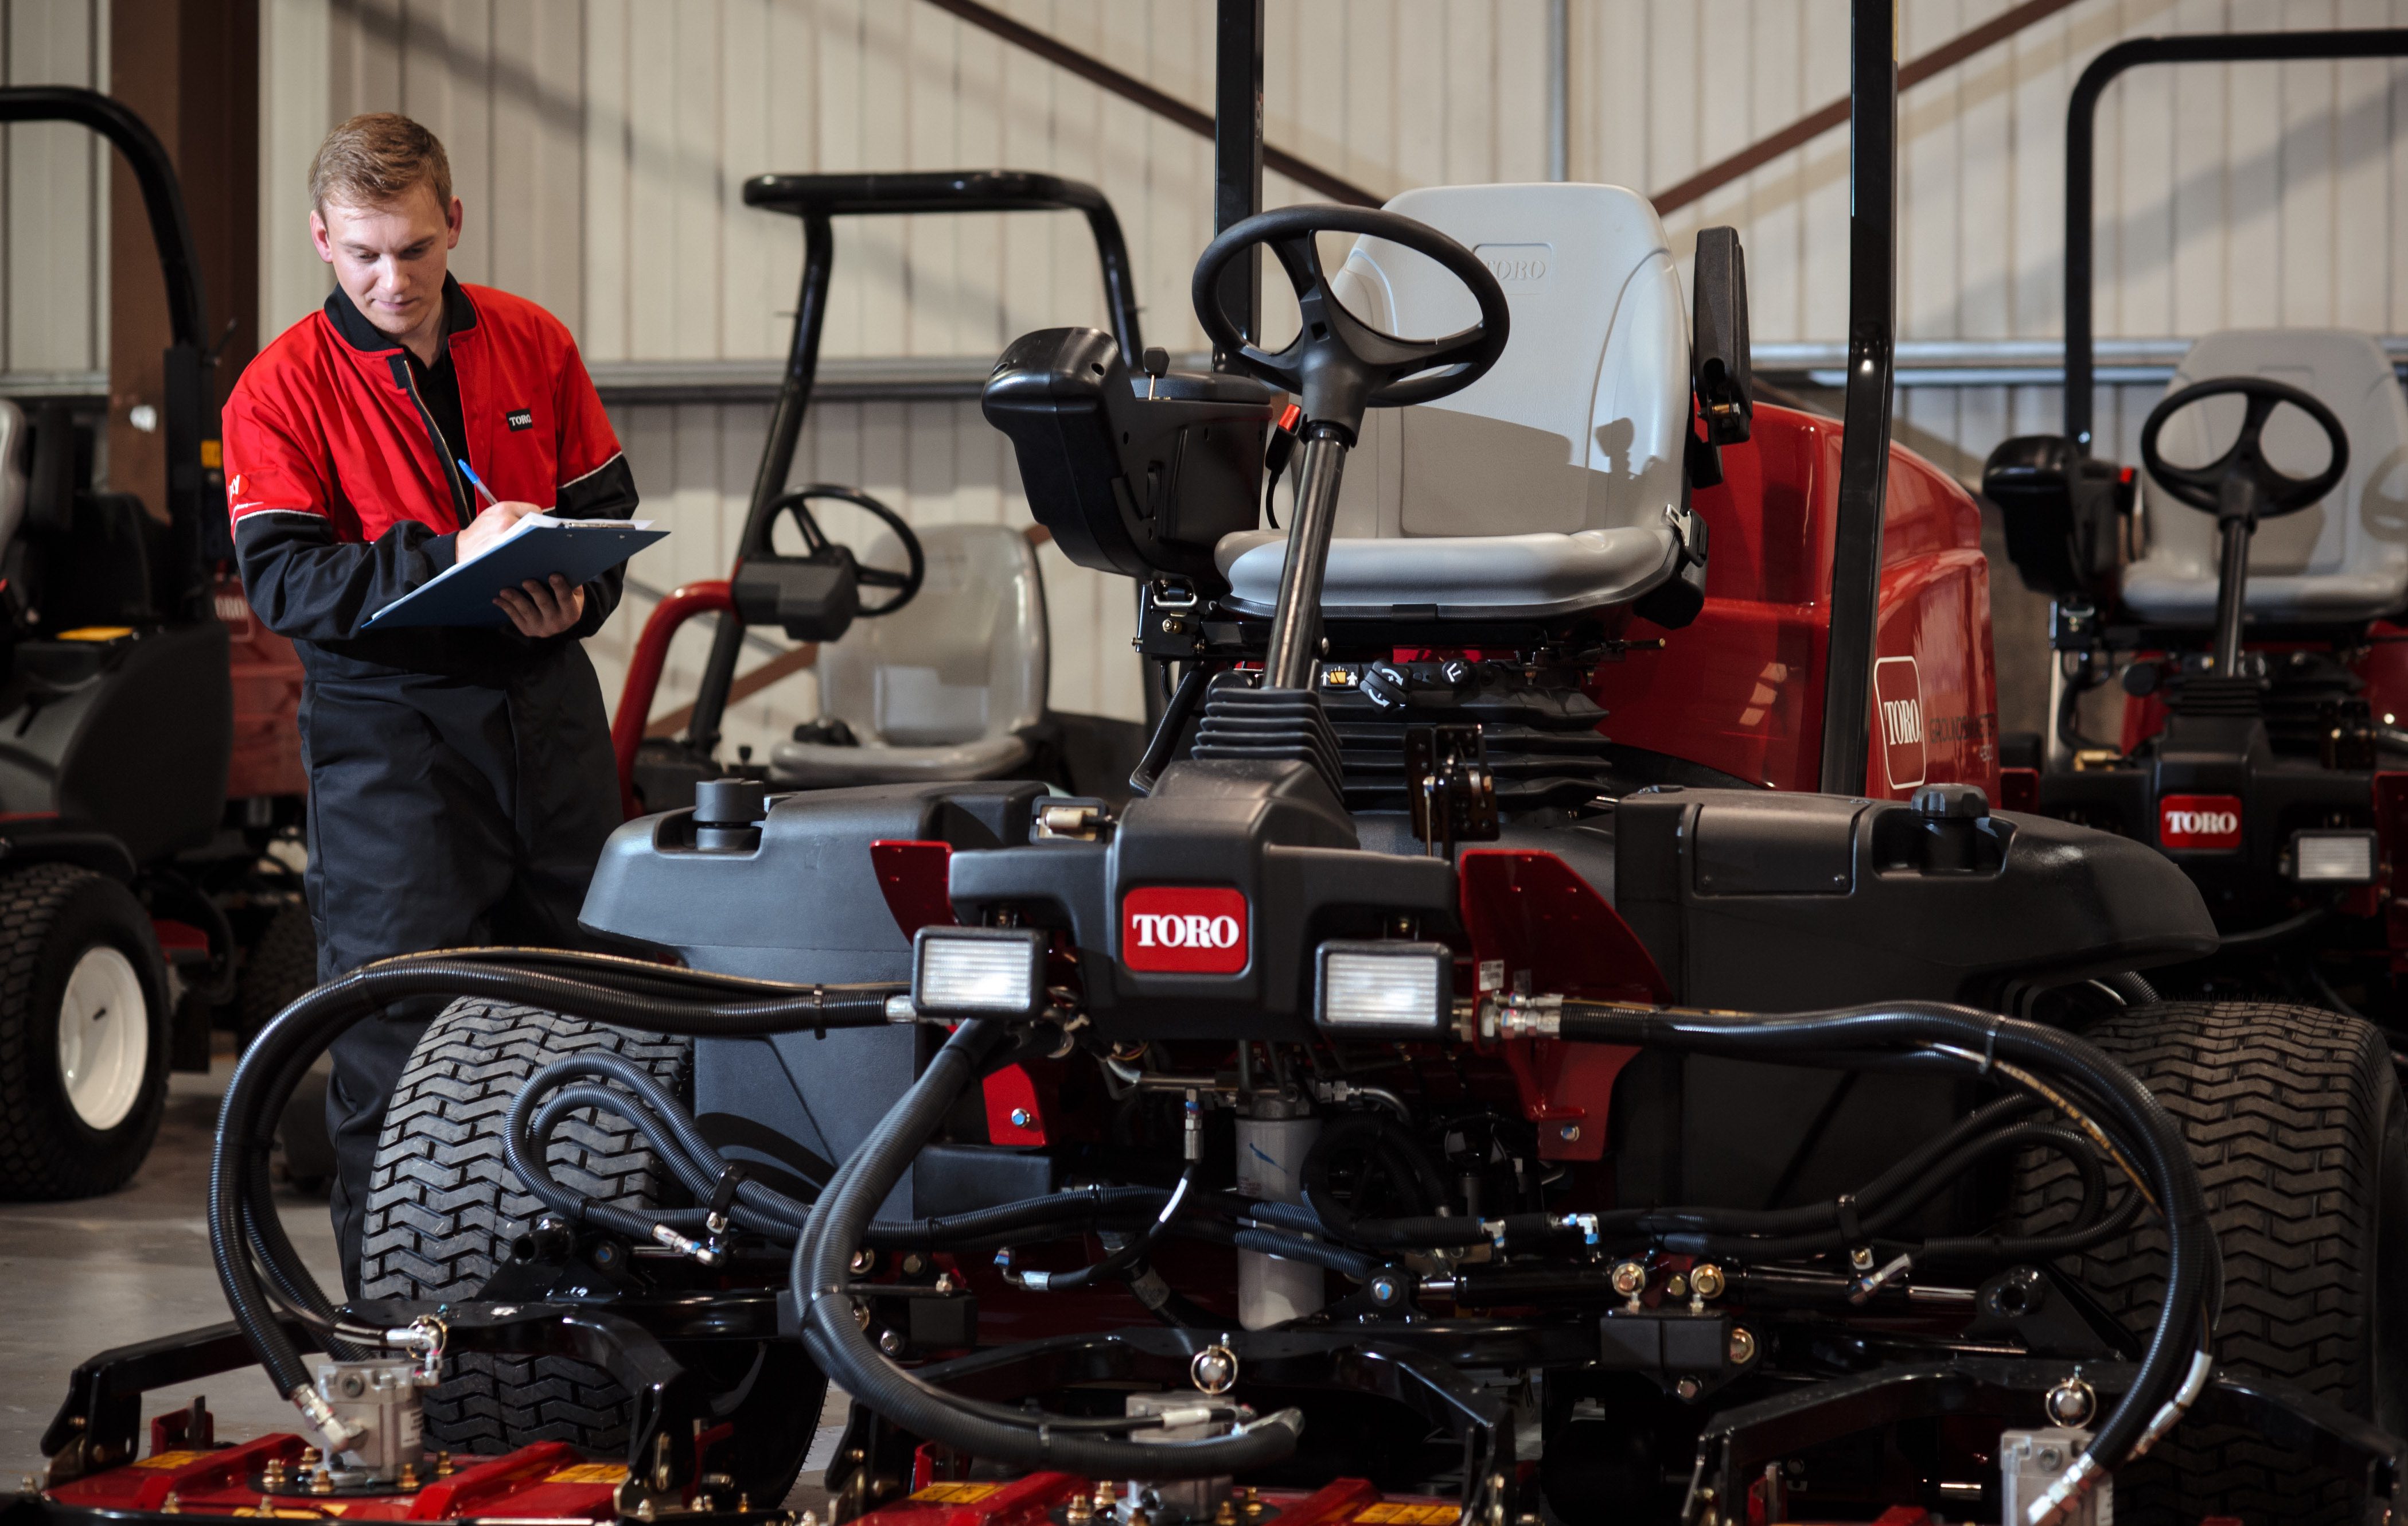
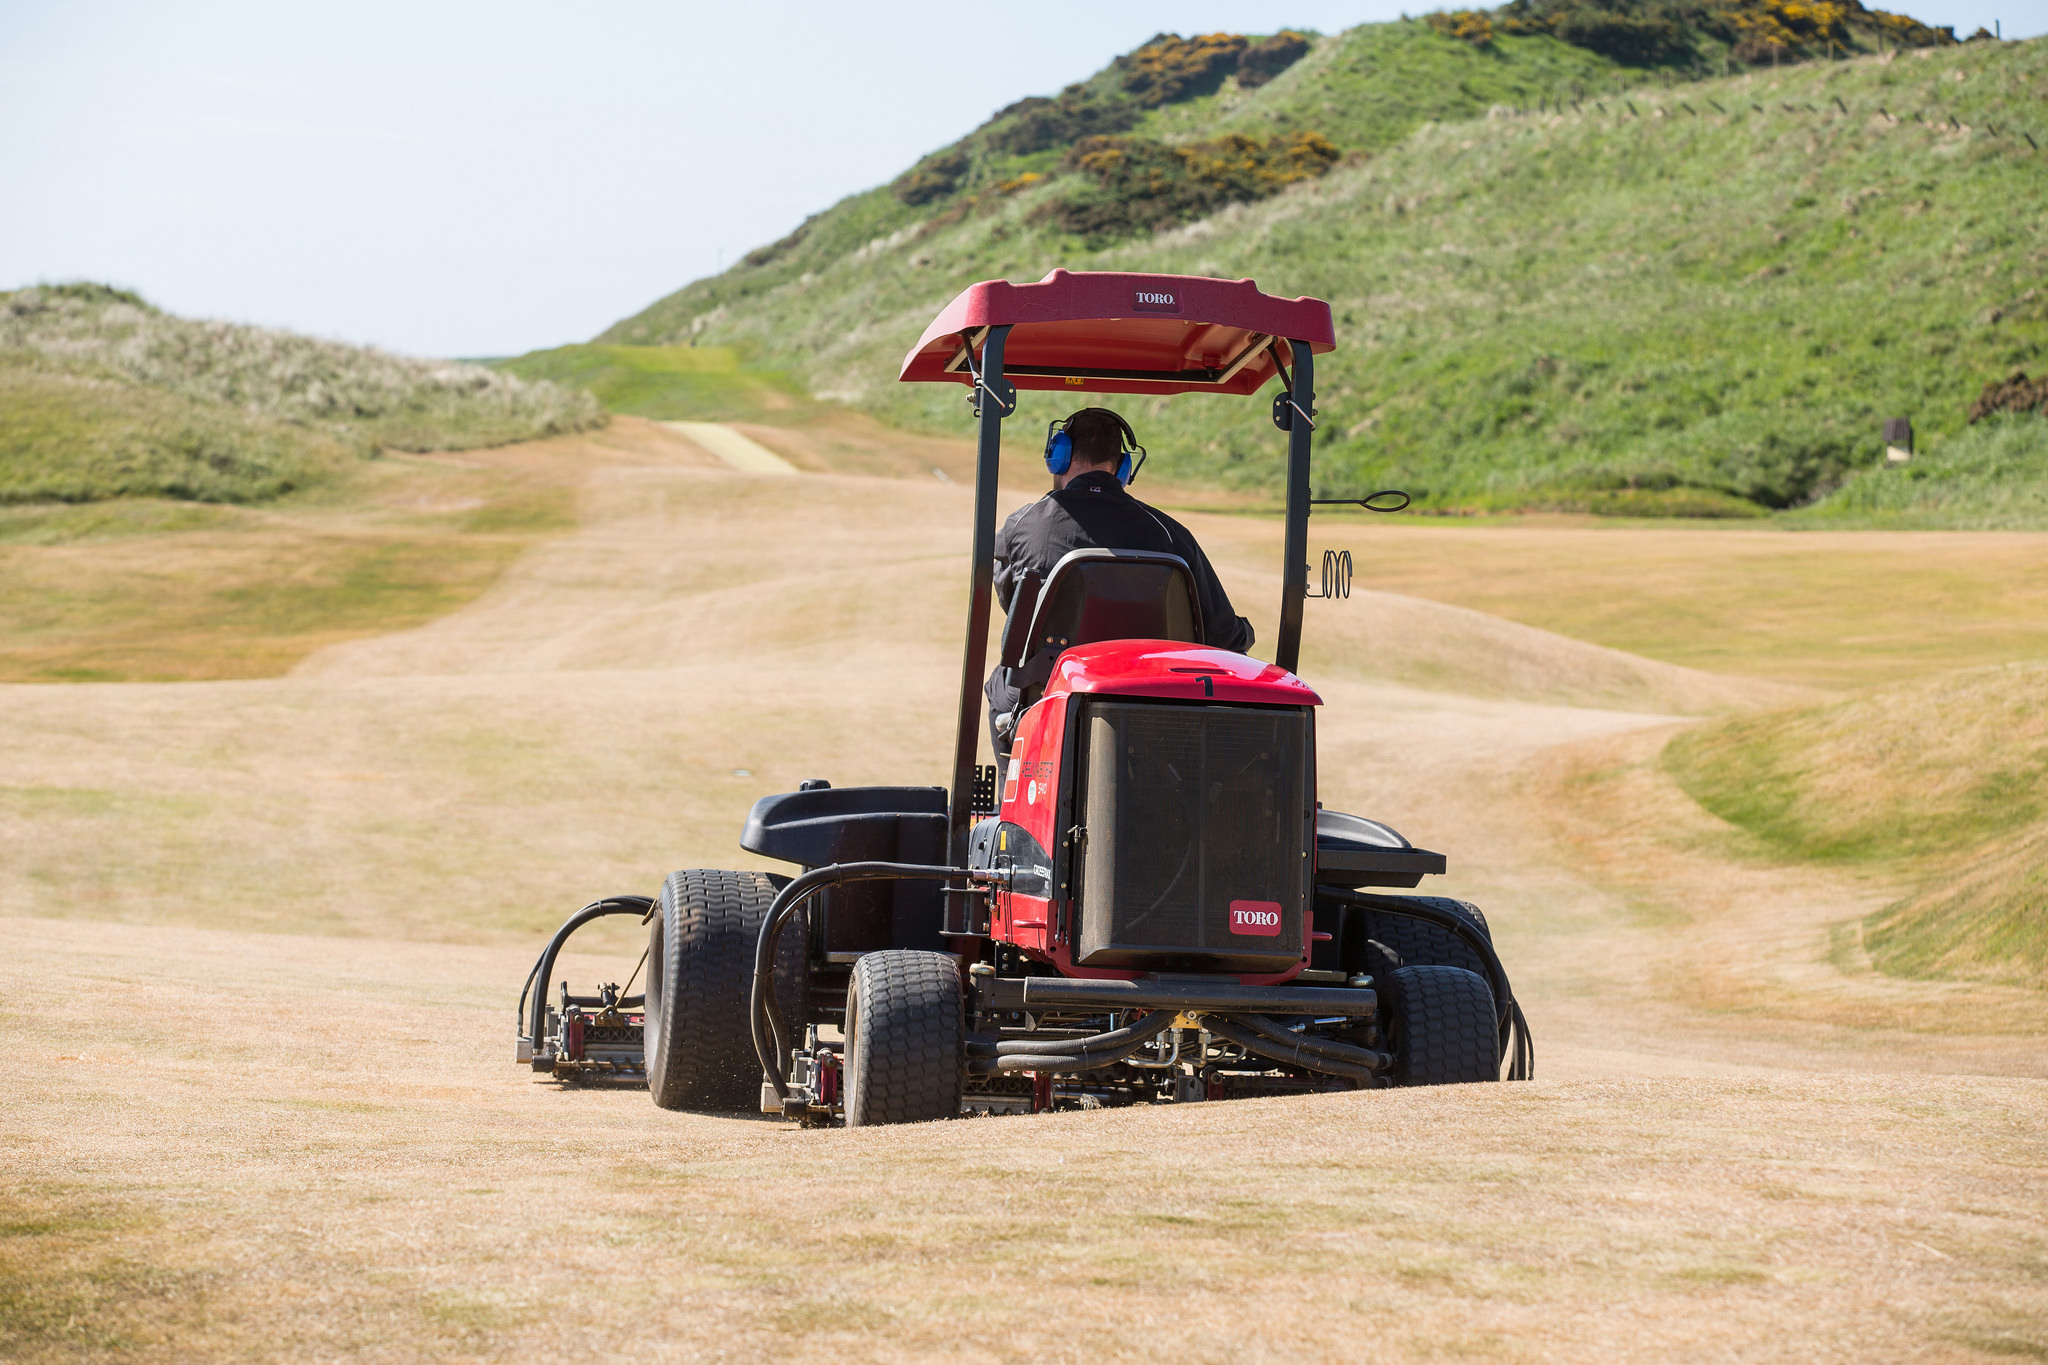
Attention to the upkeep and efficiency of machinery is an accepted, essential part of general best practice management; it ensures best quality of cut at all times and helps extend the life of the machine. Just as careful monitoring of a machine’s performance will help to identify individual problems due to faults or poor maintenance, effective irrigation is a maintenance must, but many persevere with problems.
Routine irrigation inspections are as important as any other aspect of professional turf maintenance and allow you to take control of any issues, providing the opportunity to correct them before they turn into bigger, more costly problems. The consequences can vary from a component frustratingly having to be replaced before it needs to or, worst-case scenario, lots of downtime and large costs renovating or refitting the entire system prematurely.
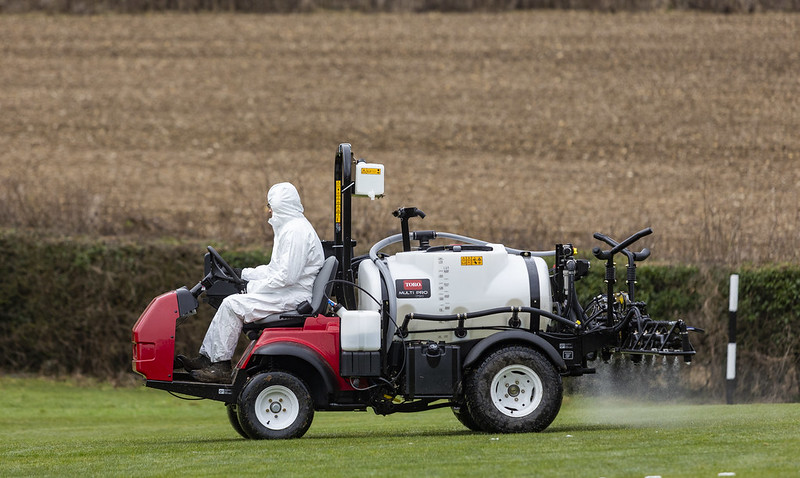
Water is a tool of the job and just like any other tool can cause damage if misused or not applied properly.
In my experience, having a checklist breaks down what could otherwise be a pretty big job into more manageable tasks. Having note of all the aspects requiring careful and consistent monitoring and ticking them off as you go along, incorporates irrigation maintenance into a routine.
Visual checks
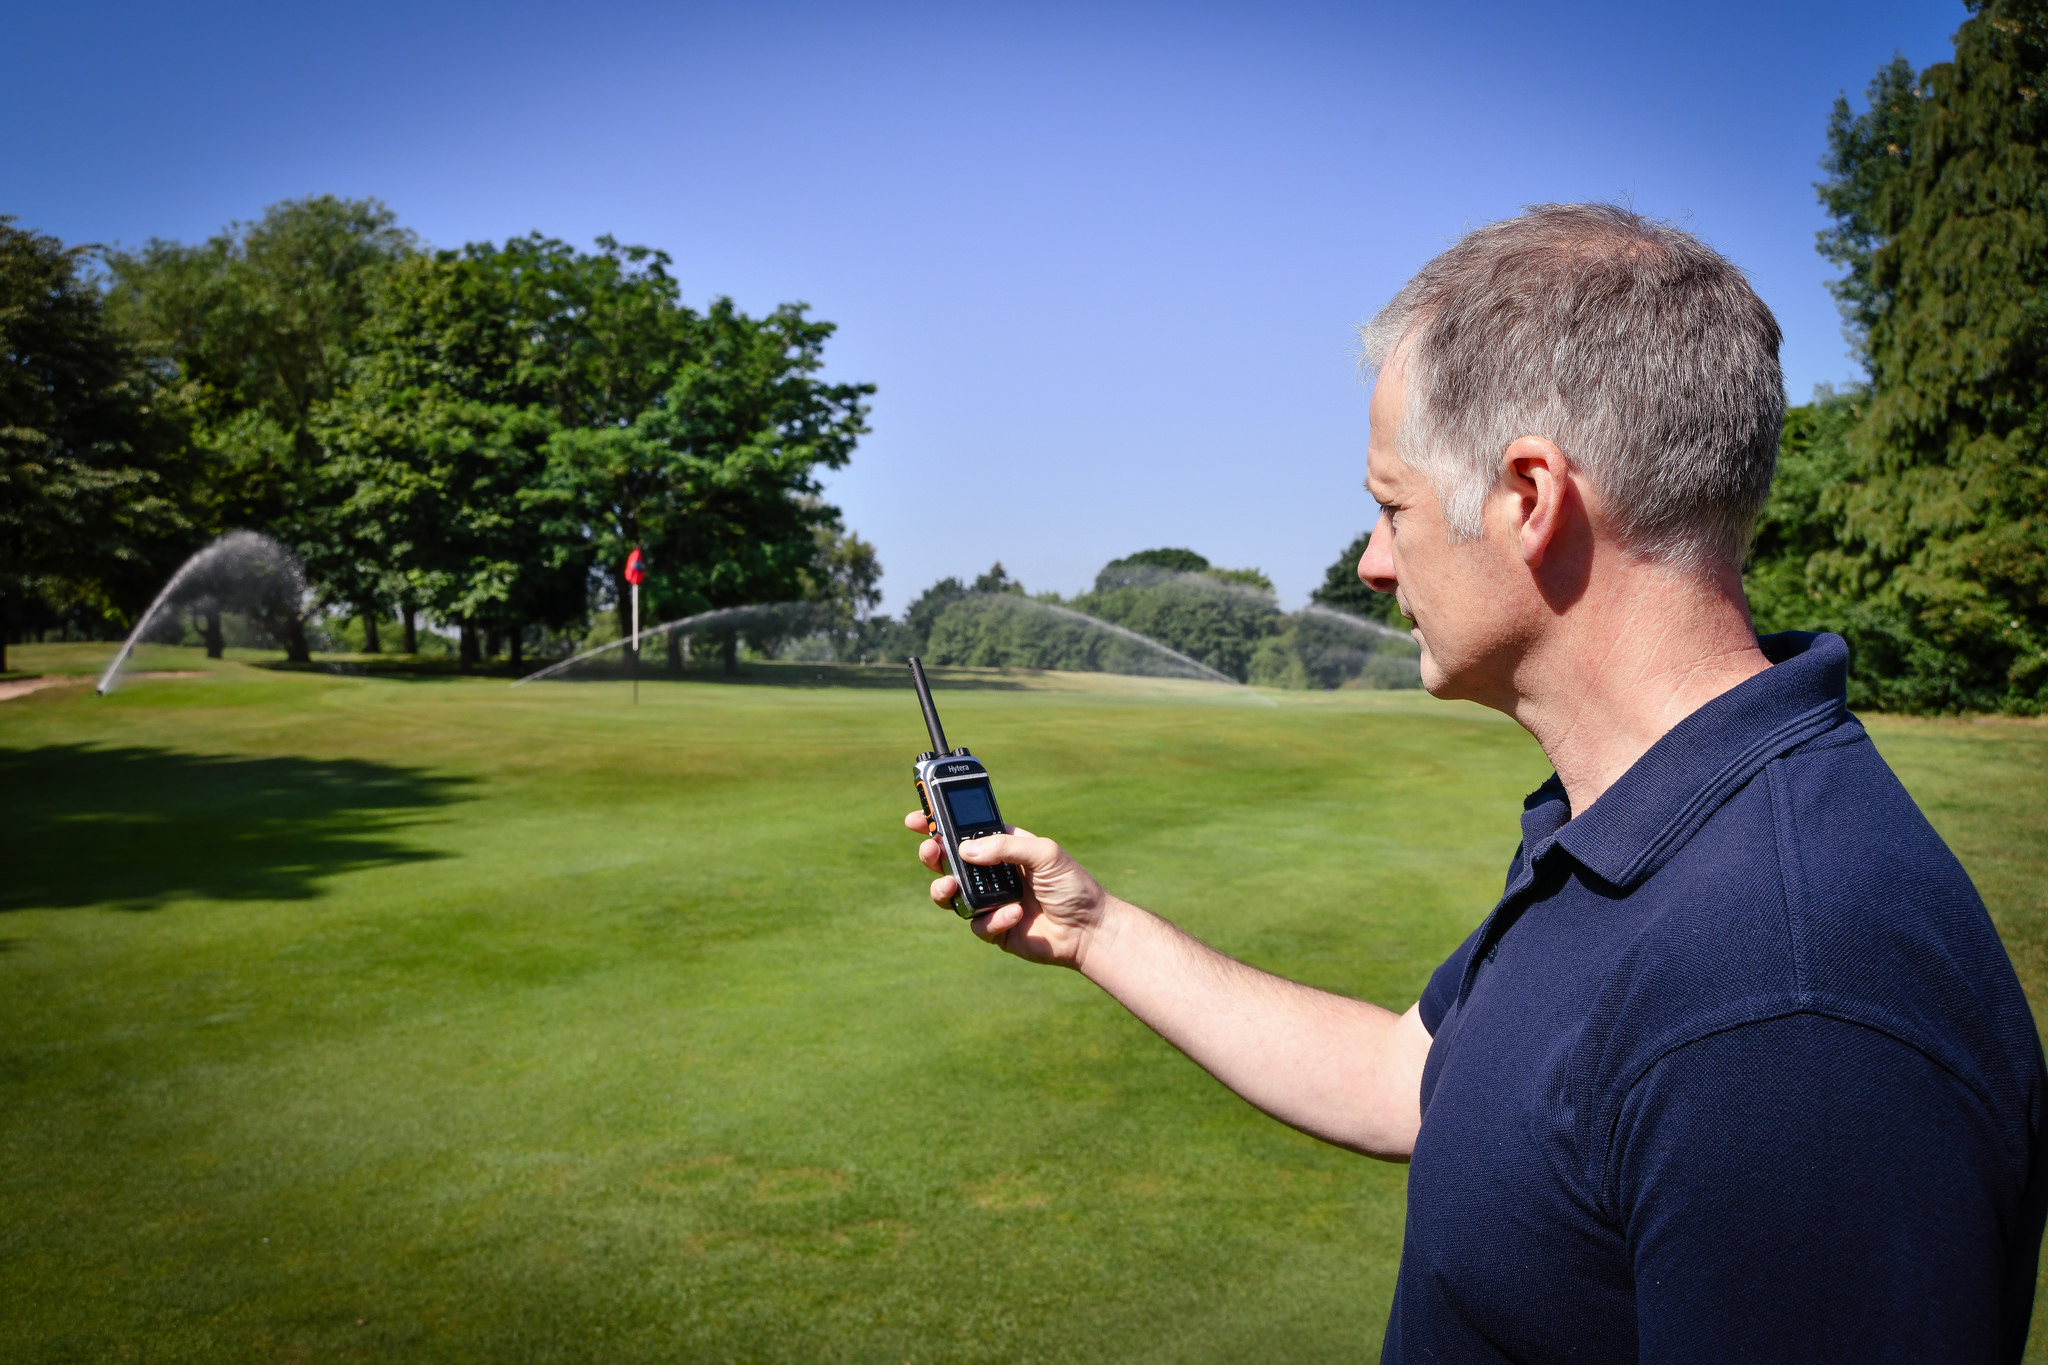
It’s best to look at the overall performance of your irrigation system throughout the season on a weekly basis minimum, but this can be a big job and one often shared with the grounds/greens team contributing, checking the turf while they mow, taking pictures, and reporting back any issues.
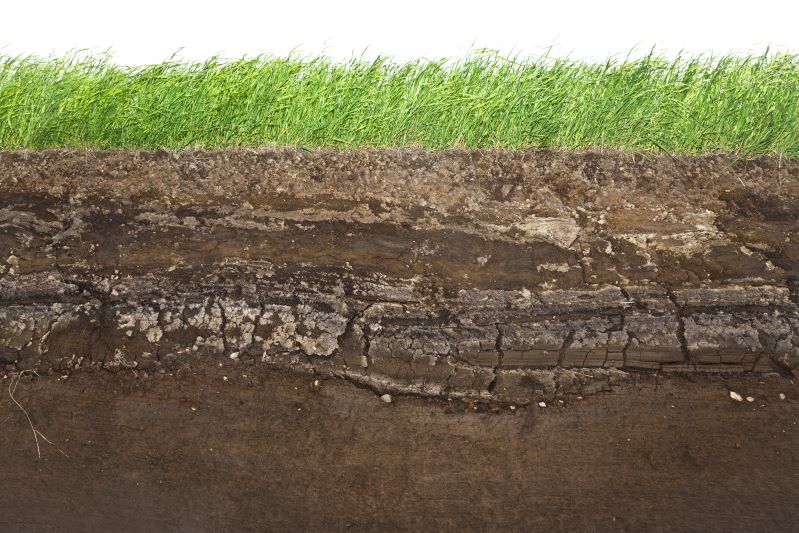
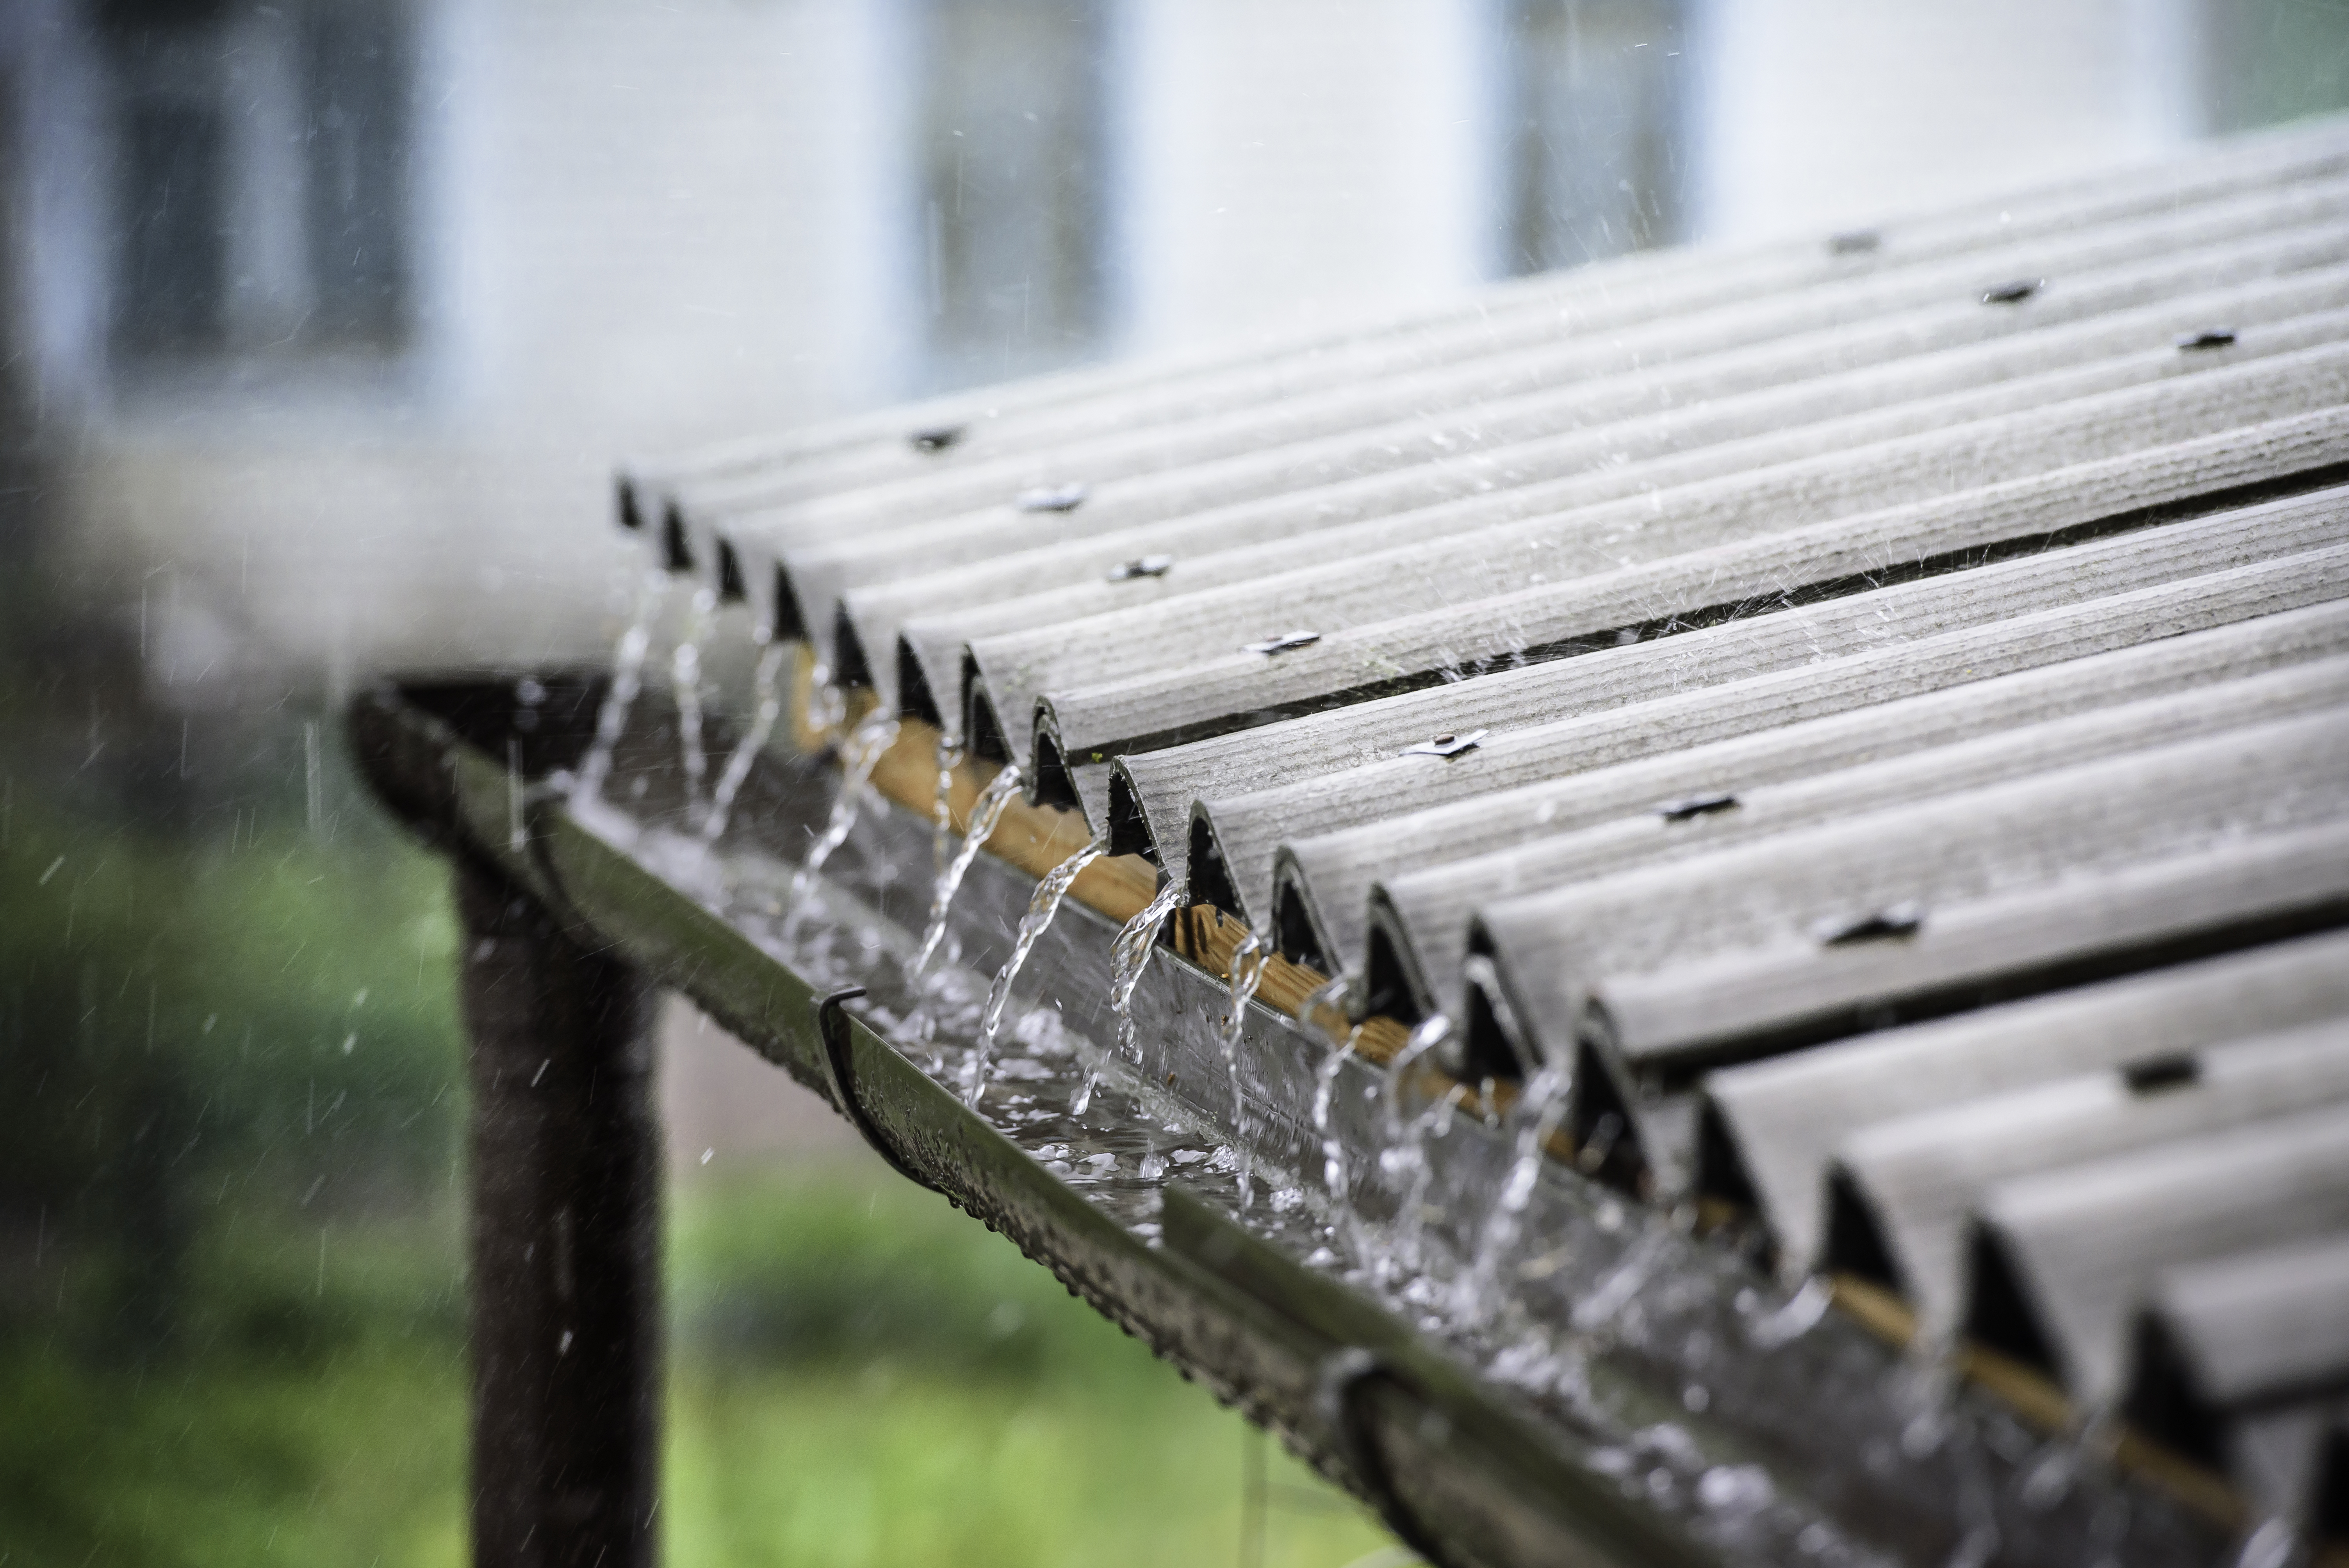
The first signs that an irrigation system is experiencing problems are mainly visual - dry patches, soggy turf, run-off and areas of pooling, for example. A few years ago I visited a golf club that thought it had sprinkler performance issues; when I arrived I saw a green stripe of turf running along where the course’s mainline would be, in contrast to some surrounding brown areas, which immediately suggested the problem wasn’t the sprinklers, but a leak in the pipework.
Flushing the system
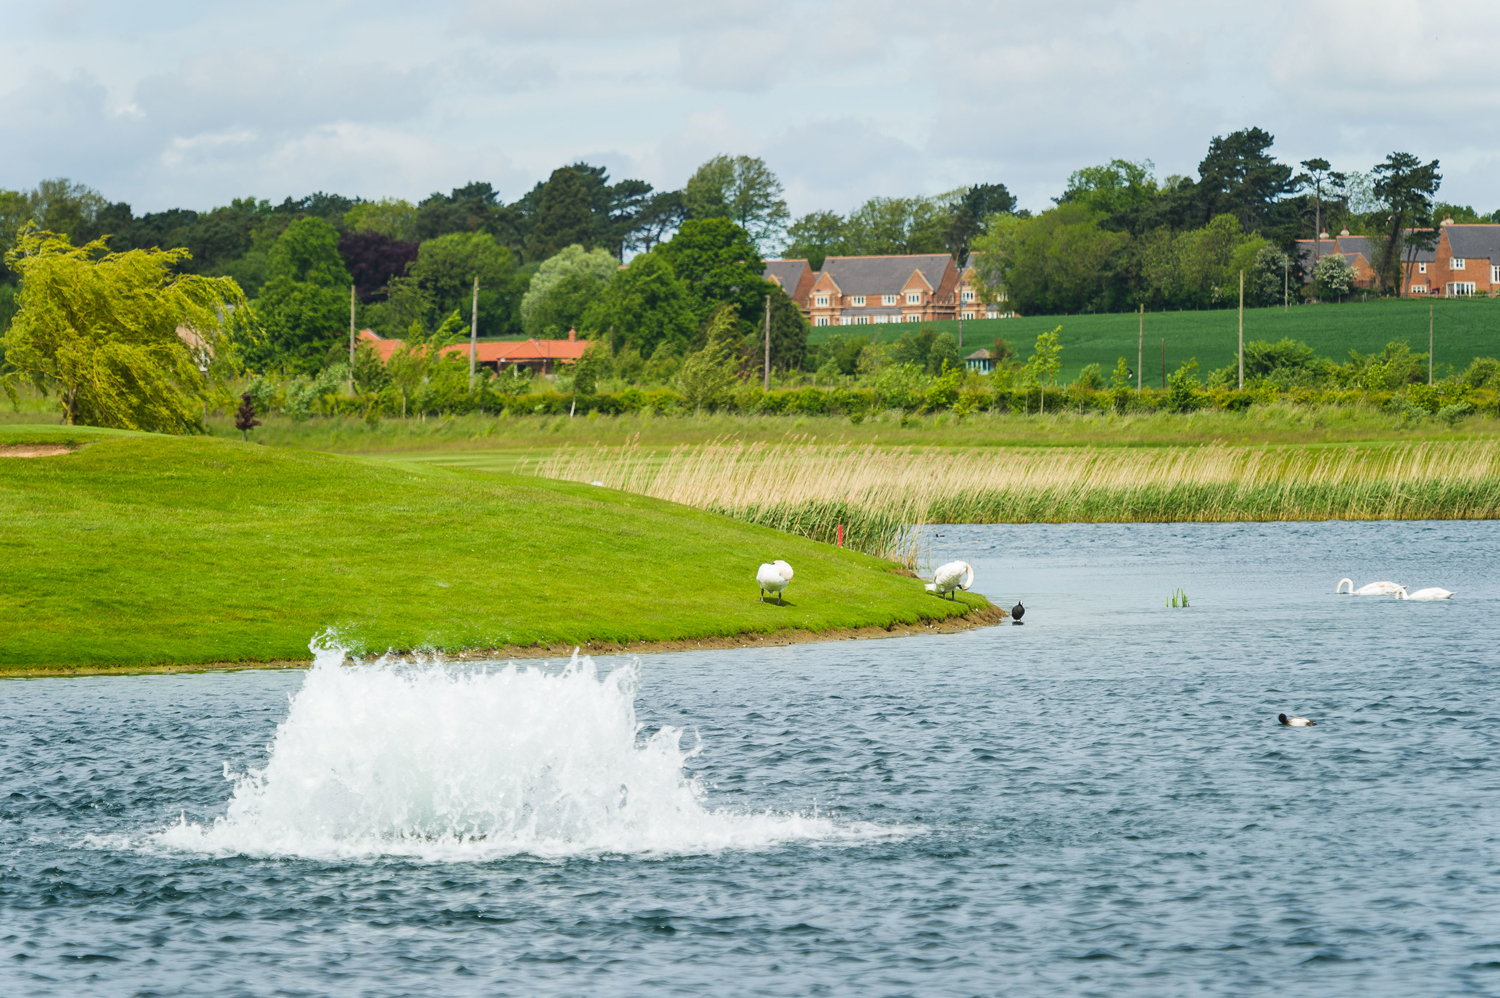
Flushing the system prevents clogging and reduces the accumulation of pollutants such as stagnant water, sand or soil. Flushing involves opening the valves in the mainline, sub-main line or laterals while under pressure. With the increase in water flow velocity pollutants are pushed out of the system. The system should be flushed at regular intervals and frequency depends on the water quality and the age of the system, but I’d certainly aim to do this at the start of spring after the cold weather ready for the new season.
Pipes
The best way to establish if you’ve got a leaking pipe is to perform a pressure test on the mains. Switch everything off and pressurise the mains network to see how long the pressure lasts in the system. If there’s a leak, or serious fracture, you’ll see the pressure drop quickly. For those with a non-pressurised system, where sprinklers are not performing as well as you’d expect them to while the pumps are working flat-out, that’s indicative of a problem somewhere, too.
If you have had a burst, once fixed, it’s important to flush that section of the pipework extensively to prevent any pollutants travelling through the system, potentially causing further blockages. Similarly if you have a new system, flushing before operating will eliminate any installation reminants and shavings from the pipework.
Seasonal checks
It’s easy with an irrigation system to fall into the trap of out of sight out of mind; but regular checking is important for the longevity and ‘health’ of your system. It goes without saying that you wouldn’t expect your machinery to run well if you hadn’t changed the oil for ten years, so it’s a good idea, similarly to winter and spring machinery maintenance, to give your irrigation system a thorough seasonal check. It’s the equivalent to giving your irrigation system a good MOT, giving you the confidence that your system is fit for purpose.
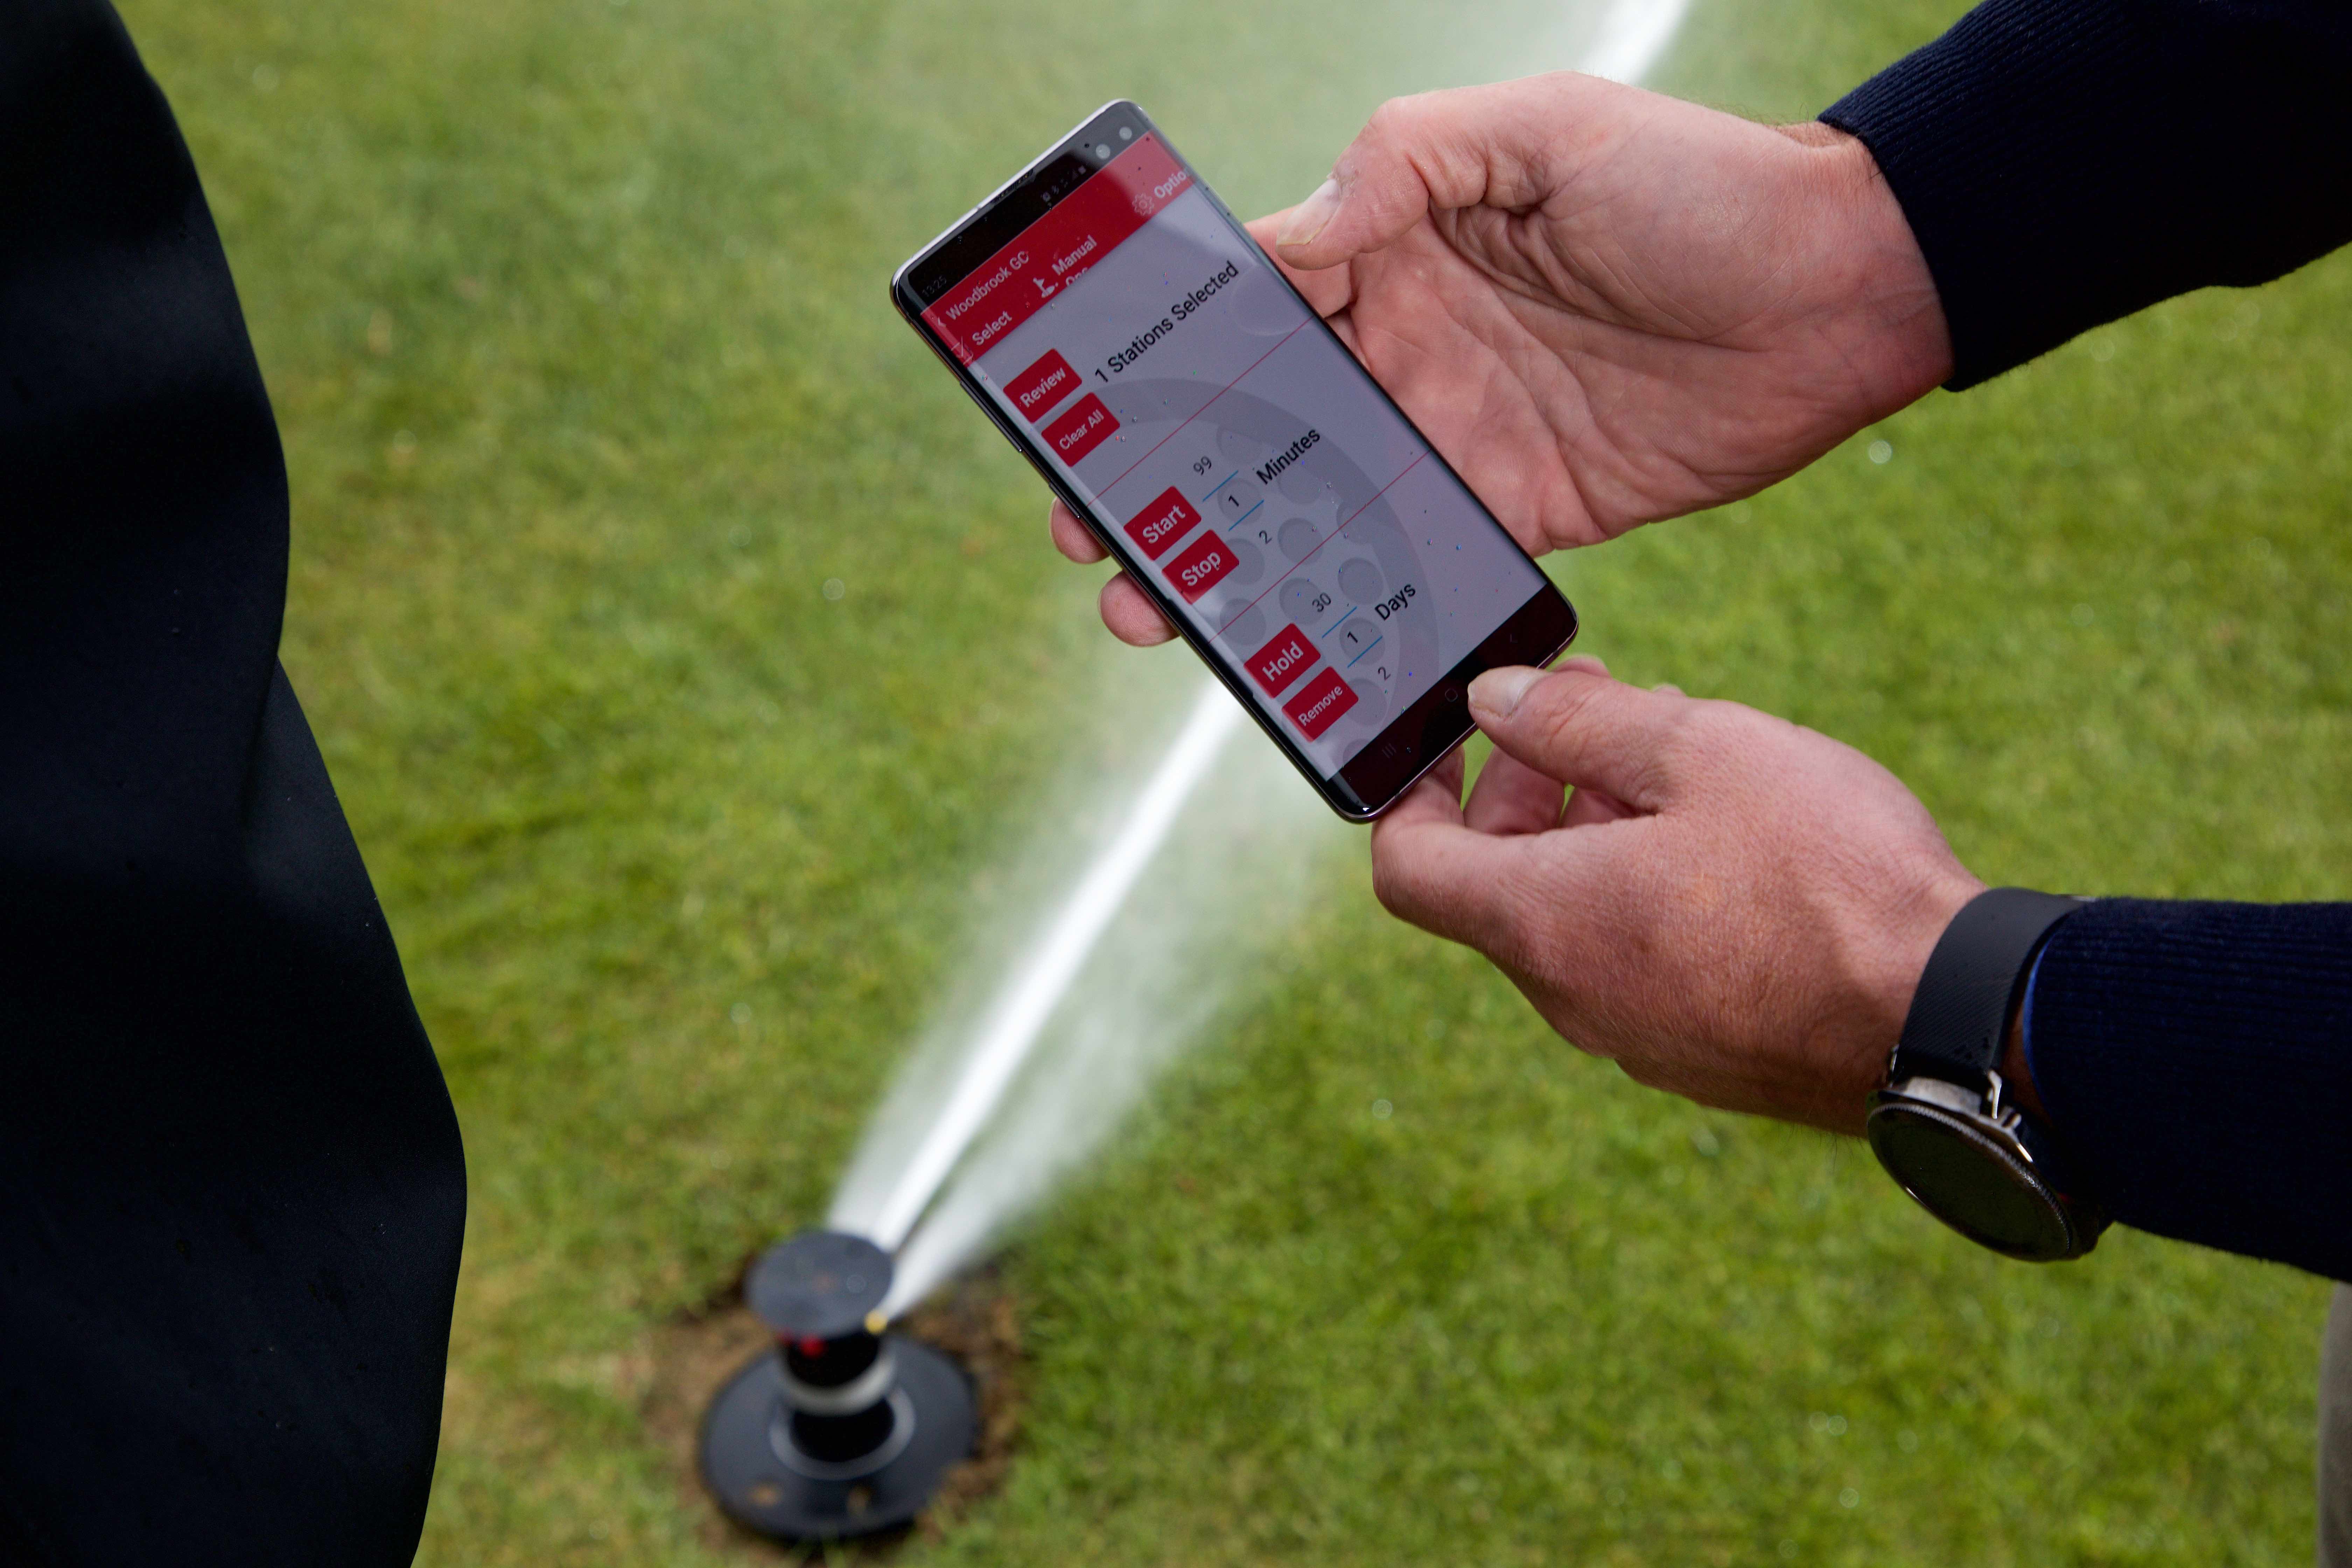
Irrigation Wall Mounted Controllers
First of all check the displays. If incorrect information is showing, that could identify a recent power surge or outage, while no display at all indicates a problem with the wiring, or it could be as simple as a blown fuse.
You may have been alerted to an issue because the water cycle is repeating, the lawn is not watered, one zone does not function or there’s no water to one or all of the zones. Our handy chart on Controllers indicates possible causes for all these scenarios and solutions – see the tables below.
| WATERING CYCLE REPEATS | |
| CAUSE | SOLUTION |
| Multiple start times set |
Check program and turn off all but one start time |
| Season adjust is set at more than 100% | Reset Season Adjust |
| FUSES BLOW REGULARLY | |
| CAUSE | SOLUTION |
| Faulty valve solenoid | Replace solenoid |
| Damaged or shorted wiring | Inspect and repair wire |
| Faulty timer | Replace timer |
| LED DISPLAY IS BLANK | |
| CAUSE | SOLUTION |
|
No power to timer |
Check outlet for power |
|
Faulty transformer |
Replace transformer |
|
Blown fuse |
See above (fuses) |
| LAWN IS NOT WATERED | |
| CAUSE | SOLUTION |
| Timer is off | Turn timer on |
| Blown fuse | See above (fuses) |
| Damaged timer / valve wiring | Repair wire |
| Faulty transformer, timer or rain sensor device | Replace timer, sensor or transformer |
| Program incorrect | Check timer program |
| ONE ZONE DOES NOT FUNCTION | |
| CAUSE | SOLUTION |
| Damaged wiring at timer or one manifold | Repair wiring |
| NO WATER TO ONE OR ALL ZONES | |
| CAUSE | SOLUTION |
| Damaged wiring at timer and zone | Repair wire |
If the system is ramping up all the time with the pumps switching on and off, or in an older system if the pressure keeps dropping, these signs generally indicate a leak or burst and if that’s the case speed is of the essence to get it fixed and minimise expense. The energy cost of the system continuously bringing in the pumps, plus paying for wasted water at, say, £1.75 per cubic metre, will soon add up.
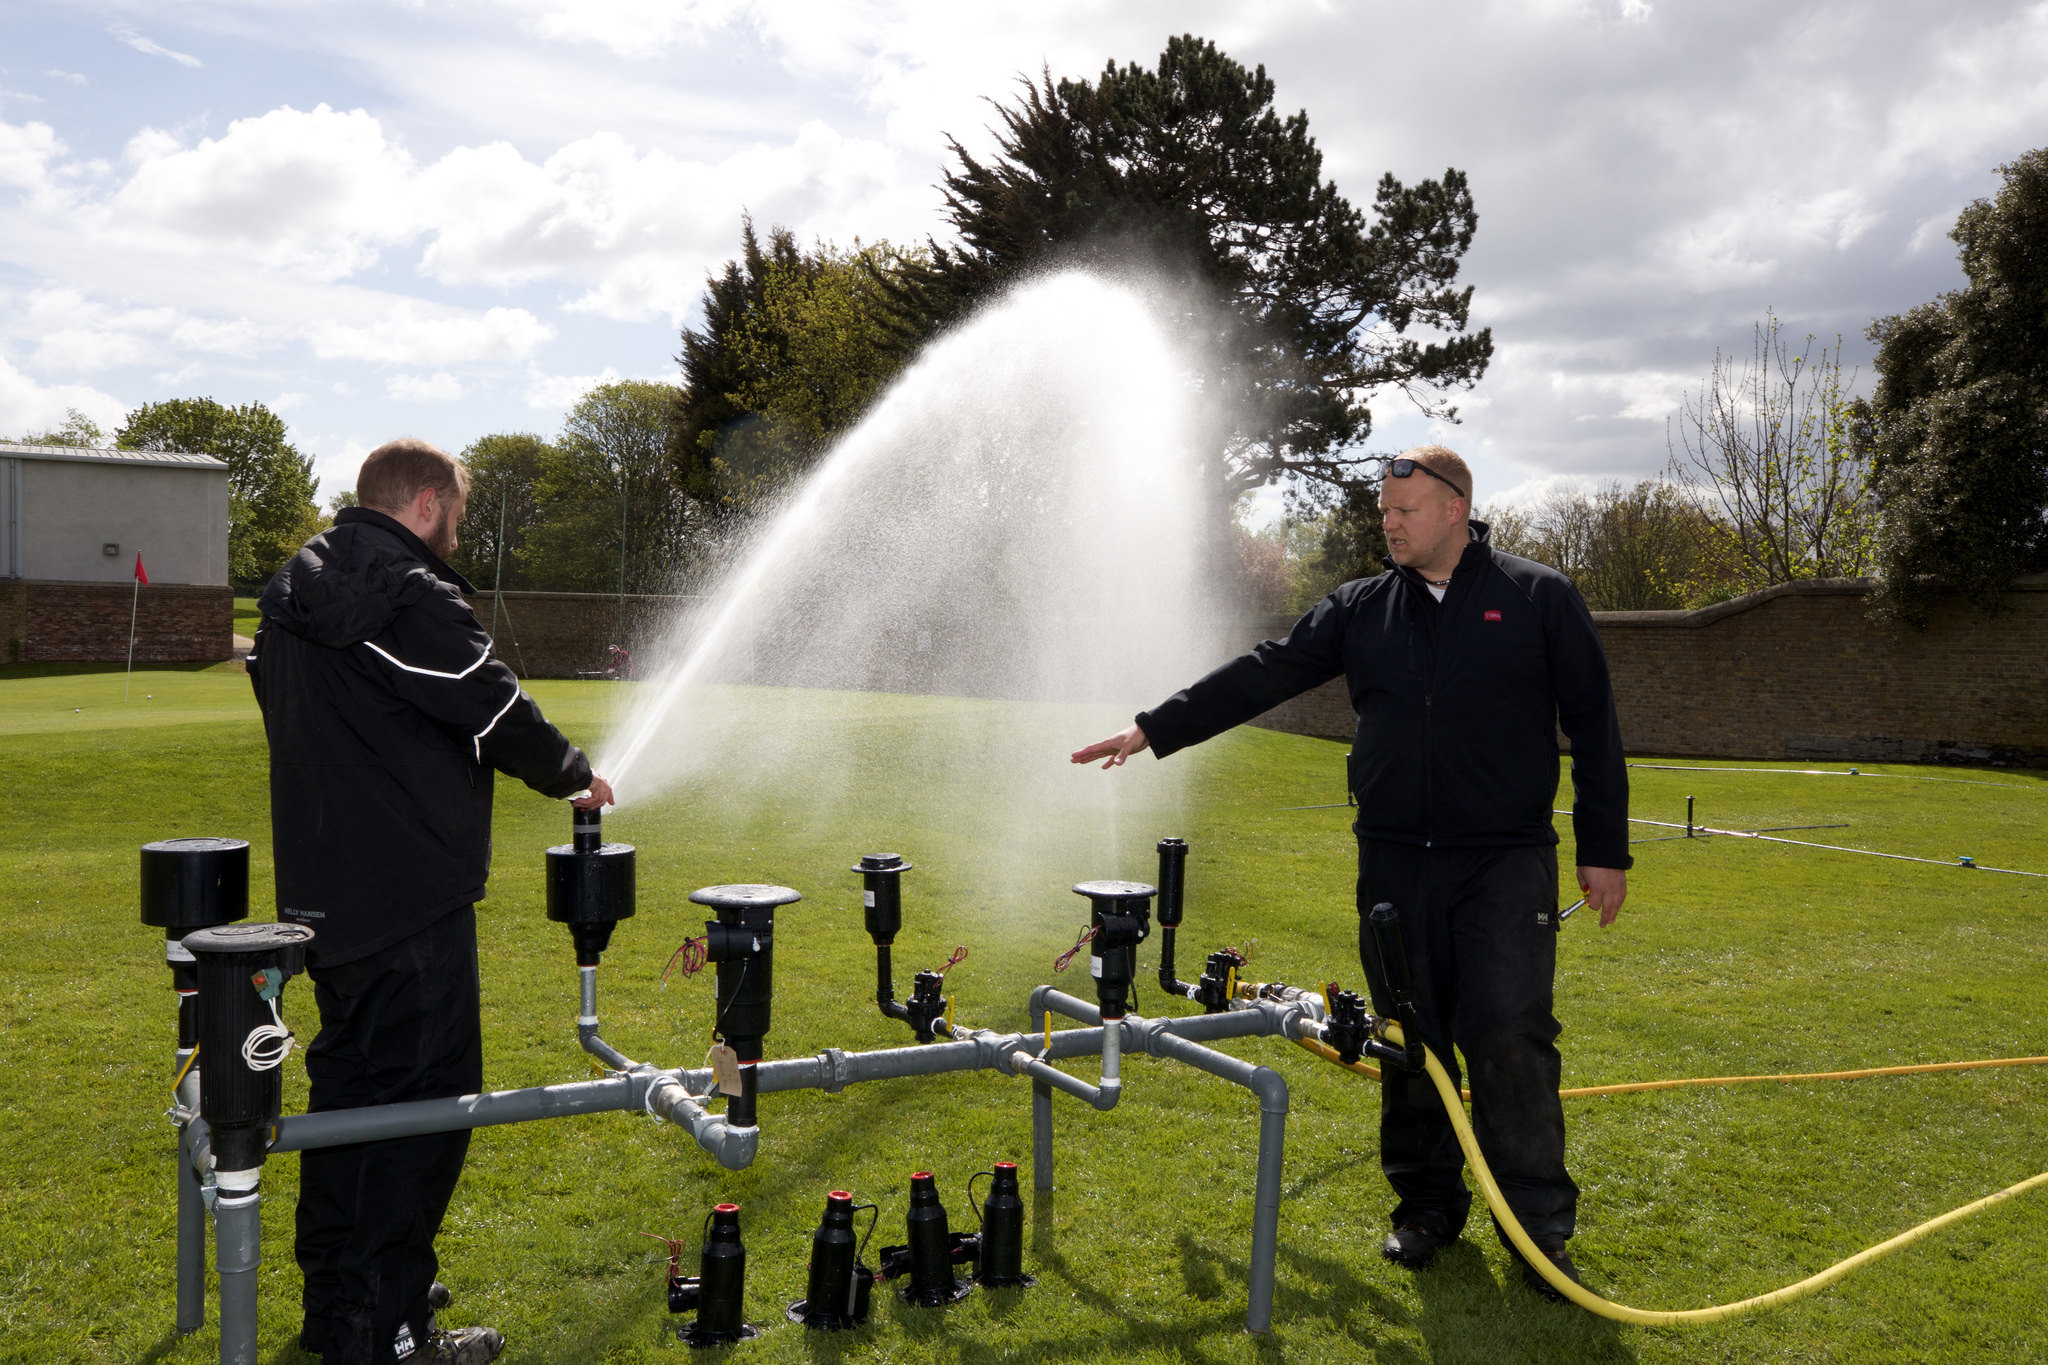
Valves
Your sprinkler system is only as good as its control valves, which is why they are often likened to the heart of the system. It’s important to check they are opening and closing properly as the controller activates and deactivates them. Problems such as opening too quickly or slowly can be down to high or low pressure.
Issues with sprinklers are important to resolve. Depending on the system you have, a problem with one sprinkler can affect all of those in the cable zone stopping others from working. Checking spray pattern and adjusting the flow control at the valve and cleaning pop-up heads including dirty filters, will prevent rotary heads from sticking and ensure a smooth rotation, while checking the seals and rotation of the sprinkler risers will prevent water damage to the surrounding turf. The figures below have more.
| NO WATER AT SPRINKLER HEADS | |
| CAUSE | SOLUTION |
| Main water supply valve is off | Turn supply valve on |
| Faulty valve solenoid | Replace solenoid |
| Flow control at valve is closed | Open fully counterclockwise |
| Zone valve wires not connected | Connect wires |
| Debris in valve, solenoid or metering orifice | Disassemble valve and clean with fresh water |
| ONE OR MORE ZONES WON'T STOP WATERING | |
| CAUSE | SOLUTION |
| Faulty valve diaphragm | Replace diaphragm |
| Faulty valve | Replace valve |
| Damaged or cracked valve body | Replace valve |
| Damaged or cracked bonnet | Replace valve |
| EXTERNAL WATER LEAKS AT VALVE | |
| CAUSE | SOLUTION |
| Damage or cracked pipe and fittings | Check and replace as needed |
| Damaged diaphragm | Replace diaphragm |
| WATER LEAKS FROM LOWEST SPRINKLER IN ZONE | |
| CAUSE | SOLUTION |
| Debris between diaphragm and diaphragm seat | Clear debris from valve |
| Damaged diaphragm | Replace diaphragm |
| Debris in solenoid | Clean solenoid |
| Faulty solenoid | Replace solenoid |
| Valve manual bleed open | Tighten by hand |
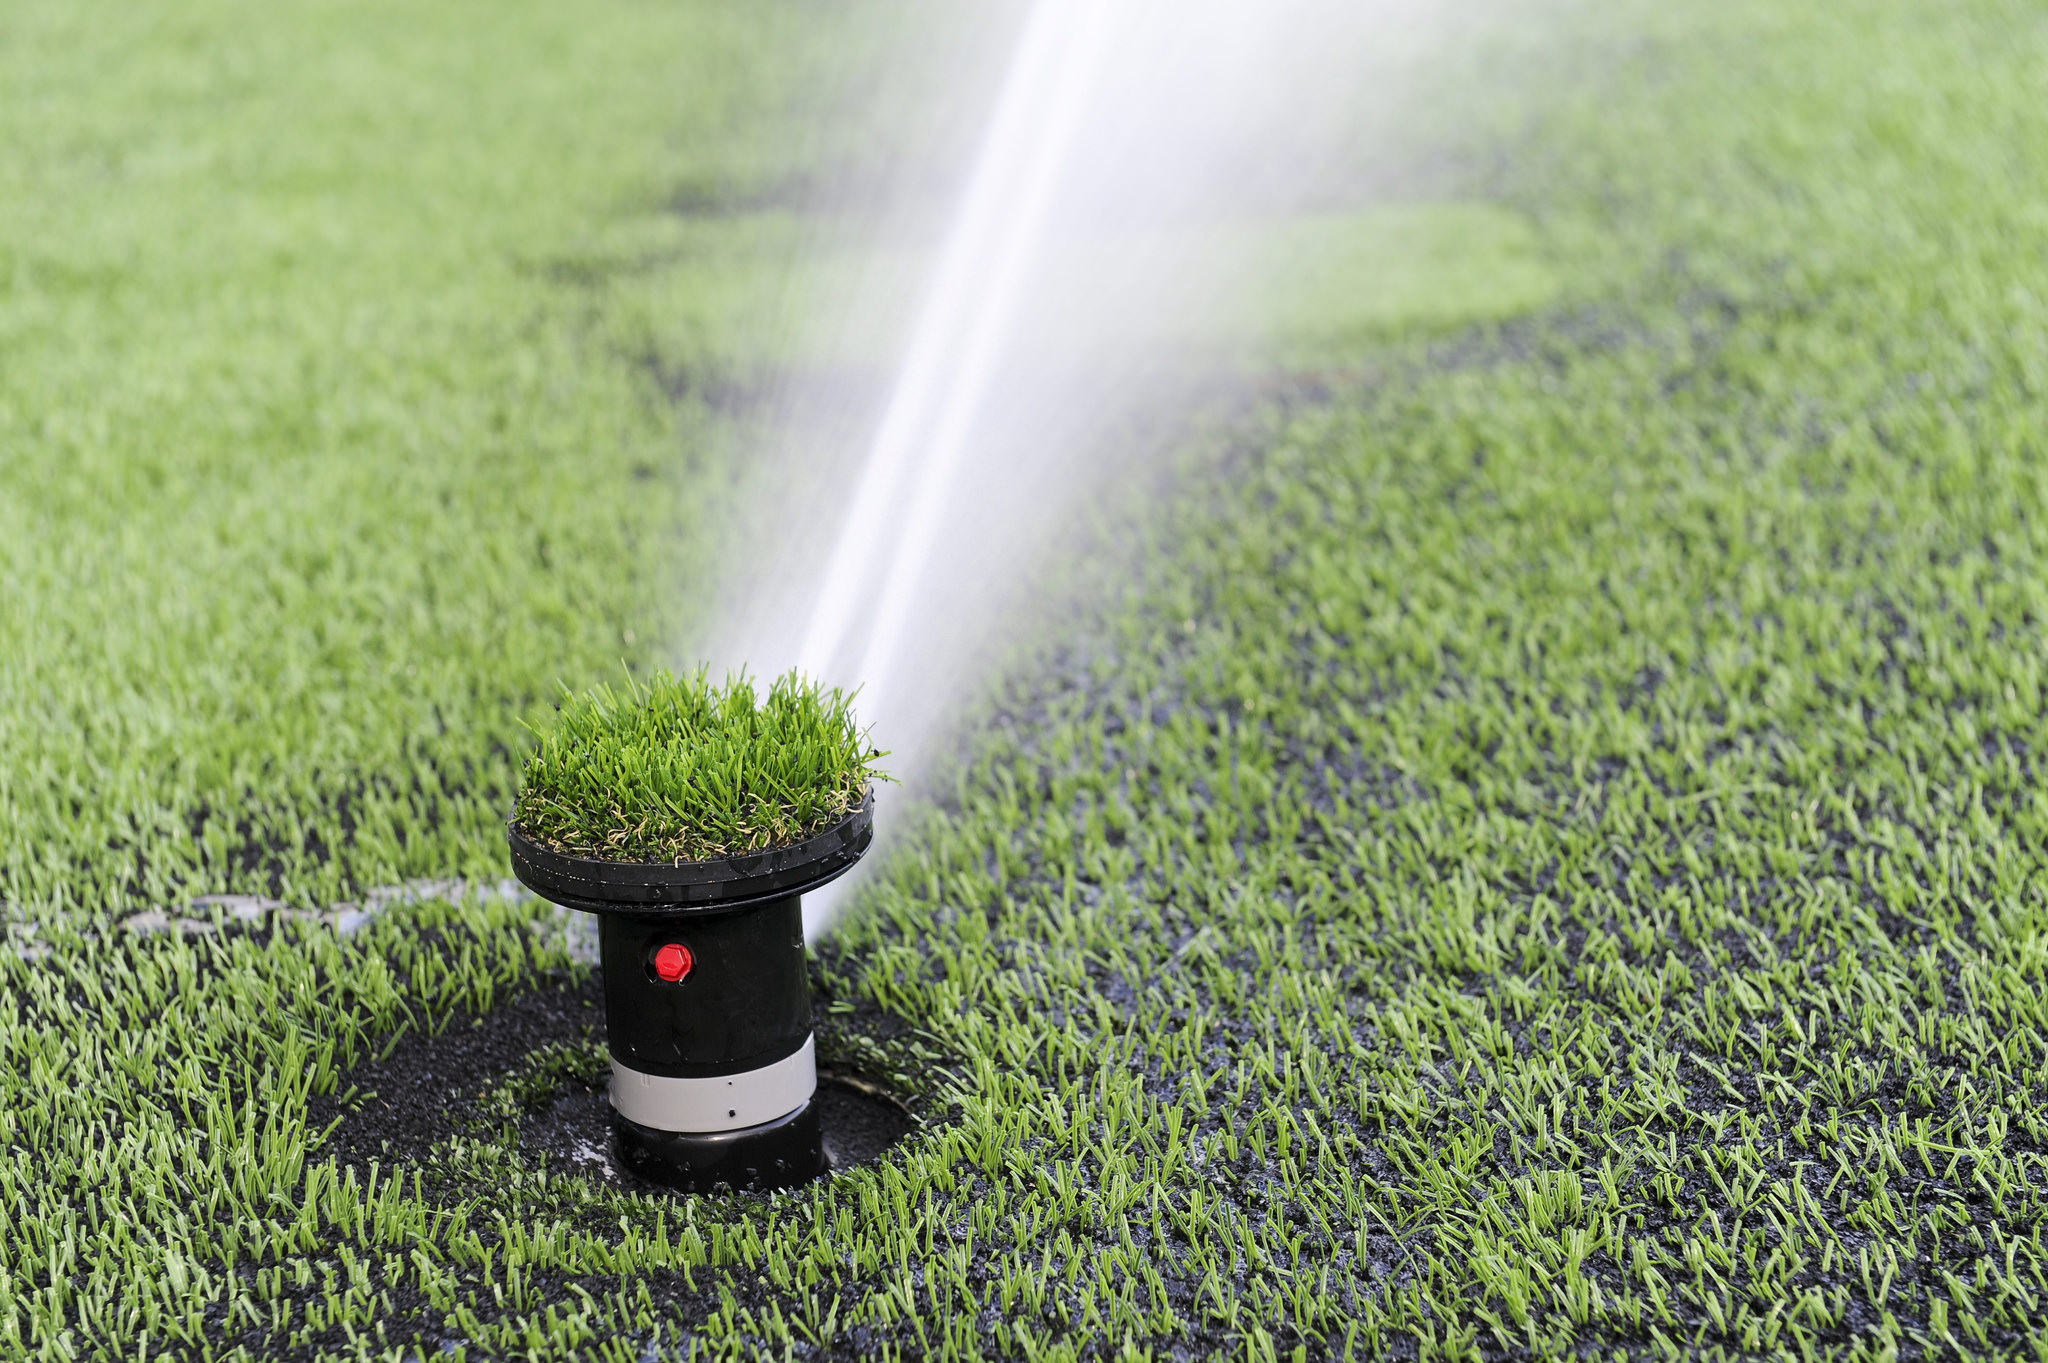
Sprinklers
From not popping up to ‘sticking up’ after watering, flooding from the sprinkler or water not spraying from the nozzle properly, most of the causes are down to damage, clogging, missing parts or pressure problems. The solutions are usually straight forward once the issue is identified. The figures below provide a run though of the most commonly found problems, causes and solutions.
| SPRINKLERS WILL NOT POP UP | |
| CAUSE | SOLUTION |
| Not enough water pressure to run the zone | Split the zone in two |
| Master or zone valves not completely open | Open counterclockwise |
| Flow control on zone valve not fully open | Open flow control |
| Debris between sprinkler riser and riser seal | Clear debris |
| SPRINKLERS "STICK UP" AFTER WATERING | |
| CAUSE | SOLUTION |
| Damaged riser or riser seal | Replace sprinkler |
| Damaged retraction spring | Replace sprinkler |
| Radius adjustment screw turned off | Open counterclockwise |
| Debris in nozzle | Remove debris |
| WATER DOESN'T SPRAY FROM NOZZLE | |
| CAUSE | SOLUTION |
| Internal filter clogged | Clean screen |
| WATER FLOODING FROM SPRINKLER | |
| CAUSE | SOLUTION |
| Missing nozzle | Install nozzle |
| Faulty or missing sprinkler head |
Replace sprinker |
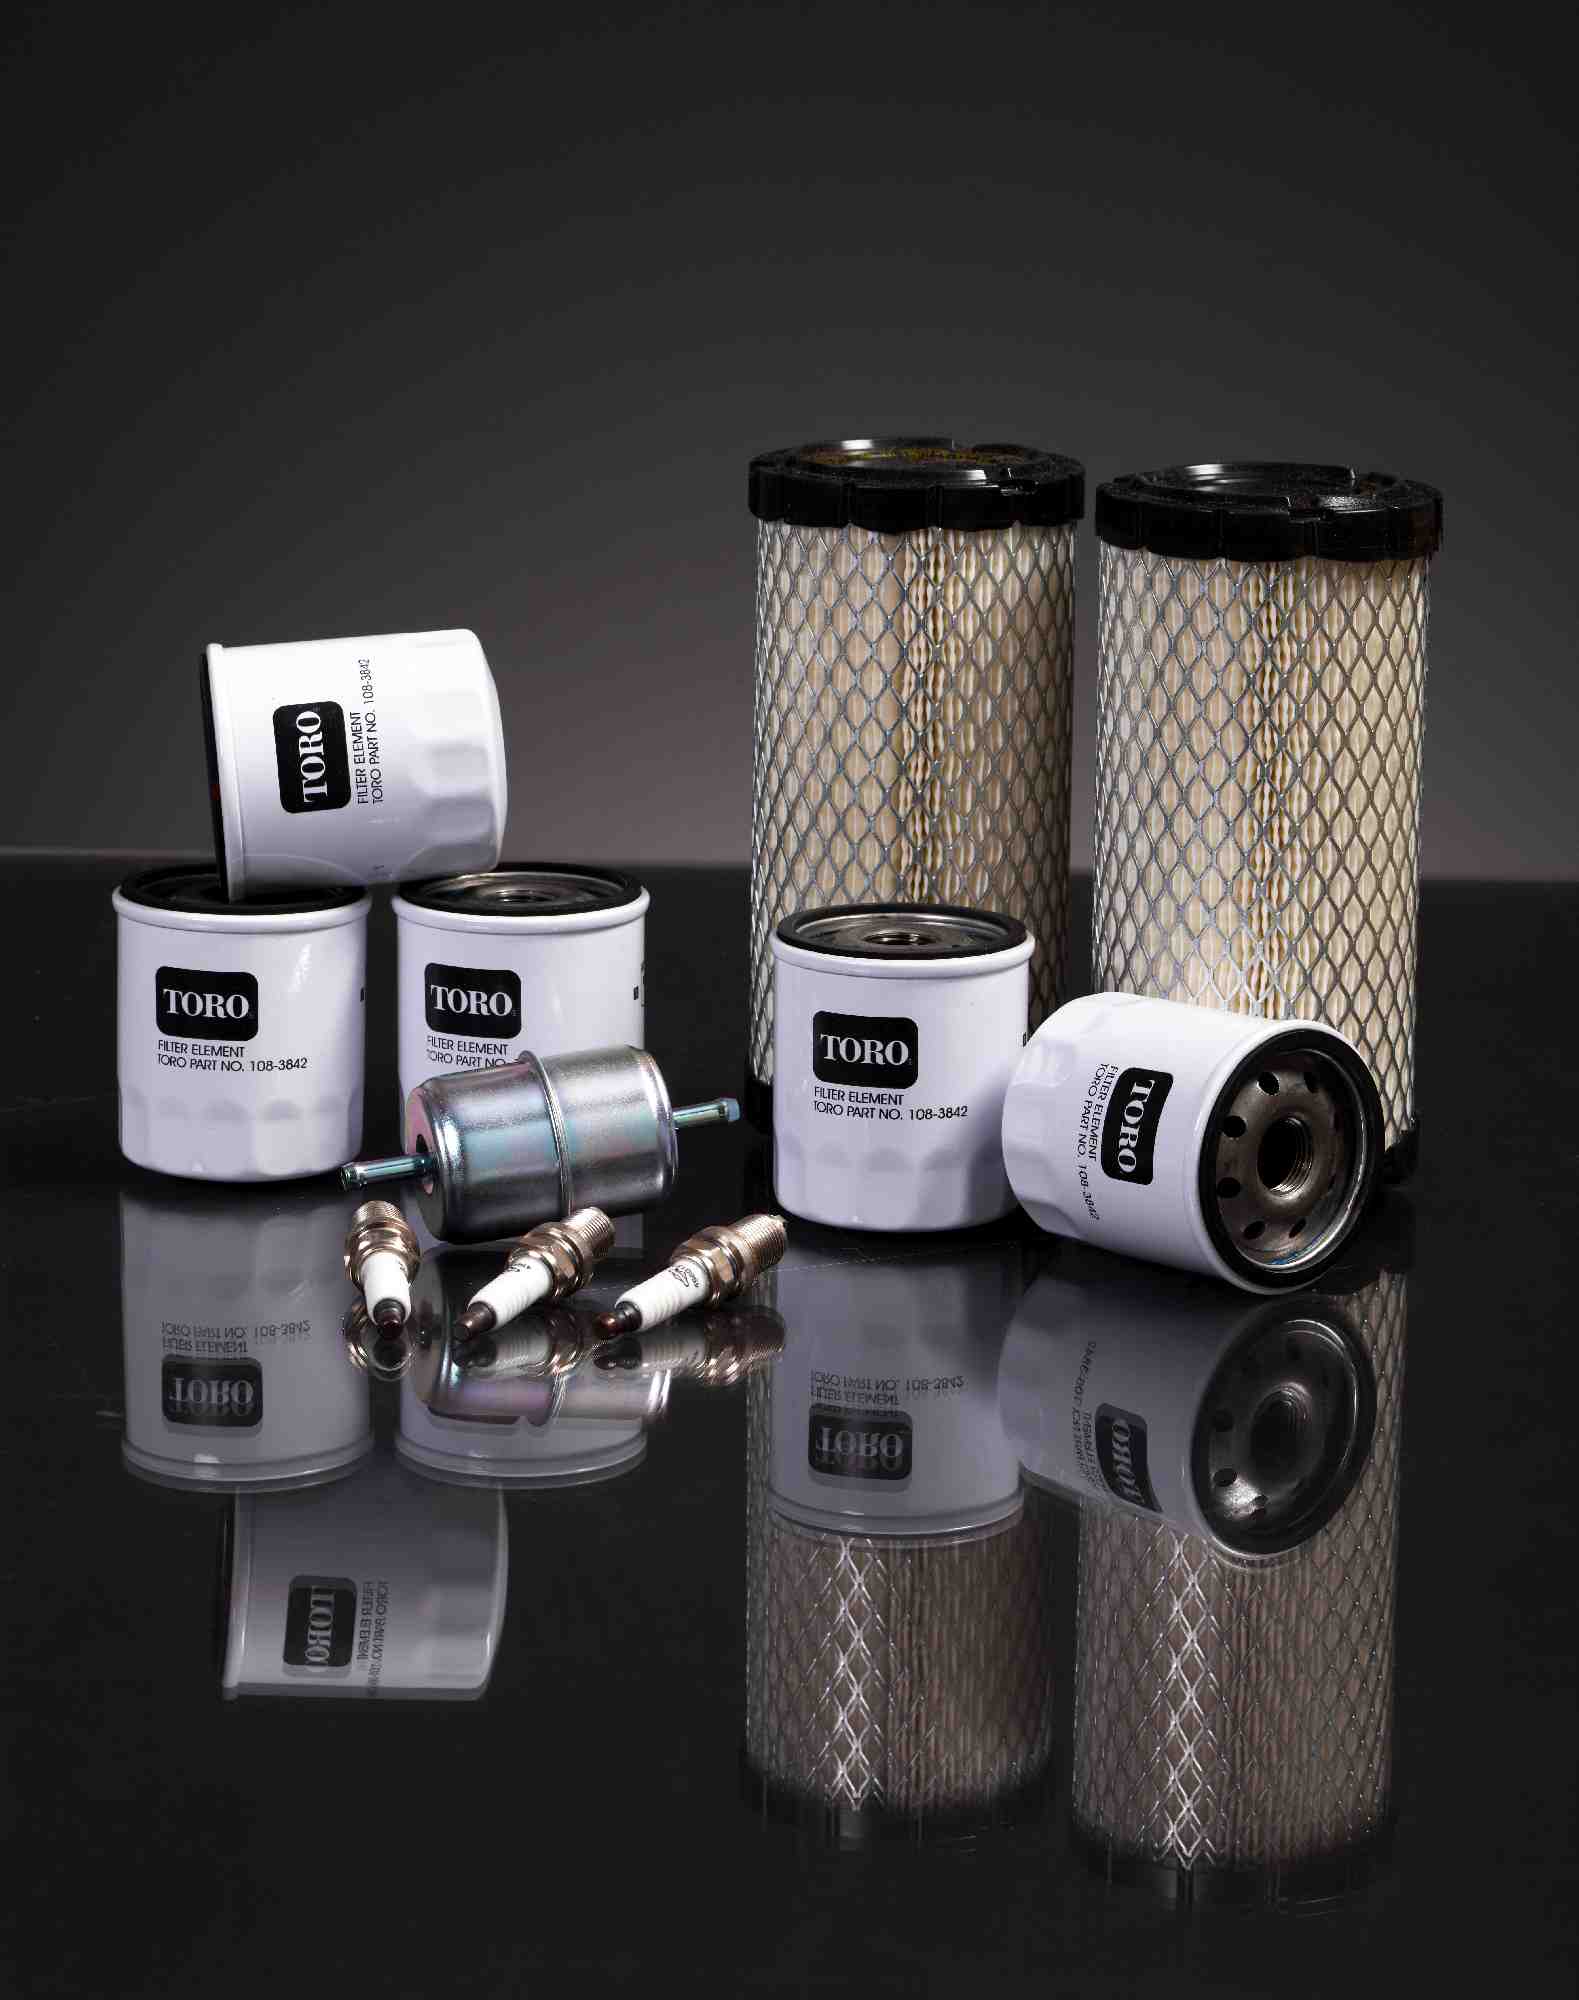
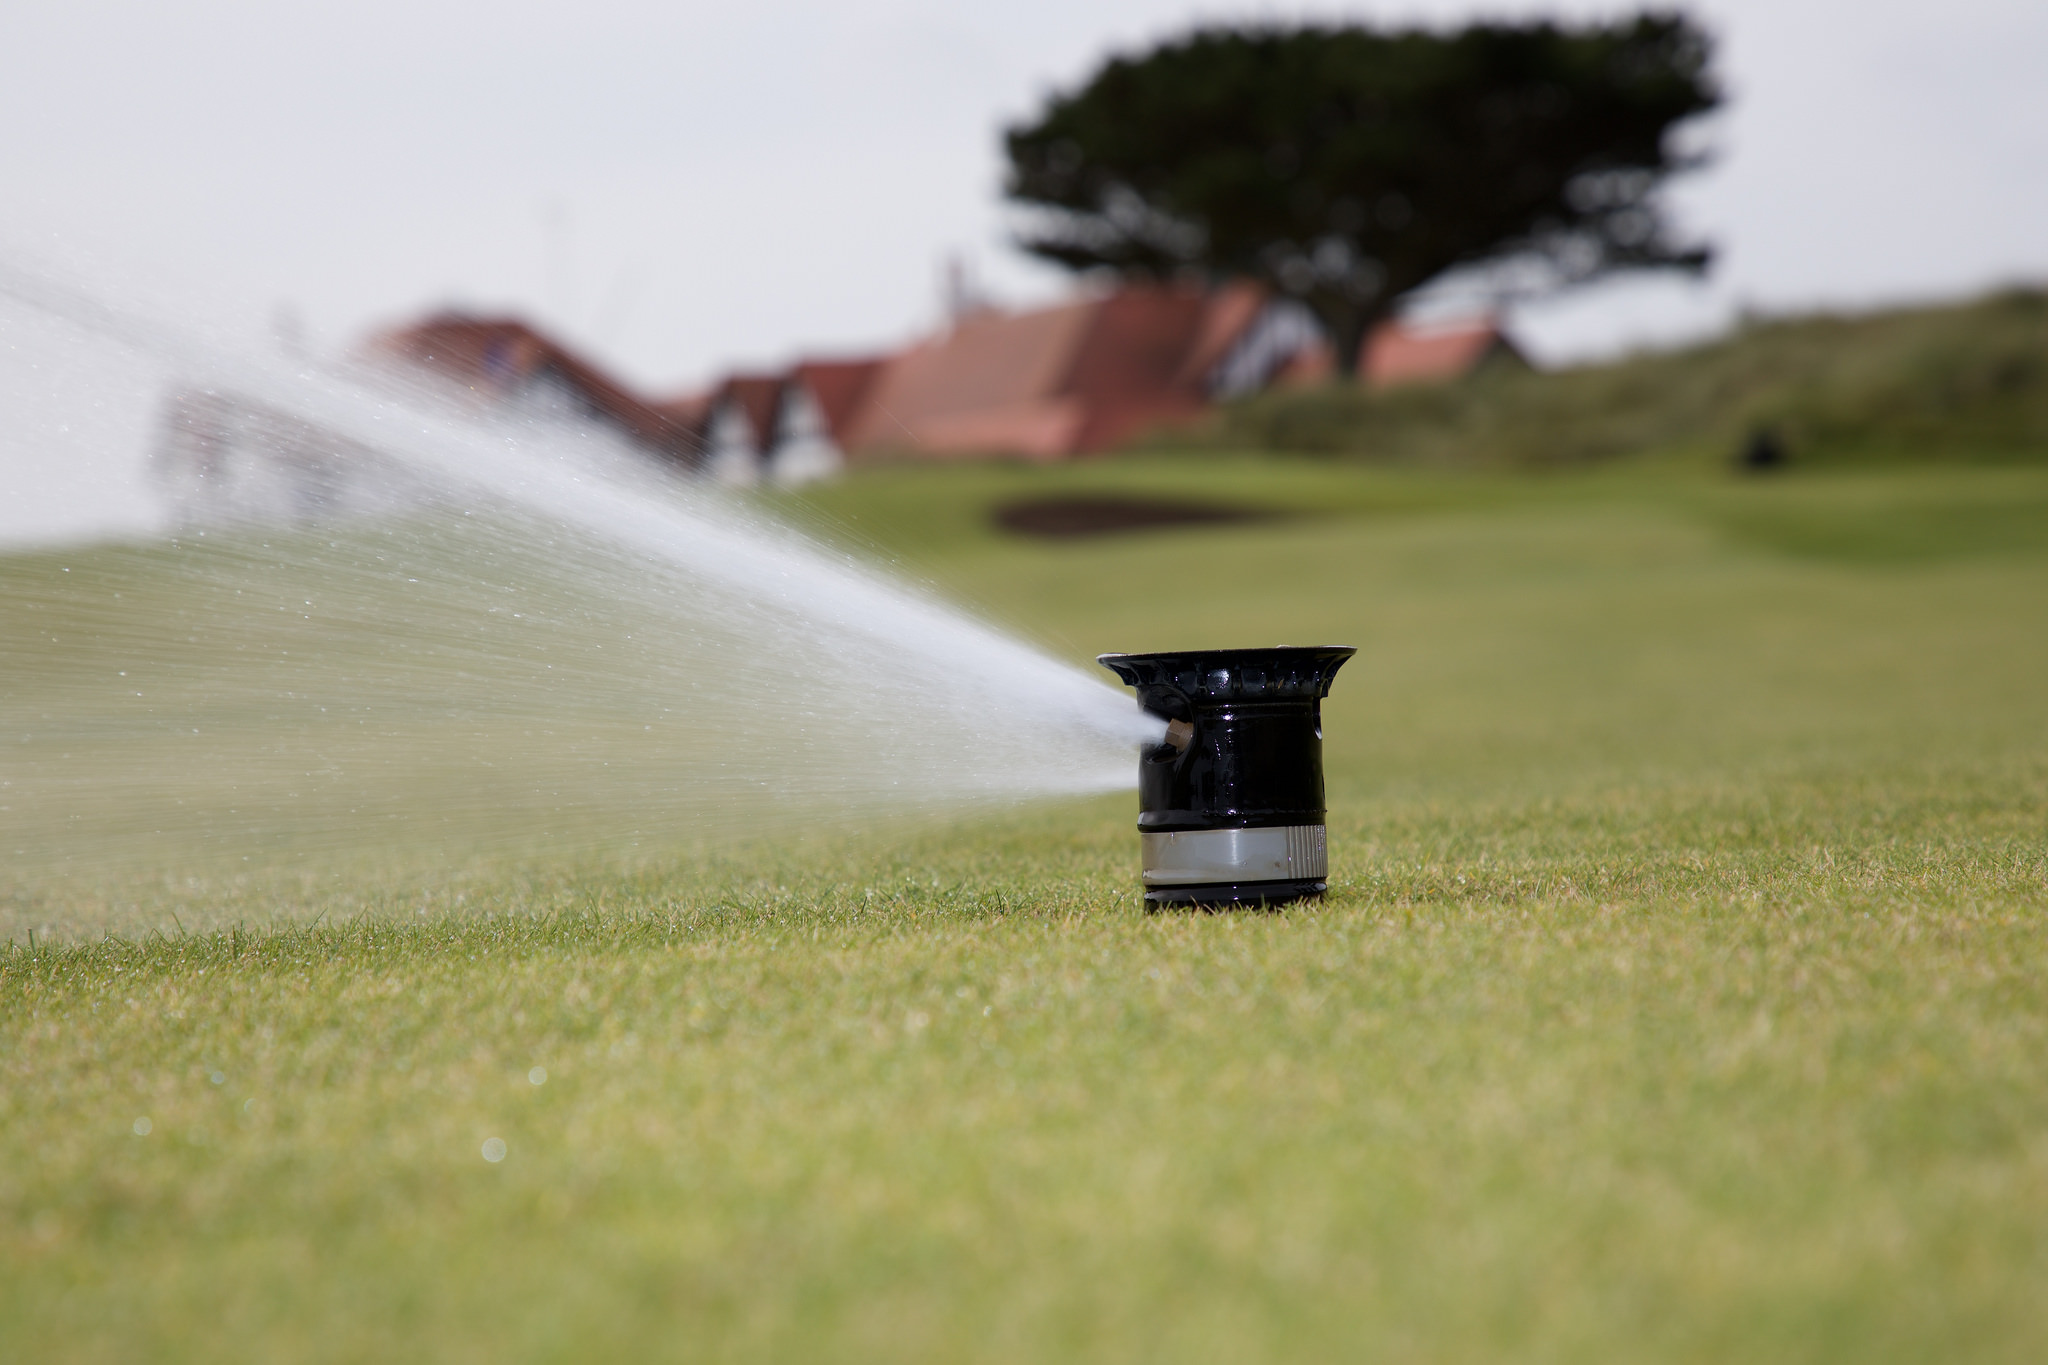
Being exposed as they are, sprinklers are subject to a great deal of wear and it is recommended they are replaced every few years. Remarkably the simple job of renewing an aged sprinkler nozzle alone can increase the efficiency of your system by up to 10 percent at the right pressure and flow. With nozzles costing on average just £15 per head, this can be a highly cost-effective way of improving your system and is a job easily handled by the greens/grounds teams.
Rotation flaws are likely an indication of debris in the sprinkler head, a pressure problem, improperly adjusted flow-control valve. Damage or normal wear and tear could also be possible culprits. Possible causes and solutions are indicated on the figures below.
| WATER DOESN'T SPRAY FROM NOZZLE | |
| CAUSE | SOLUTION |
| Internal basket screen plugged with debris | Clean scren |
| SPRINKLER DOES NOT ROTATE | |
| CAUSE | SOLUTION |
| Not enough water pressure to rotate sprinkler | Split zone in two |
| Debris in sprinkler head | Clean debris from sprinkler |
| Faulty sprinkler head | Replace sprinkler |
| SPRINKLER ROTATES IN ONE DIRECTION AND STOPS | |
| CAUSE | SOLUTION |
| Not enough water pressure to rotate sprinkler | Split zone in two |
| Faulty sprinkler head | Replace sprinkler |
| Missing nozzle | Replace nozzle |
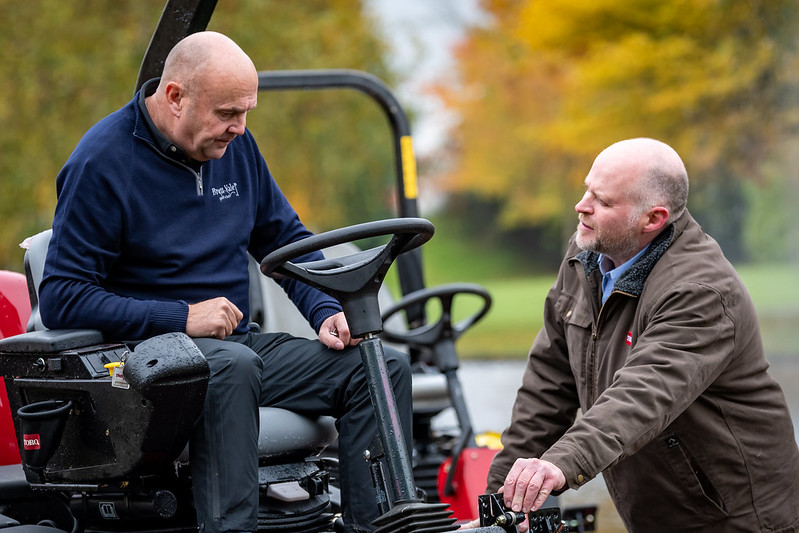
Remedial work such as this can improve efficiency of your system by around 20 percent, plus by taking control of your irrigation system you’re eliminating the need to bring in a contractor at an extra cost. This again comes back to viewing irrigation as you would machinery – most of us wouldn’t bring a mechanic in to advise on problems with a machinery fleet unless you had some idea of the issues yourself and the same rules apply to your irrigation system; it’s all about knowing how to identify the issues so you can save bringing in a service engineer or contractor until you need to.
A rapid decline in performance and consistent problems are when the input from a consultant will be essential and their diagnosis will better help you decide whether to carry out remedial work to salvage an ailing system or bite the bullet and invest in new. But overall, daily, weekly and seasonal checks should become part of the routine, with a service engineer and contractor doing what they do best – an annual full system check, control system/electrical issues, or advising on refits.
Properly maintaining your irrigation system doesn’t have to be costly or time-consuming. Identifying problems and taking control of your club’s irrigation maintenance will keep costs low and your system efficient.
May 2016
Reesink UK LTD | 1-3 Station Road, St Neots PE19 1QF | Registered in England
Reesink UK LTD is authorised and regulated by the Financial Conduct Authority.