


FEATURED STORIES

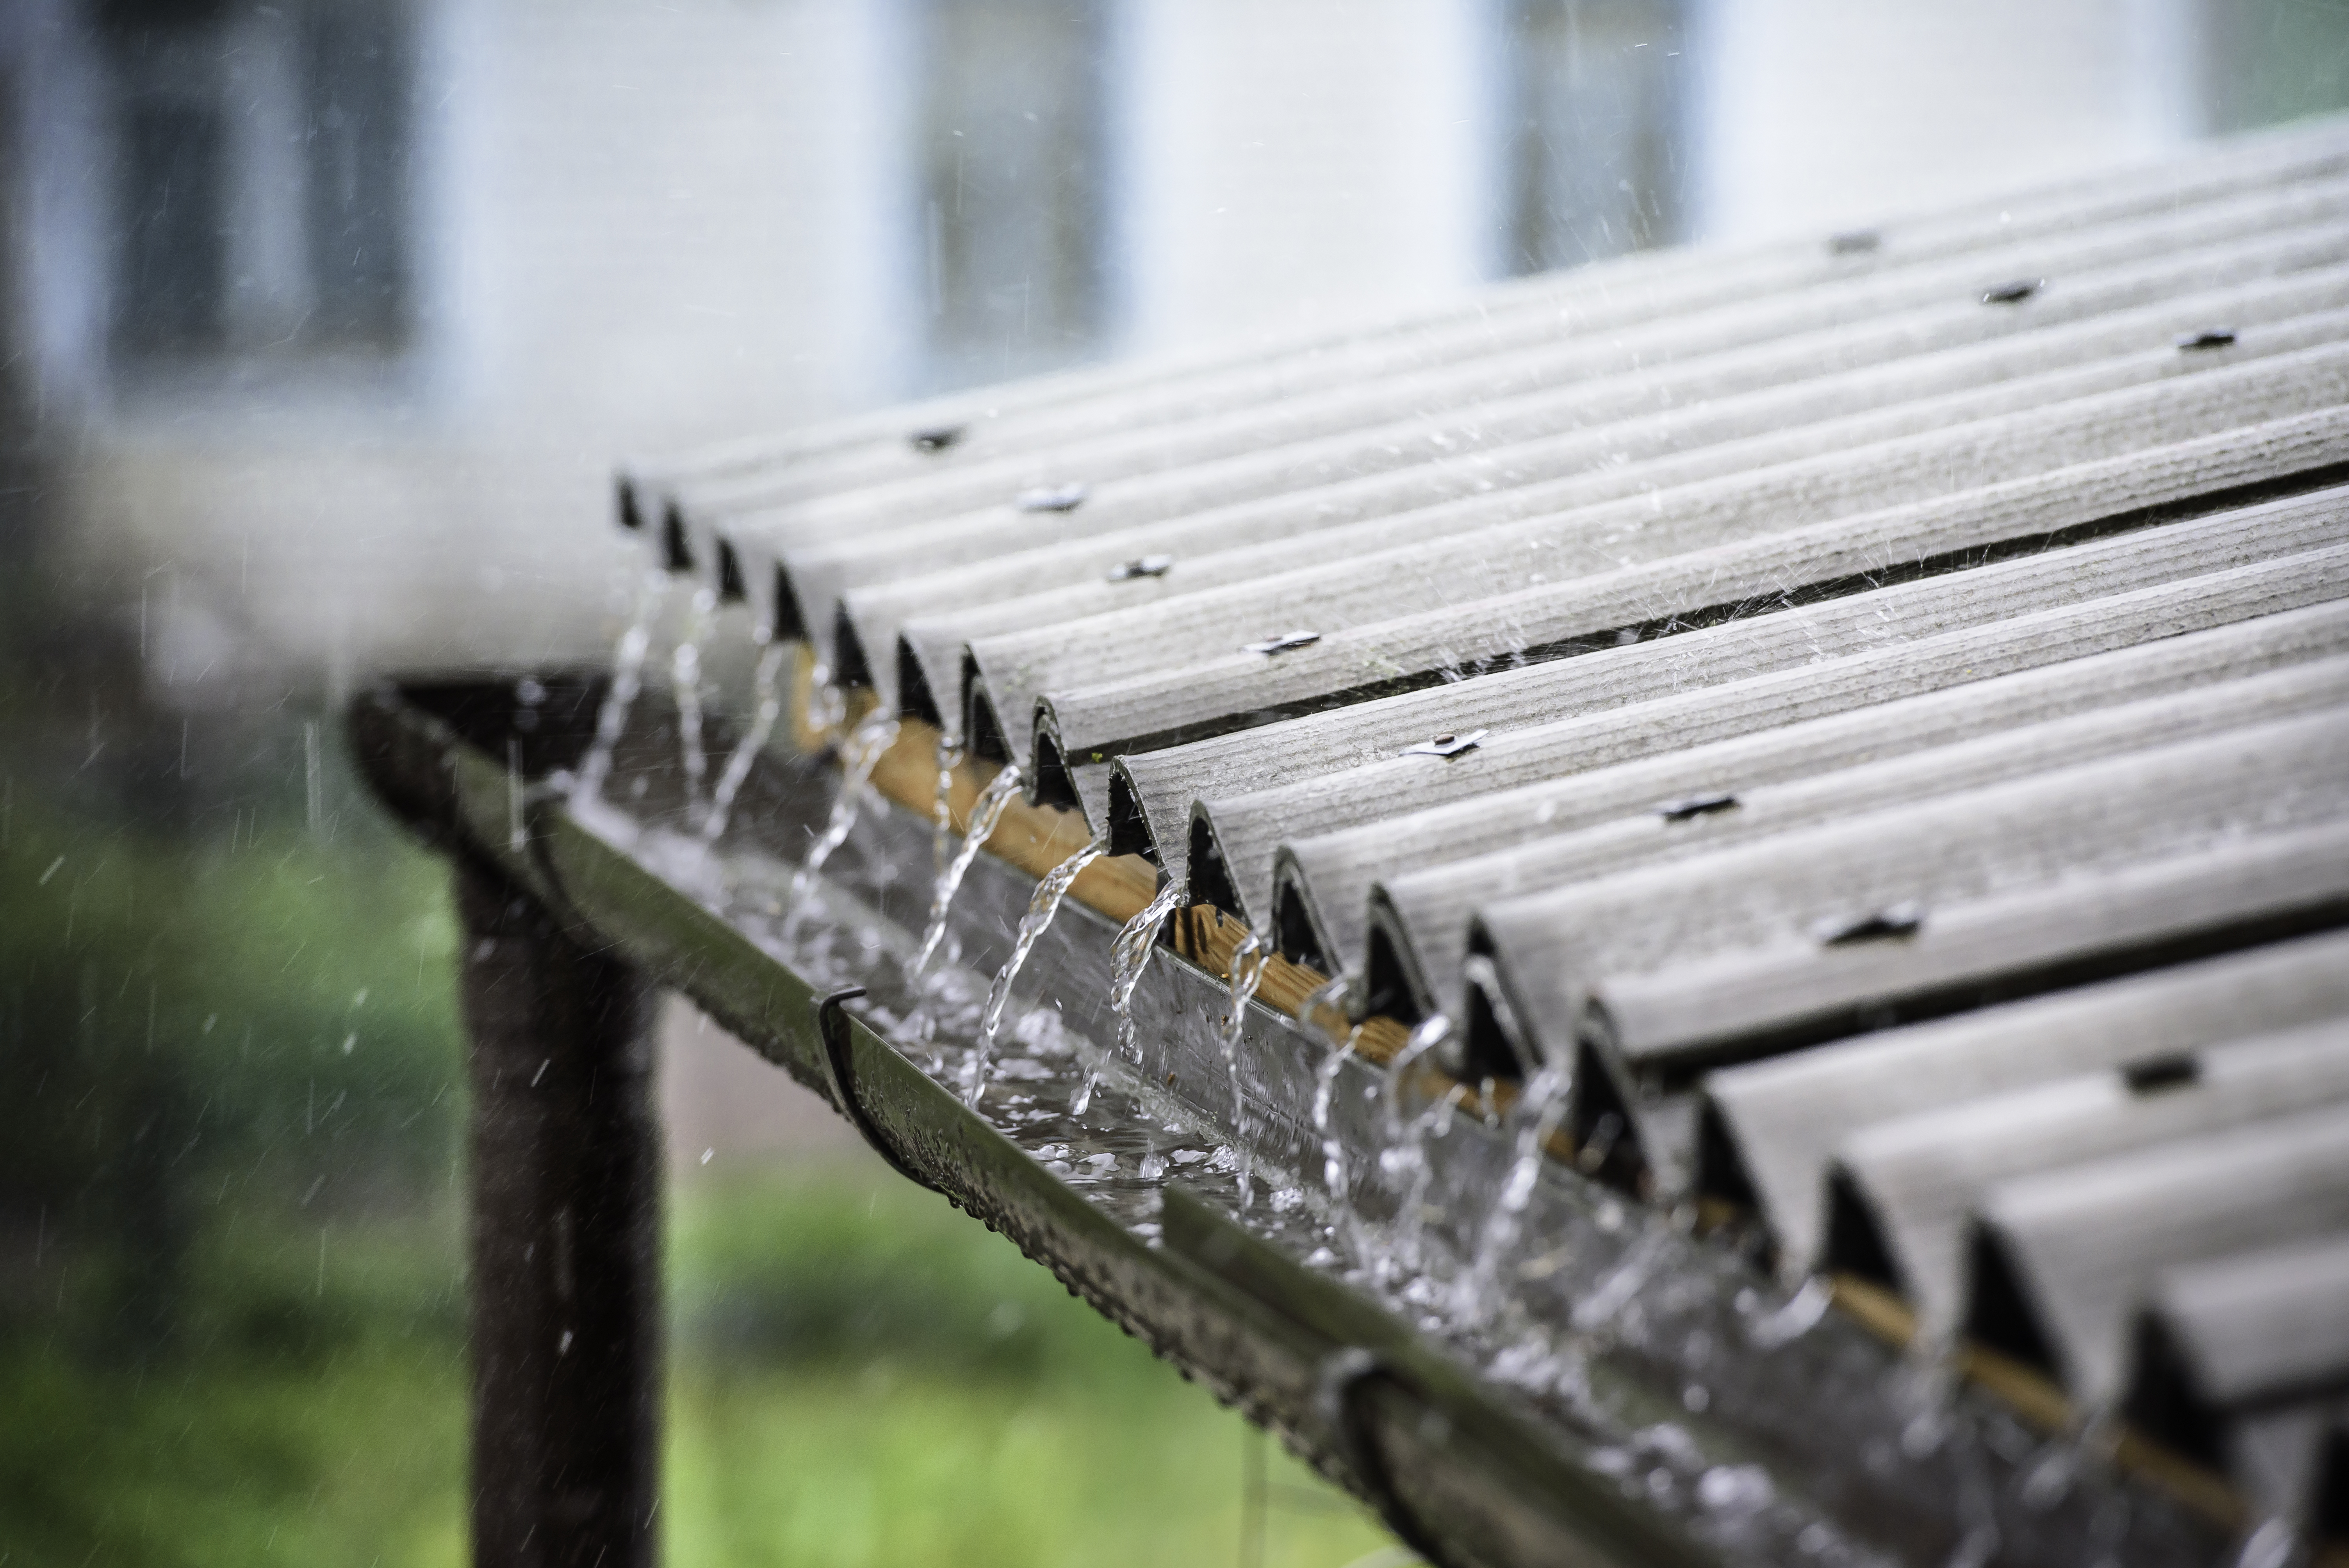
Why an irrigation shutdown could save your club from getting caught out in the cold this winter
It’s not too late to protect your irrigation system against winter cold and frost – here’s what you need to do.
The UK’s winter runs from 21 December until 20 March. Extreme cold snaps are becoming increasingly common and greenkeepers are having to adapt as the cold becomes harsher each year.
In many parts of the world, irrigation system shut-downs must be performed as part of a regular winter maintenance schedule. With temperatures hovering just above freezing during winter months, it’s not always deemed necessary in the UK.
However, this winter temperatures are likely to drop well below freezing. In cases such as this, a period of shut-down is essential for all irrigation systems.
If you’ve delayed or had until now decided against winter shutdown procedures, don’t worry. There’s still time to protect your irrigation system so you don’t get caught out in the cold this winter.
Protecting your irrigation system with a winter shutdown
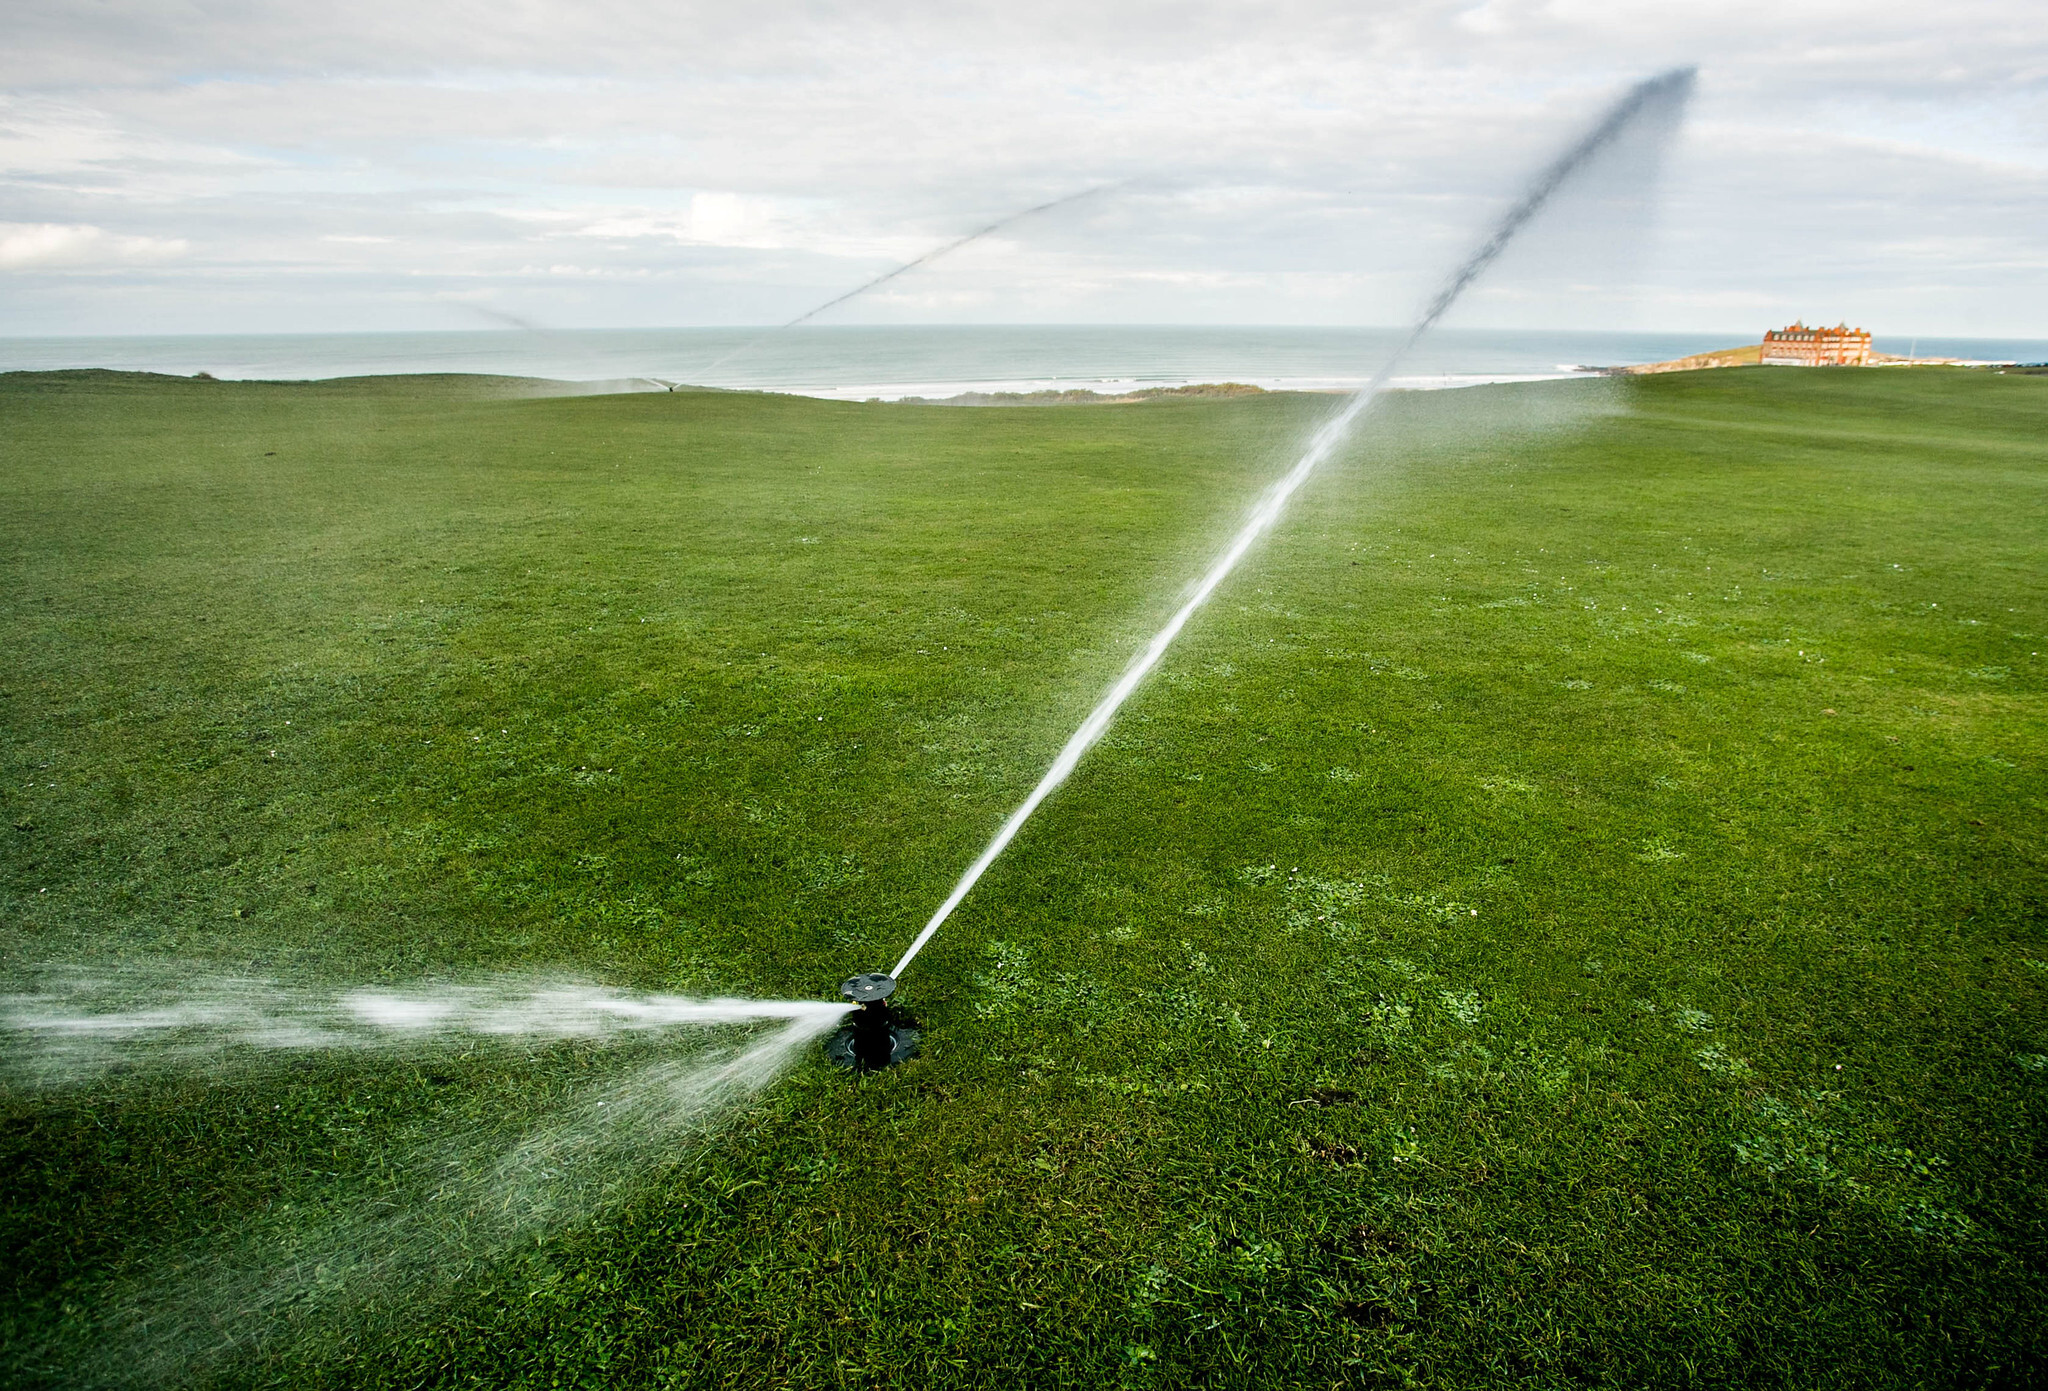
The most effective way to prevent damage from arctic conditions is to completely drain or shut down the irrigation system.
To prevent pipes from bursting, make sure to remove the majority of water from the system’s pipes and sprinklers. Otherwise water will freeze and expand, which can damage pipe infrastructure and component parts.

There are two primary methods to drain your system. In climates such as ours, it is more common to let gravity do the work when draining a system. While in colder climates, it’s also viable to use compressed air (also referred to as a system blow-out).
Whichever option you choose, the first step in the process will always be to turn off the water. Unsure which will suit your needs best? Don’t worry, we’ll walk you through both to help you decide.
How to drain an irrigation system using gravity
The first and most important operation you should undertake when draining your irrigation system is to isolate irrigation pumps. You can do this by removing bleed pins and isolating the power supply, preventing any damage that could occur if the system is accidentally turned on.
You’ll also need to isolate and drain suction pipework if it’s located above ground to prevent frost damage. Then, do the same with the delivery section of mains.
Under normal circumstances, these sections of pipework will have drain valves fitted to allow this operation to be carried out. It’s as easy as that.
However, if these are not available, then all you need to do is loosen suction and delivery pump fittings to remove pressure and drain the water. It’s a good idea to keep some form of heating on, via a thermostat, within the pump room to ensure temperatures are kept above freezing.
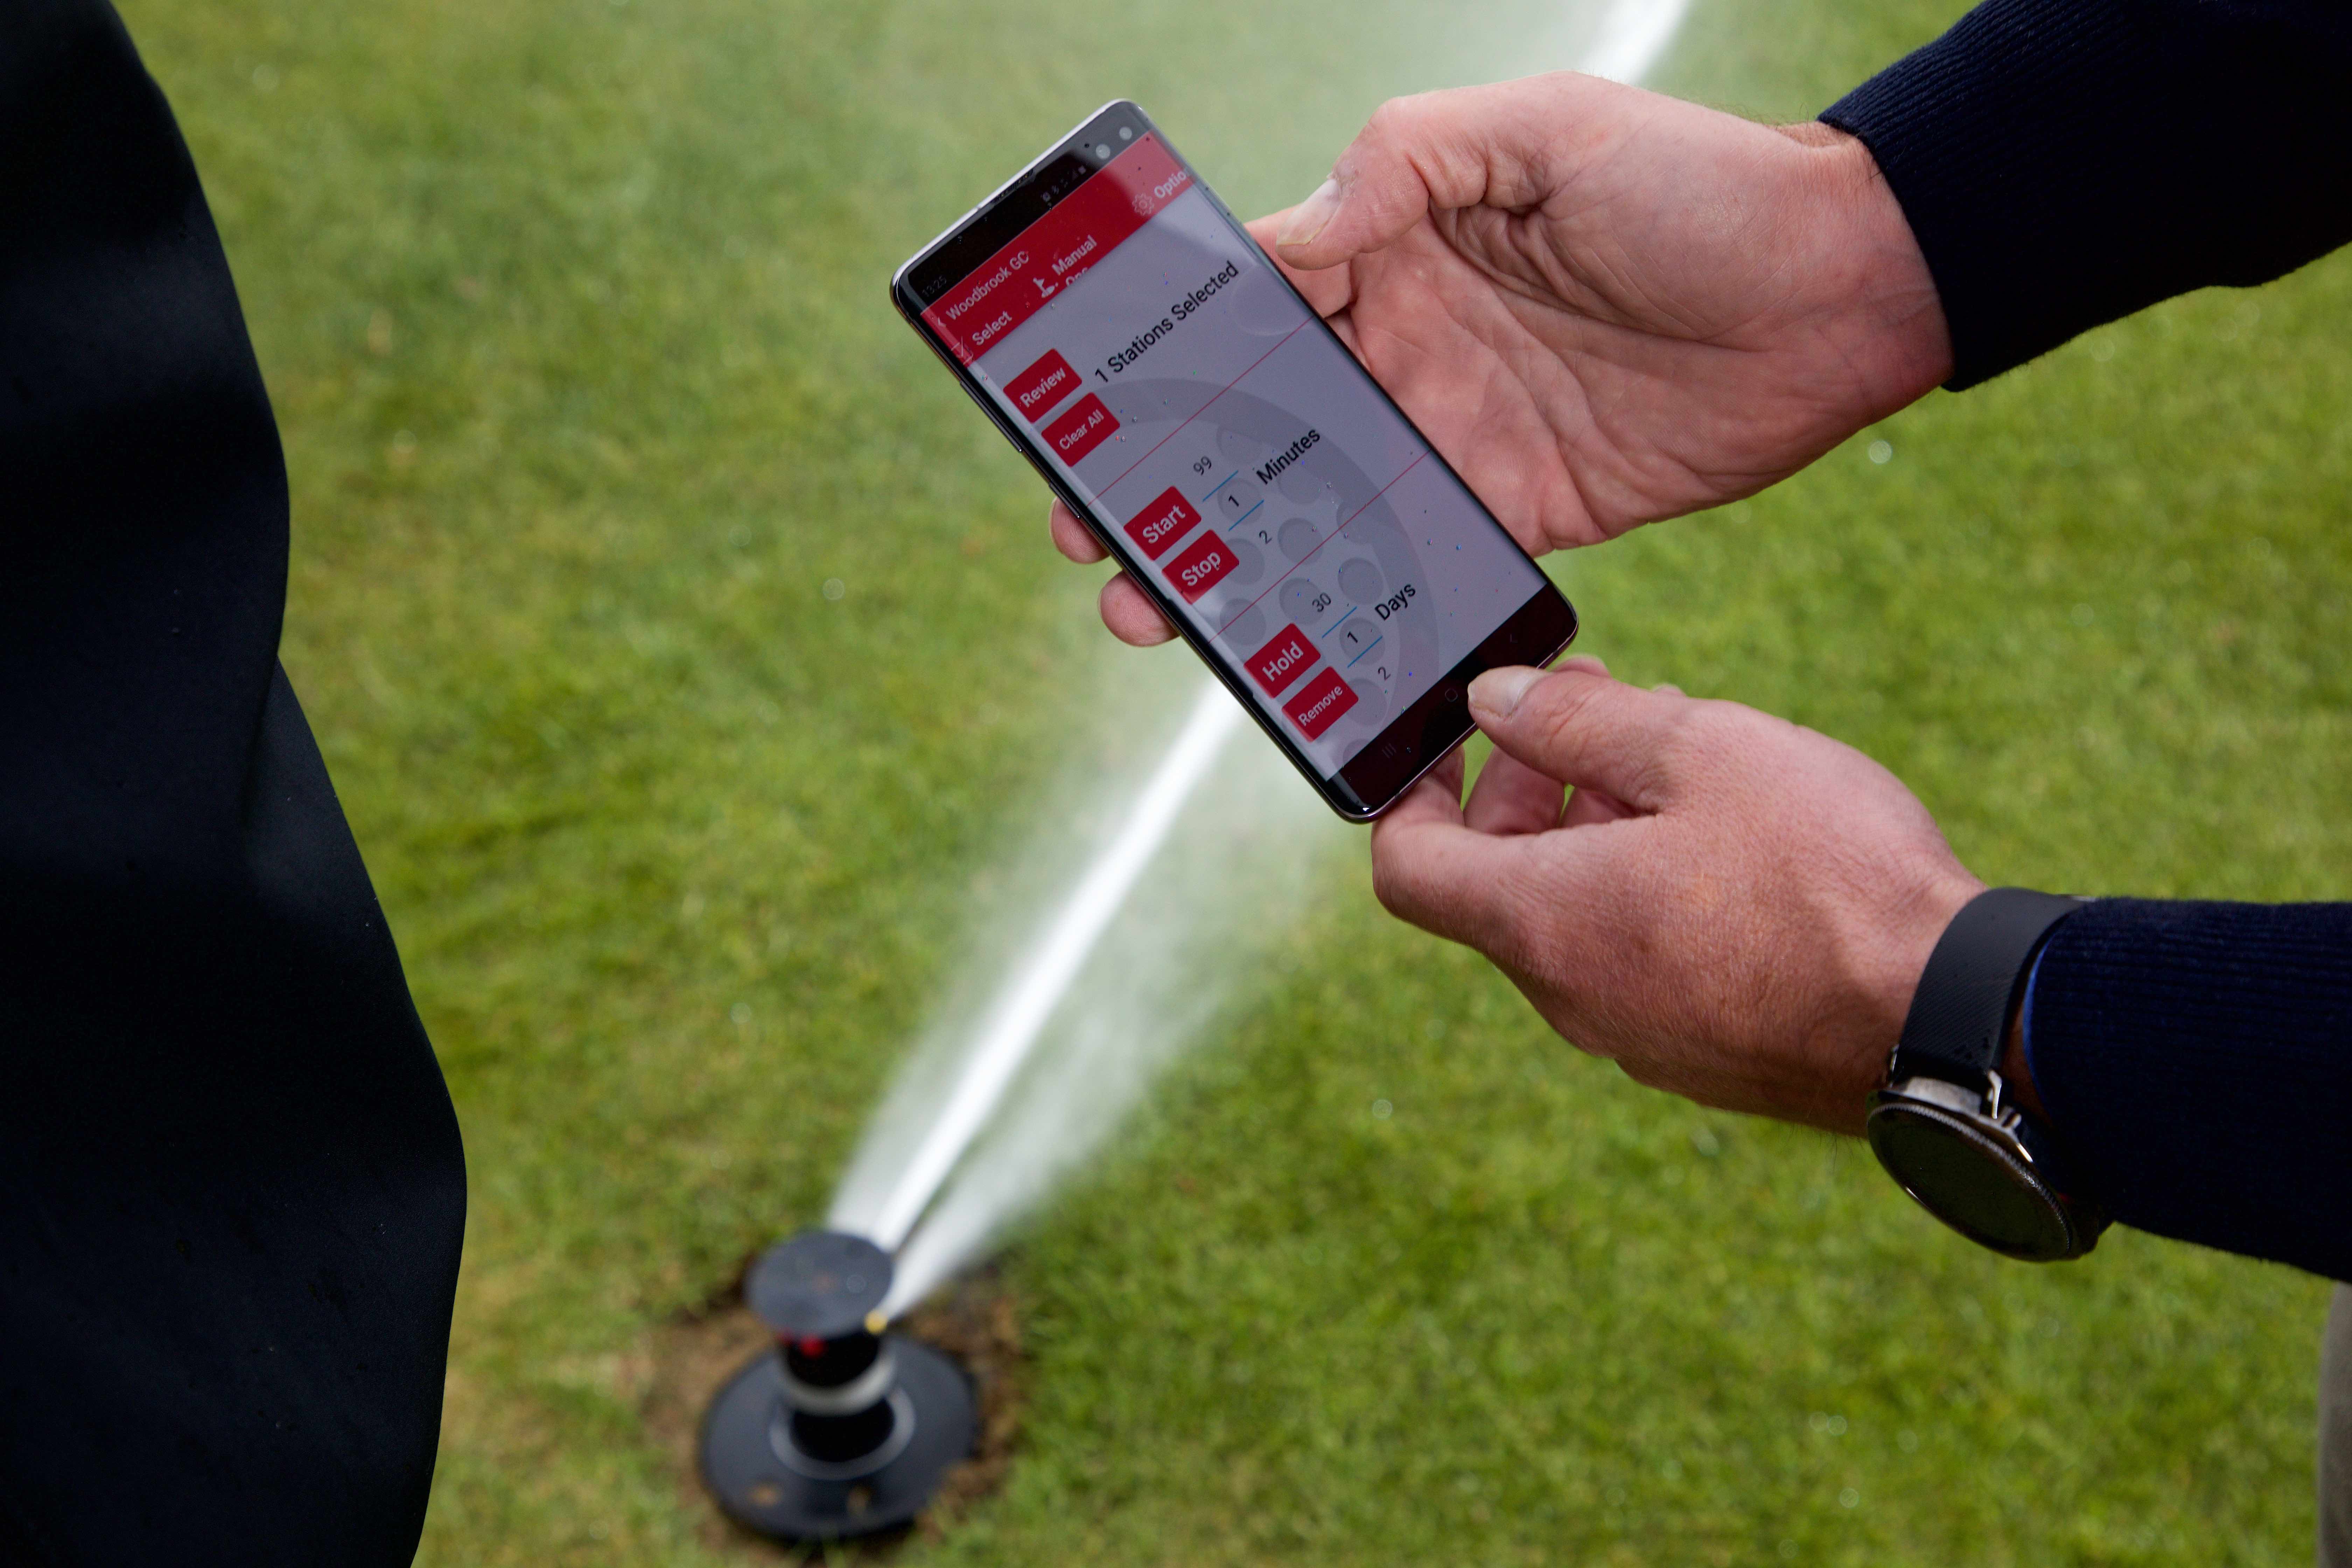
Out on the course, you’ll need to locate your system’s manual drain valves, which should be highlighted on your irrigation’s ‘as laid’ plan for easy access. These will all need opening once you have isolated the pumps.
It’s important you don’t forget to go back and close these slightly to prevent pests like rodents from entering the pipe network and causing problems when you pressurise the system once more in spring.
At this point, you’ll notice the majority of the water escaping the pipe network, as it flows off into drains and ditches. But there’s still lots of work to do.
To effectively remove pockets of water remaining in the system, you will need to locate all the hosepoints in each valve box and open them slightly to remove the ‘suction effect.’ Doing so will allow trapped water to drain away and give room for expansion.
(Again, don’t open the valves completely or pests could access the pipework and cause issues down the line!)
Tips for draining a sprinkler system manually
A number of these valve boxes will also house solenoid valves for sprinklers. We always recommend you remove each one’s bleed pin to assist with draining the overall valve assembly. (Don’t lose the pin! You don’t want that headache come spring…)
When it comes to sprinklers, most systems use block control on the tees, with all other areas being valve-in-head. This makes block systems easier to drain since bleed pins have already been removed from the solenoid valves, allowing water to flow freely.

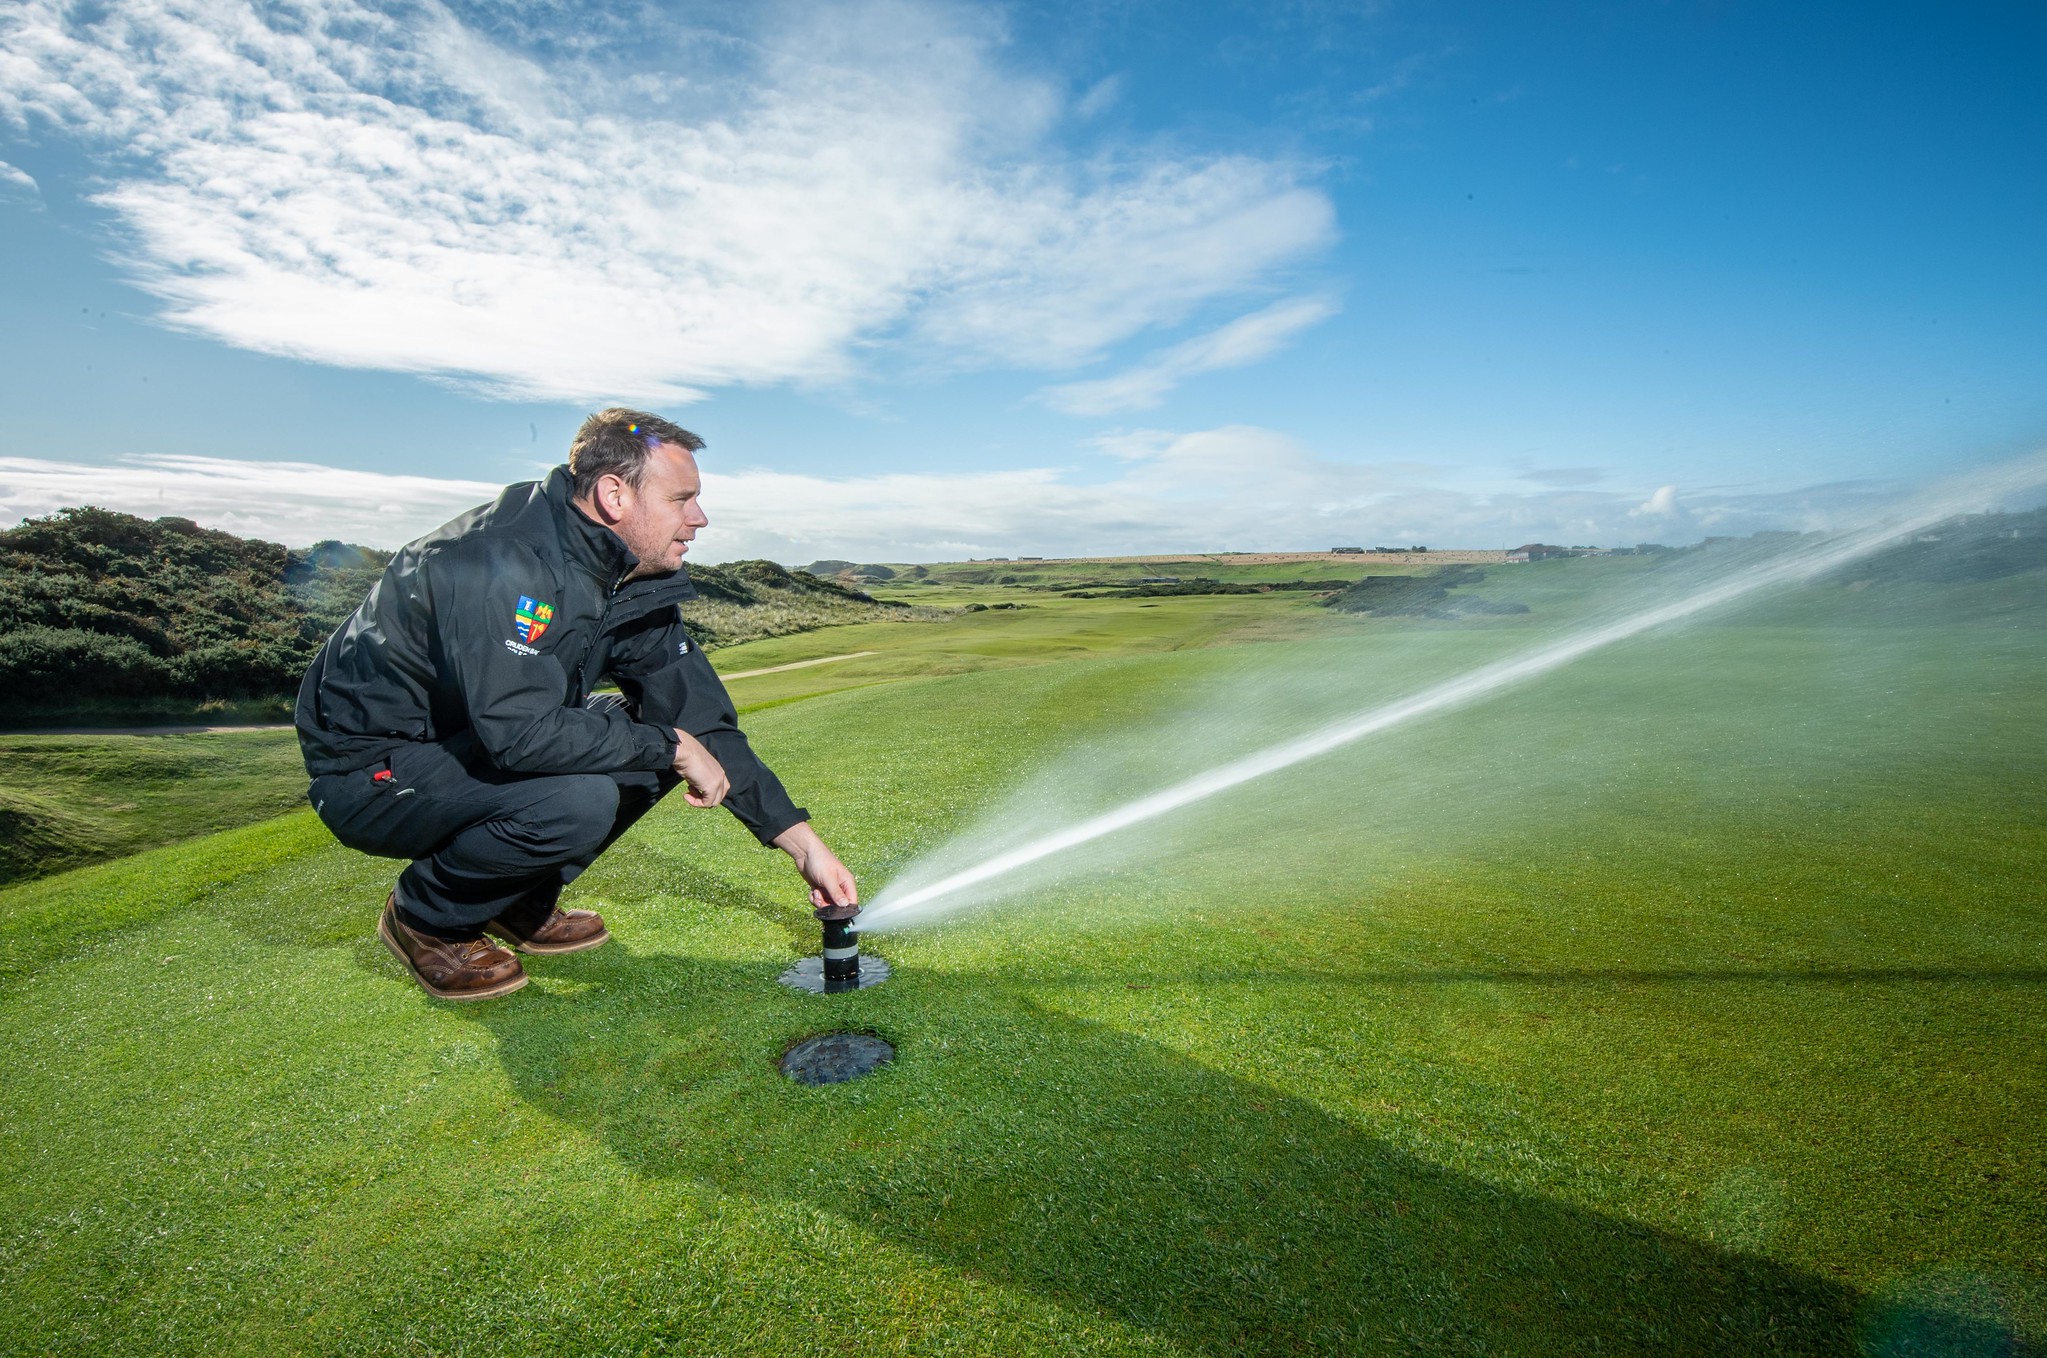
Finding the lowest sprinkler (if available) and lifting it manually for a period of time allows for any pressurised water to be released from the pipe network. This means, once again, if any remaining water expands then it shouldn’t cause any damage.
With valve-in-head sprinklers, turning each head to the ‘on’ position manually operates the sprinkler and removes any pressure within the pipes. This operation also prepares the system for re-pressurisation in the spring. And just like that, you’re done.
How to drain an irrigation system using compressed air
Air compresses and water does not. It’s the first thing you should be made aware of because it makes air very dangerous.
In fact, air compression is one of the main causes of sprinkler damage when not undertaken properly and as per the manufacturer’s recommendations. Worse yet, you won’t know the extent of the damage until the system is re-pressurised in the spring.
Today, the majority of UK systems are drained via gravity and not compressed air – it’s usually a method used in colder climates to prevent frost damage. In the end, then, it’s a decision for the client ahead of any winter shutdown.

When using compressed air there always needs to be a way for the air to escape; there should be no dead ends for air to build up against either, as this will cause mounting pressure until something breaks.
Slow and steady is the best and only option to prevent damage to pipework. Be consistent and drain the system slowly over several days (depending on system size) if necessary.
Top tips for compressed air draining
Pressure
Toro recommends a minimum of 35 psi, going up to a maximum of 50 psi, for draining irrigation components. This should create enough pressure to move all water out of the system.
It’s important to note, however, that if you’re pushing water through a sprinkler then only one operation should take place at any one time. If you need to operate more than one, then you should adopt the riserless operation to prevent damage from compressed air and water.
Temperature
Many compressors produce hot – not cold – air. Therefore, it’s important to think about how heat could impact the operation.
Ideally, the temperature should be low to prevent melting diaphragms and other plastic irrigation components. If your compressor produces hot air, then make sure you cool it before the air enters any piping. (You can do this by running air through a metal pipe or long length of hose to absorb the heat.)

The key to successful water removal via air compression
Any guesses? Here’s a hint… it’s not pressure! In fact, the key to successful water removal via compression is air volume (cu ft/min).
There are, however, varying opinions on where to blow water out from. Some say the high point, while others say the low point is best.
Some move the compressor around from low point to high point, while others – including Toro – always recommend blowing from the water source.
Why does Toro recommend this method? By blowing from the water source, you know the air has taken the same route as the water, and that it has been through all the piping.
To do this, start by closing the main water supply valve, then open the drains and drain the mainline as much as possible. When all the water has drained, close the drain valves and/or hosepoints.
Activate each automatic valve or sprinkler manually from the controller or remote control, allowing each valve to remain on until every last drop has been expelled from the sprinkler heads – again, only once unless removing the riser!
(Toro tip: it’s best to use a remote control device for this operation as the amount of time each sprinkler should operate will vary.)
Saving your irrigation system… until next winter
When the blow-out is complete, shut off the compressor and give the remaining water some time to settle into the low points, which usually takes a few hours.
Once finished, go back to the low areas to expel the last remaining water. Quick couplers around the green should also be activated to clear them of water.
And there you have it, you’ve potentially saved your irrigation system from bitter cold and freezing temperatures. Well, until next winter!
As mentioned previously, a winter shutdown should be considered each year during the winter months as part of your club’s annual maintenance schedule. Unsure if it’s needed? Get in touch.
Contact us for more information about your own irrigation system needs: info@reesinkhydroscapes.co.uk
Reesink UK LTD | 1-3 Station Road, St Neots PE19 1QF | Registered in England
Reesink UK LTD is authorised and regulated by the Financial Conduct Authority.